5
THE ONLY TOOL YOU WILL NEED IS A PHILLIPS-
TYPE SCREWDRIVER!
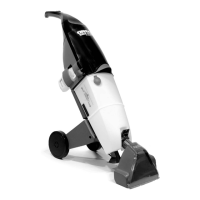
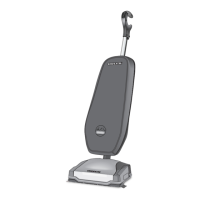
ASSEMBLY STEP ONE (Figure1):
Attach Handle to Cleaner
1. Lay the cleaner on a flat surface with the tank side
down or to its side.
2. Slide handle into cleaner body until interlock
is secured (Figure 1-A).
3. Insert four
5
⁄8” screws into the four cavities in
the handle base and tighten (Figure 1-B).
ASSEMBLY STEP TWO (Figure 2):
Attach Wheels
1. Locate two wheels and two support legs.
2. Insert the wheels (A) into the support legs (B) by
pushing the wheels in until they snap into place.
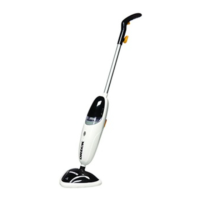
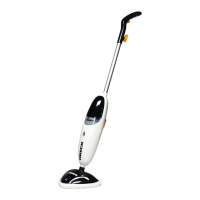
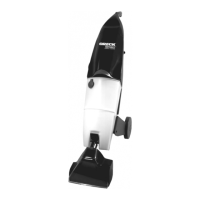
ASSEMBLY STEP THREE (Figures 3 and 4):
Attach Nozzle
1. Turn the unit so that the tank is face up.
2. Align the nozzle so the red nozzle change button
(Figure 3-A) is in line with the corresponding hole
in the nozzle (Figure 3-B).
3. Depress the small red nozzle change button
(Figure 3-A) and slide the nozzle over the unit
shaft until the button locks into place.
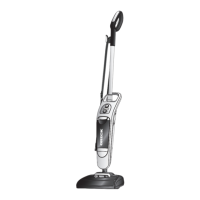
4. Plug the small power cord connected to the nozzle
(Figure 4-A) into the receptacle in the back of the
unit (Figure 4-B).
NOTE: Before using, please read the important
safety and operating instructions.
To Assemble Cleaner
Figure 1
B
A
B
Slide Handle forward
A
A
B
A
B
Figure 3
Figure 2
Figure 4
 Loading...