GB
17
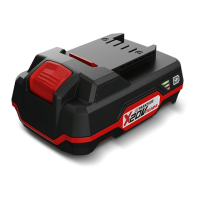
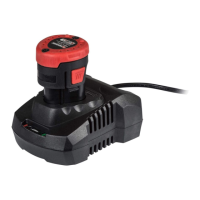
by illuminating the 3-colour LED lights of
the state of charge display.
3LEDslightup(red,orangeandgreen):
Battery is fully charged.
2LEDslightup(redandorange):
Battery has a residual charge.
1LEDlightsup(red):
Battery has to be charged
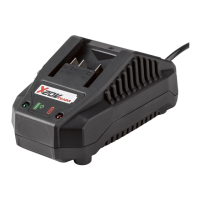
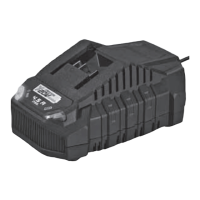
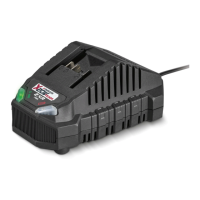
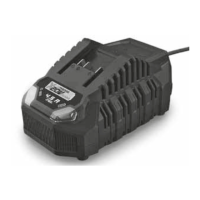
Recharging the battery
Allow a hot battery to cool before
charging.
Only charge the battery (4) when
the red LED on the charge status
indicator is on.
1. Remove the battery (4) from the appli-
ance.
2. Insert the battery (4) in the charging
compartment of the battery charger
(5).
3. Plug the battery charger (5) into a
mains outlet.
4. When the battery is fully recharged
unplug the battery charger (5) from the
mains.
5. Remove the battery (4) from the charg-
er (5).
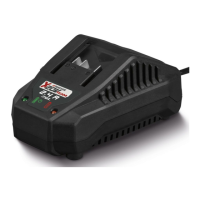
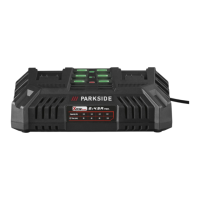
Control display on charger
control display (6) is from the bot-
tom up.
If the charger is connected to the
mains socket and no battery is
inserted, all LEDs will light up per-
manently.
AnLEDlightsup:
Batter(ies) (4) empty
AnLEDlightsup,asecondLEDashes:
Batter(ies) charged to 1/3
TwoLEDslightup,thirdLEDashes:
Batter(ies) charged to 2/3
ThreeLEDslightup:
Batter(ies) fully charged
Used batteries
considerably shorter operating times,
the battery is used up and needs to be
replaced. Only use an OEM battery
pack replacement available from our
Customer Service.
safety instructions as well as the envi-
ronmental protection regulations and
-
tenance”).
Storage
unit for longer periods of time (e.g.
hibernation).
charged state. During prolonged stor-
age, 2 to 3 LEDs should be illuminated.
the state of charge of the battery and
recharge if necessary roughly every
Avoid extreme cold or heat during stor-
age to ensure the battery output is not
adversely affected.
 Loading...