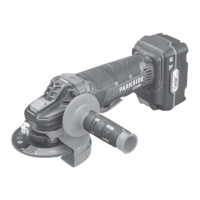
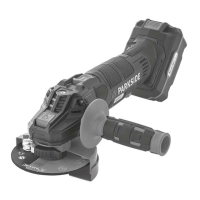
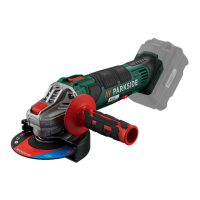
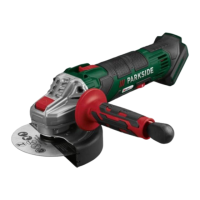
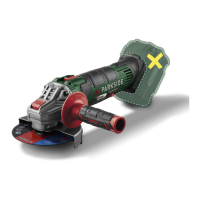
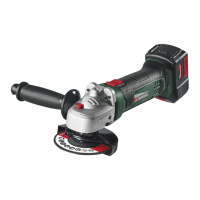
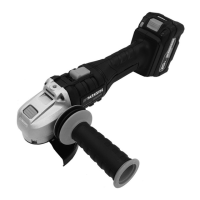
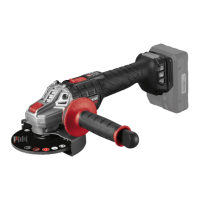
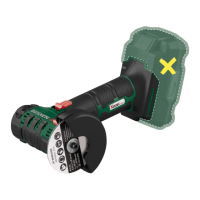
PWSA 20-Li E4
GB
│
IE
│
11 ■
ATTENTION!
♦ If the red control LED
flashes, this means
that the battery pack has overheated and
cannot be charged.
♦ If the red and green control LEDs both
flash, this means that the battery pack
is
defective.
♦ Switch off the charger for at least 15 minutes
between successive charging sessions. Also
disconnect the power plug from the mains
power socket.
Attaching/disconnecting the battery
pack to/from the appliance
Attaching the battery pack
♦ Allow the battery pack
to click into the
handle.
Removing the battery pack
♦ Press the release button
and remove the
battery pack
.
Checking the battery charge level
♦ Press the battery charge level button to
check the status of the battery (see also main
diagram).
The status/remaining charge will be shown on
the battery display LED
as follows:
RED/ORANGE/GREEN = maximum charge
RED/ORANGE = medium charge
RED = low charge – charge the battery
Fitting the protective cover for cutting
When cutting with bonded abrasives, always use
the protective cover
8a
for cutting.
♦ Slide the protective cover
8a
onto the blade
guard (see fig. F) until the plastic clip “X”
snaps into place at the end.
♦ When removing the protective cover
8a
,
press the plastic clip “X” in slightly to release
the protective cover
8a
.
Adjusting the blade guard
WARNING! RISK OF INJURY!
► Always switch the appliance off and remove
the battery before carrying out any work on
the appliance.
RISK OF INJURY!
► Always use the angle grinder with the blade
guard
. The blade guard should be
installed securely. Set it so that the highest
possible degree of safety is achieved, i.e.
the smallest possible part of the grinding
disc is exposed to the operator. The blade
guard
is designed to protect the operator
from fragments and accidental contact with
the grinding tool.
► Make sure that the blade guard
is fitted
at at least the same angle as the additional
handle (see fig. B). Otherwise, you could
injure yourself on the roughing disc or cutting
disc.
♦ Turn the blade guard
to the required position
(working position). Make sure that the blade
guard
is positioned in such a way that the
blade guard fixture
lies over one of the
5 bulges
on the blade guard
(see Fig. E
(fold-out page).
♦ Ensure that the blade guard fixture
is firmly
seated in the respective bulge .
Fitting the additional handle
CAUTION!
► For safety reasons, this appliance may only
be used with the additional handle
.
Failure to do so can lead to serious injury.
The additional handle can be screwed
onto the left, the right or the top, depending
on the job at hand.
 Loading...
