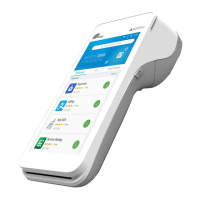
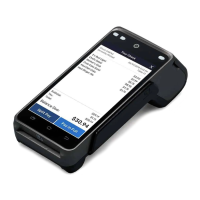
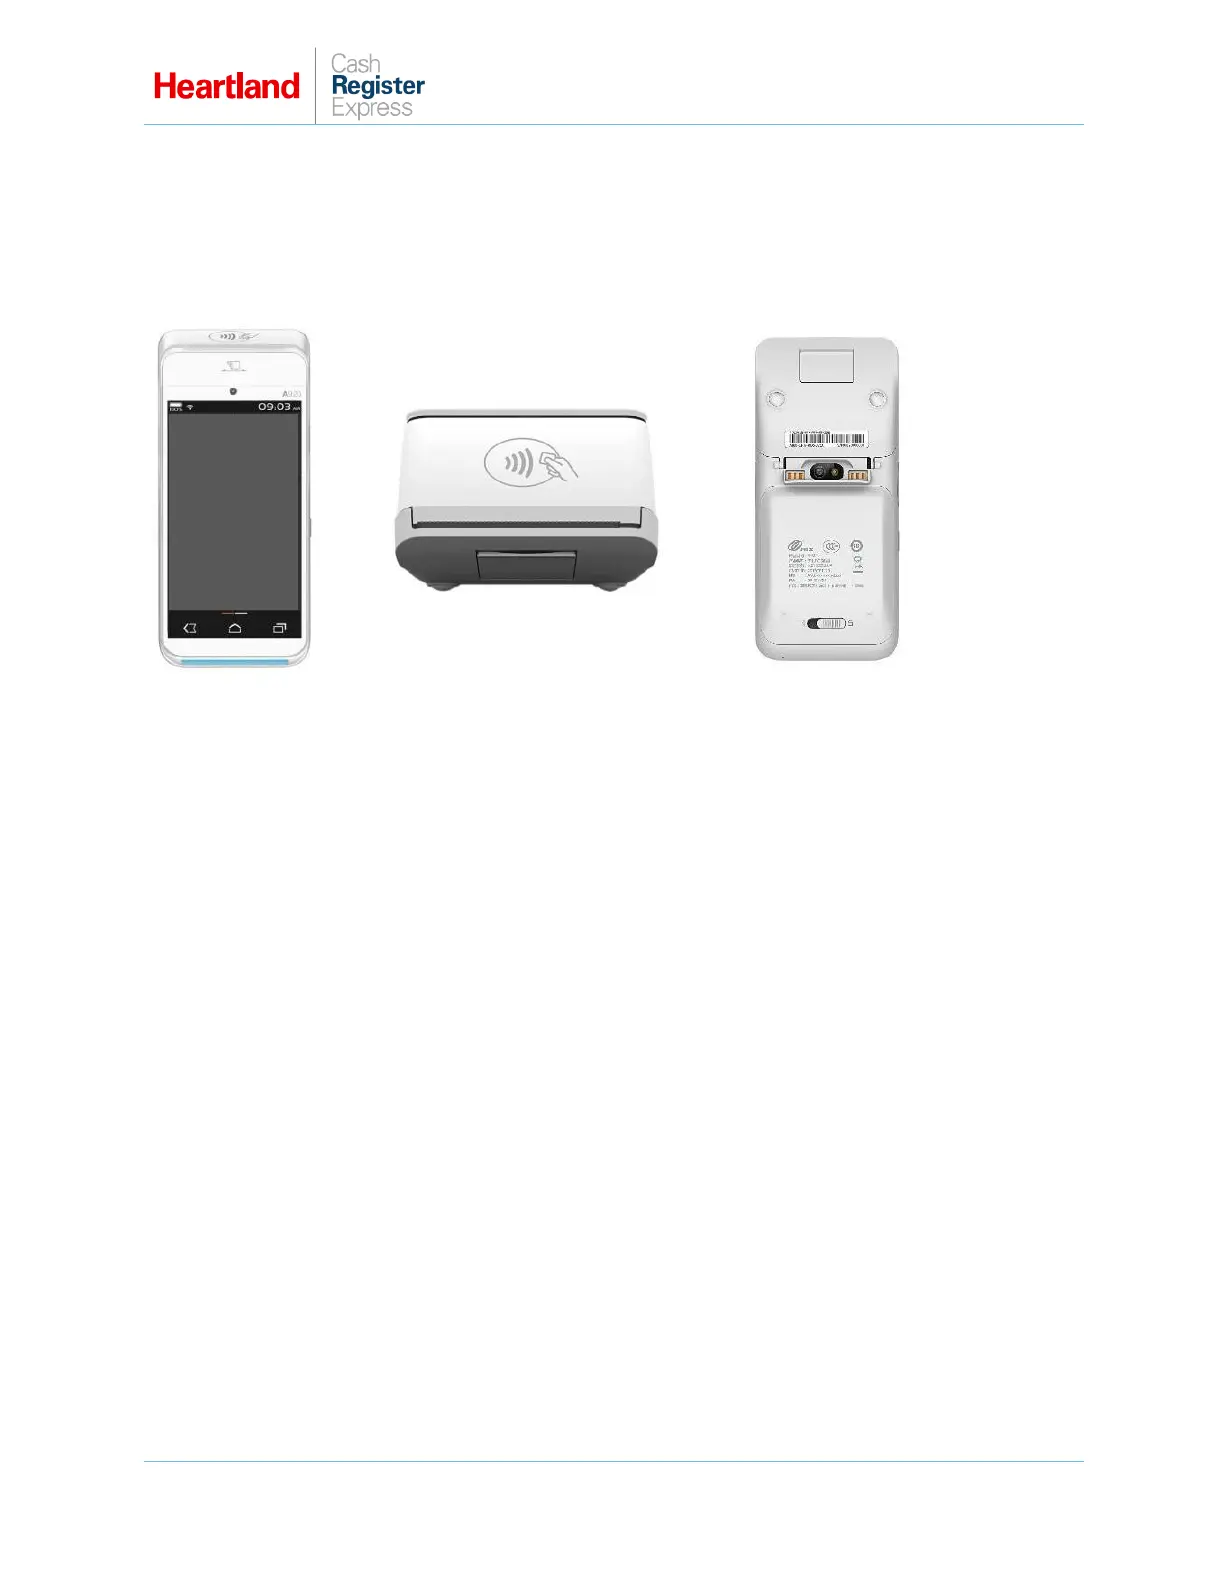
PAX A920 Setup Guide
A Global Payments Company Page 1
Overview
This article describes how to configure Cash Register Express to use the PAX A920 device to process
payments. The A920 terminal is an Android based, multilane transaction processing and mobile smart
terminal. This service is only supported by Heartland Payment processing.
To function properly, the device must be loaded with a Special PAXStore template for CRE.
We recommend you make any adjustments to the device at the PAXStore level to ensure that, if
the device’s firmware is ever updated or changed, those updates will include the site-specific
settings. If you do not set them at the PAXStore level, your settings will be overwritten by any
downloads.
Prerequisites
You must add an A920 SKU to an opportunity in Salesforce.
The merchant account must have a Heartland Processing MID in Salesforce to complete the order.
The merchant must be processing with Heartland Payments Systems.
The merchant must be using CRE version 13.1017 or later.
If you have any questions or concerns regarding the PAX A920 device, please email them to
paxsupport@e-hps.com, or call 1.888.909.8498.
Connecting the A920 Device to a Local Wi-Fi Network
You will need to set the A920 device to connect to the site’s wireless network.
1 Turn on the device.
2 In Home Screen, tap Settings.
3 Enter the password (9876), then select OK.
4 Tap Wi-Fi.
5 Select your local network.
 Loading...