 Loading...
Do you have a question about the Pioneer DMH-1770NEX and is the answer not in the manual?
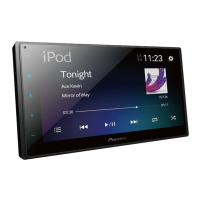
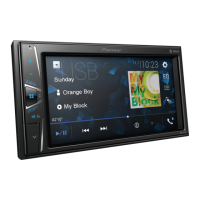
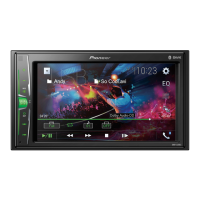
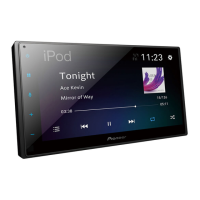
| Resolution | WVGA (800 x 480) |
|---|---|
| Touchscreen | Yes |
| Bluetooth | Yes |
| Apple CarPlay | Yes |
| Android Auto | Yes |
| Auxiliary Input | Yes |
| Built-in Amplifier | Yes |
| SiriusXM-Ready | Yes |
| Backup Camera Input | Yes |
| AM/FM Tuner | Yes |
| RMS Power Output | 14 watts x 4 channels |
| Max Power Output | 50 watts x 4 channels |
| Built-in Microphone | Yes |
| Rear Camera Input | Yes |
| Steering Wheel Control Input | Yes |
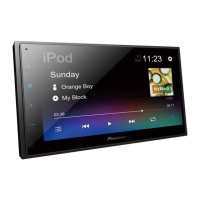
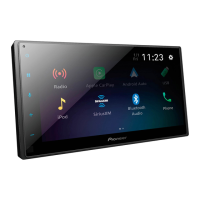
| Display Size | 6.8 inches |
| USB | Yes |
| RCA Preouts | 3 |