ELECTRICAL
7.14
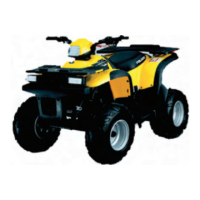
HEADLIGHT LAMP
REPLACEMENT
1. Remove the wire harness connector from the
back of the headlight.
2. On the left headlamp, grasp the bulb housing and
turn it counterclockwise (1) to remove the bulb.
On the right headlamp, turn the bulb housing
clockwise (2) to remove the bulb.
1
2
3. Apply dielectric grease to the light bulb socket
before installing the new bulb. Install the
replacement bulb into headlight housing and
rotate firmly. NOTE: The bulb must be positioned
so the harness installs into the lamp at outer side.
4. Reinstall the connector to the back of the
headlight.
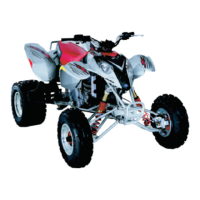
TAILLIGHT/BRAKELIGHT
LAMP
REPLACEMENT
If the taillight/brakelight does not work the lamp may
need to be replaced.
Lens Cover
NOTE: Tail light bulb is
“high shock load” style.
Replace with only this
style bulb.
1. From the rear of the taillight remove two screws
holding lens cover in place and remove lens
cover.
2. Remove lamp and replace it with recommended
lamp. Apply Dielectric Grease (PN 2871329) to
the new bulb contacts.
3. Reinstall the lens cover removed in step 1.
4. Test the taillight/brakelight to see it is working.
HEADLAMP SWITCH
Probe the headlamp plug wires (Brown and Yellow) at
back of connector. Turn headlights on. Test for
battery voltage across the connections.
G Low Beam -- Brown and Green
G High Beam -- Brown and Yellow
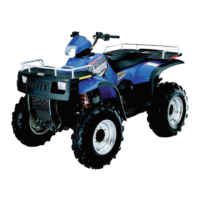
BRAKE LIGHT SWITCHES
Foot Brake
1. Disconnect wire harness from switch.
Foot Brake Switch
2. Connect an ohmmeter across switch contacts.
Reading should be infinite (Ö).
3. Apply foot brake and check for continuity between
switch contacts. Replace switch if there is no
continuity or greater than .5 ohms resistance
when the brake is applied with slight pressure.
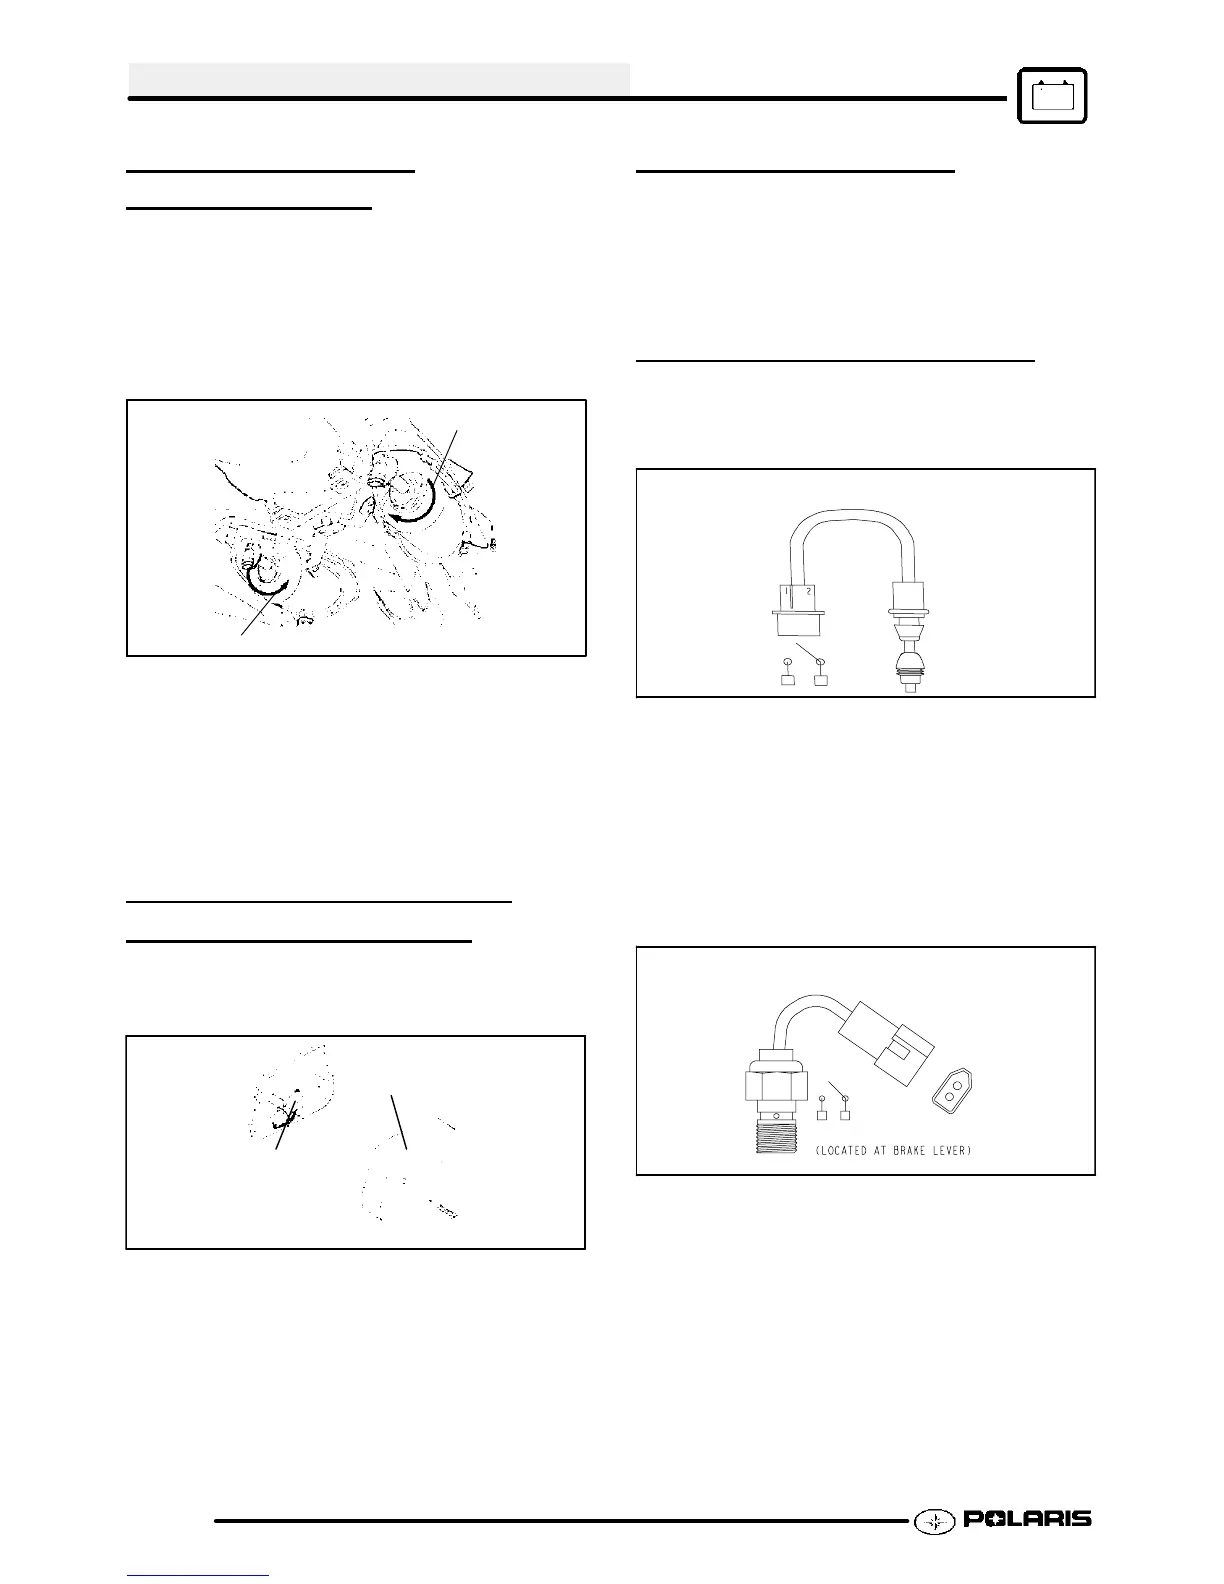
Front Brake
1. Disconnect wire harness from switch.
Front Brake Switch
2. Connect an ohmmeter across switch contacts.
Reading should be infinite (Ö).
3. Apply front brake lever and check for continuity
between switch contacts. Replace switch if there
is no continuity or greater than .5 ohms resistance
when the brake is applied with slight pressure.
Enfocus Software - Customer Support
 Loading...