INSTRUCTIONS PL600/PL1000
1). The transmitter Reaction
Channel/Functions SW2 switch on SW2 switch off
(A)Button: “Open- Stop- Close- Stop”
(B)Button: “Pedestrian mode”
(A)Button: “Open- Stop- Close- Stop”
(B)Button: Long Press for other device
turn-on, like garage door
system
(A) Button: “Open- Stop- Close- Stop”
(B) Button: “Pedestrian mode”
(C) Button: Long Press for other device turn-on,
like garage door system
Or
(D) Button: Long Press for other device turn-on,
like garage door system
(A) Button: “Open- Stop- Close- Stop”
(B) Button: Long Press for other device
turn-on, like garage door
system
(C) Button: “Pedestrian mode”
Or
(D) Button: “Pedestrian mode”
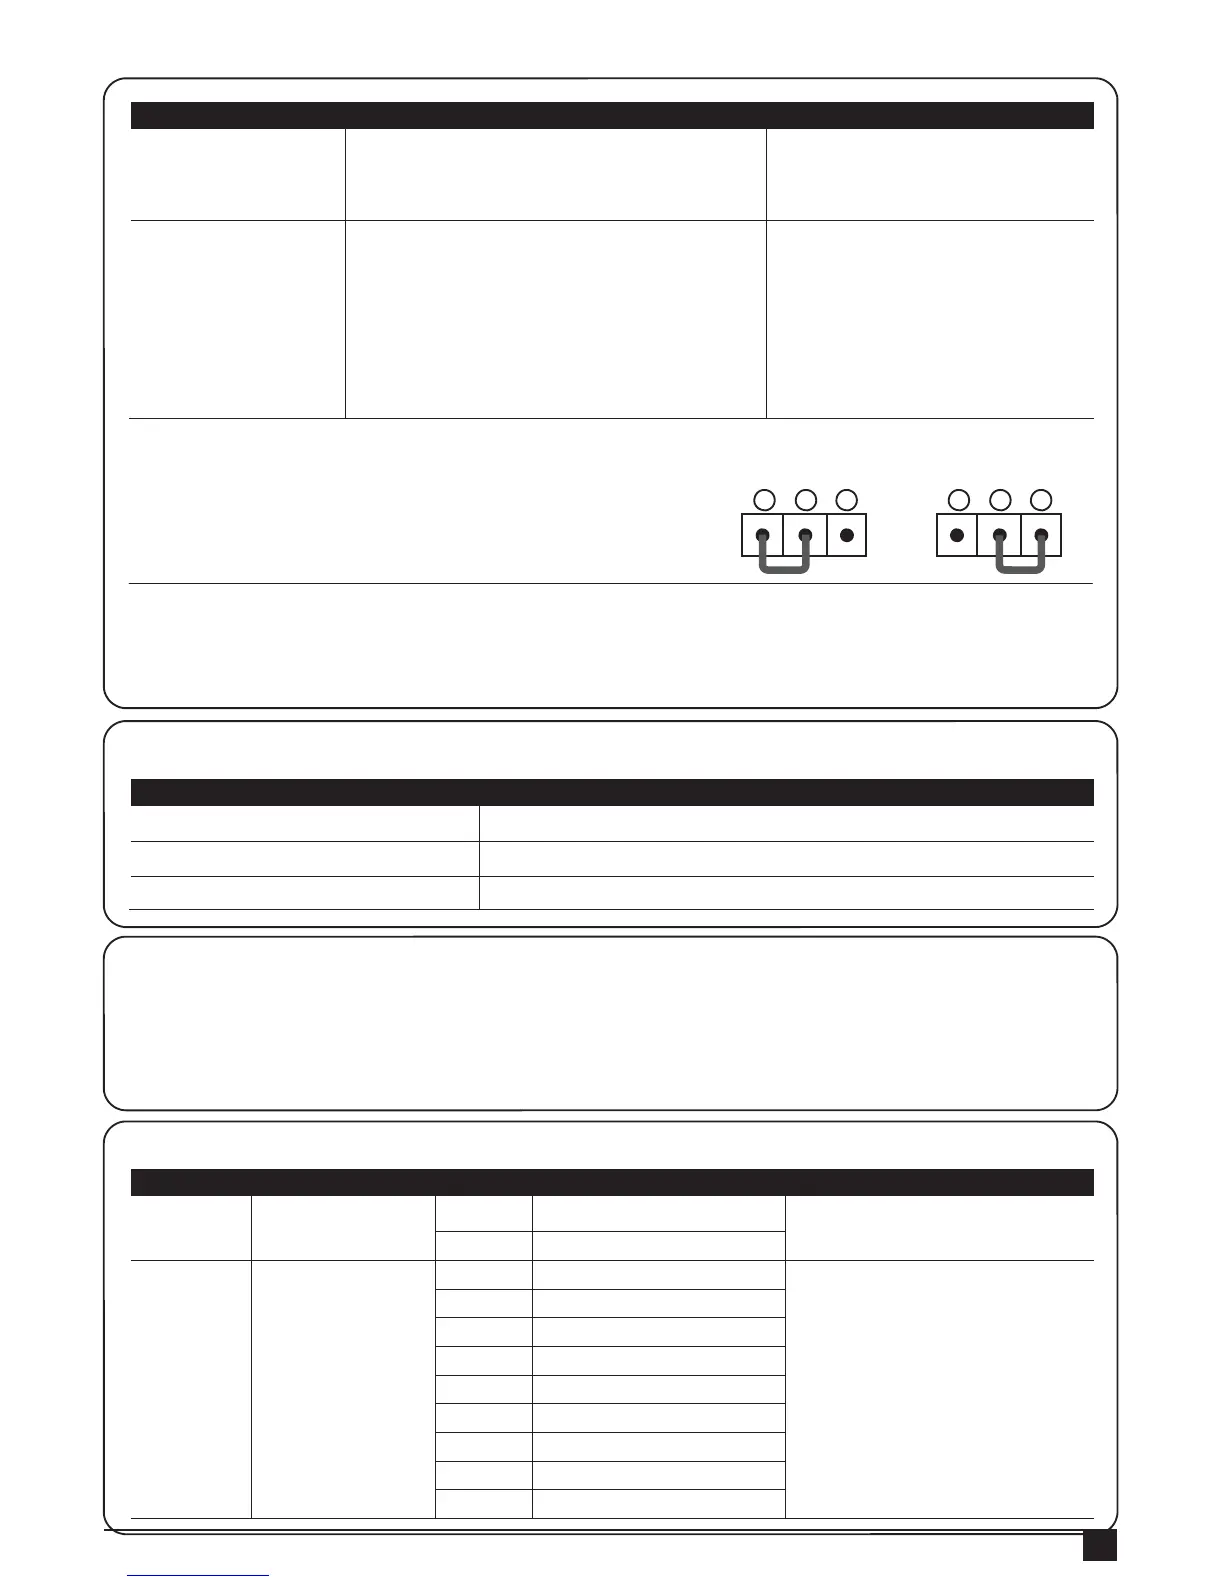
Important notice:
(1) Jumper 4: ② and ③ in place: remote control button (C) usable
; Jumper 4: ①and ② in place: remote control button (D)
usable.
(2) Pedestrian mode follows function “F6-0~F6-5” settings.
Button (C) Usable Button (D) Usable
3 2 1 3 2
1
2). Transmitter Memorizing and Erasing Process
(1) Transmitter Memoring: Press “RF LEARN” button for 2 seconds, and the LED3 is on; then press the
transmitter (A) button; the LED3 will blink twice and then be off. The system learning is complete.
(2) Transmitter Memory Erasing: Press “RF LEARN” button for 5~6 seconds as LED 3 is on, then wait for LED3 off.
4.1.2 Recognition of LED
LED Indication Descriptions
LED1 will be on when the first pair of the photocells are activated.
LED2 will be on when the second pair of the photocells are activated.
LED3 will be on when RF-learn button is pressed.
4.1.3 Checking the Gate Movements
1). Release the gearmotor with the release key and move the gate to the middle so that it is free to move in both
opening and closing directions; then lock the gearmotor.
2). Perform the gate opening and closing several times and make sure the gates reaches the limit switch at least 2~3
centimeters before the mechanical stop.
4.2 Programmable Functions Lists
LED Display Definition Function Value Description
Options of Gate
Opening direction
1. The function can adjust the
direction of gate opening.
2. The factory setting is "F1-1".
1. This function can cause the gate
to close automatically after the
paused time.
2. The factory setting is
"F2-2”:
15secs as the pause
time.
 Loading...