1. Make sure the drone is turned o.
2. Open the battery cover and remove the battery.
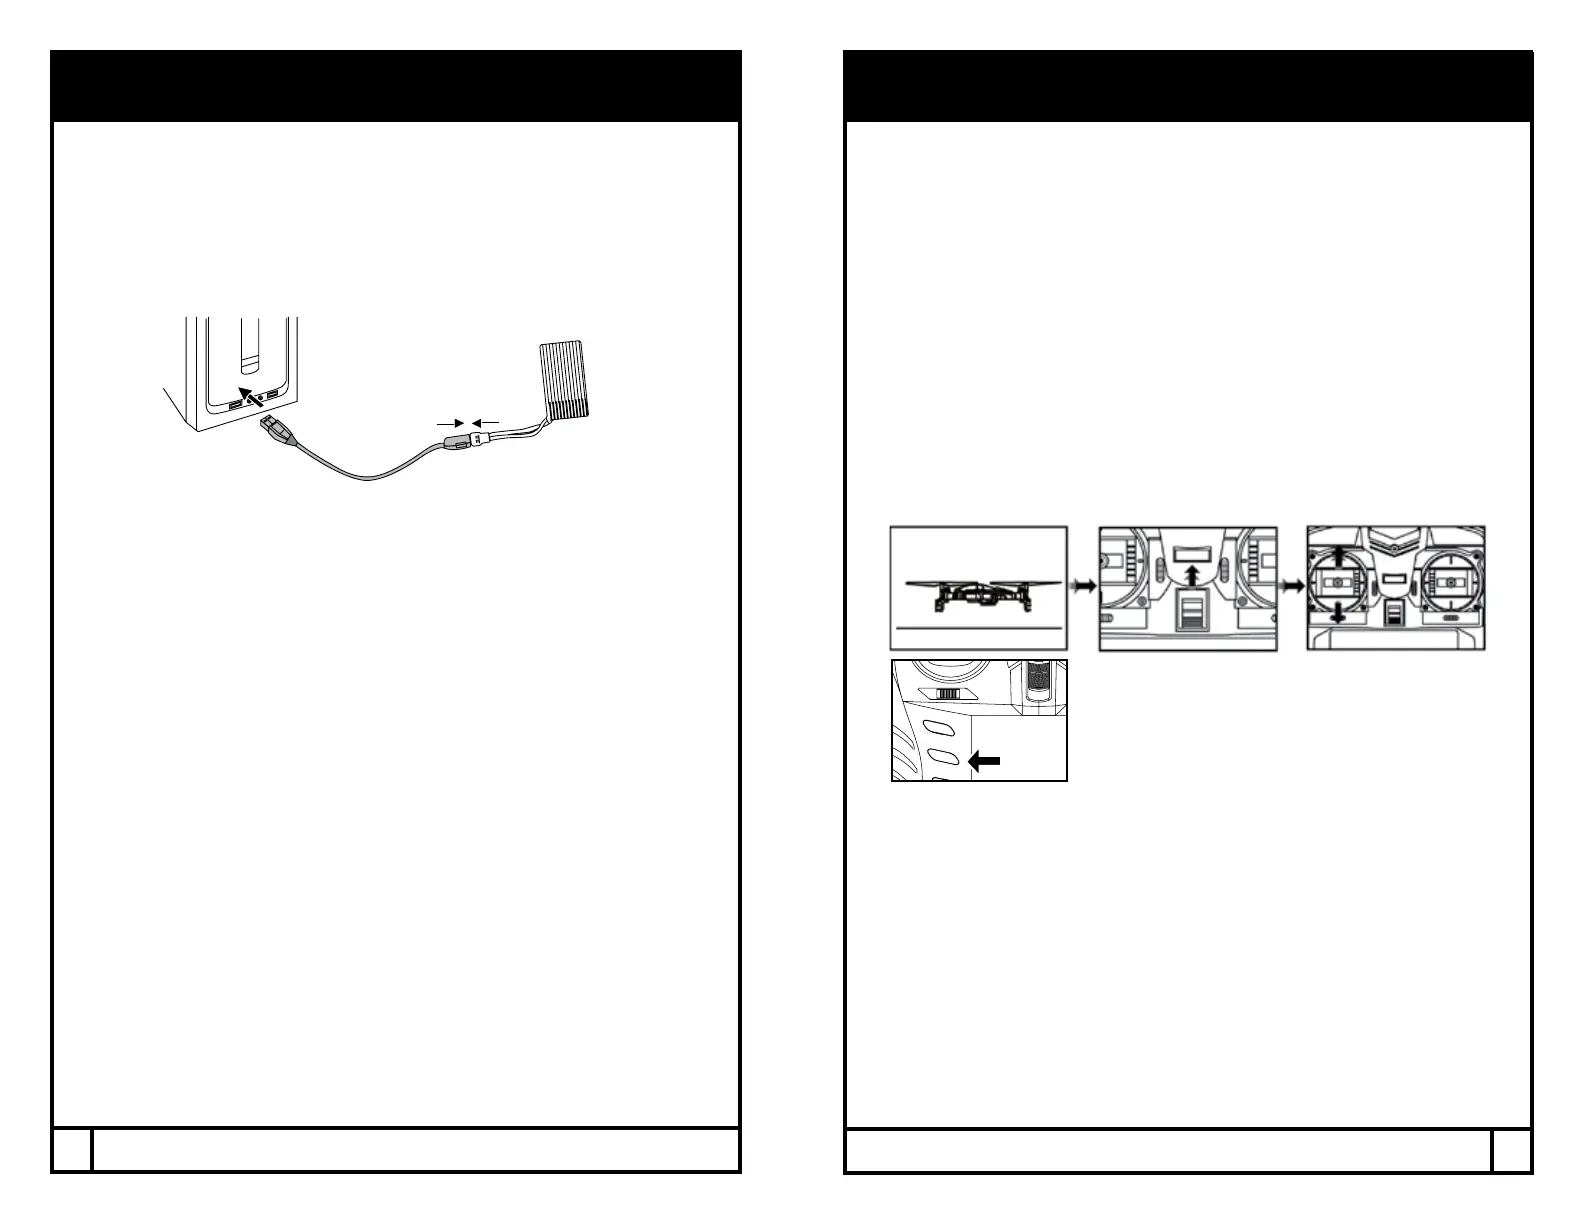
3. Connect the USB charging cable to the battery.
4. Plug the charger into a USB port. The USB light will turn o while
charging and will turn on once fully charged.
5. Plug the battery back into the drone and close the battery cover.
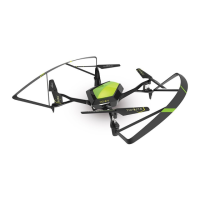
CHARGING THE DRONE BATTERY
CAUTION WHEN CHARGING
1. When charging, place product on a dry, well-ventilated surface and
keep away from heat sources.
2. Always use adult supervision while charging.
3. In order to increase battery longevity, avoid repeat charging and
excessive discharging.
4. As battery temperature is high immediately after ight, charge after
cooling down for higher eciency.
5. Do not strike or subject battery to hard impacts or sharp surfaces.
6. Do not use any other charger than that which is supplied with
this item.
7. Do not use or leave battery near a heat source such as re or space
heater; exposure to heat may result in reduced performance or in
some cases dangerous conditions.
8. If battery is left in charging state for an extended period of time after
being fully charged, the battery may automatically discharge.
9. Never leave the battery unattended during charging.
10. Do not disassemble battery.
11. Do not submerge battery in water.
Charging time: 120 minutes --- Flying time: approximately 7 minutes
*Battery: Li-Po, 3.7V, 800mAh
If you purchased extra batteries, allow the engines to cool between ights
in order to prolong engine life.
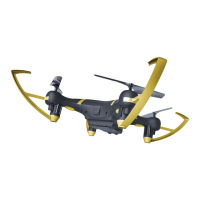
POWER-ON PROCEDURE
NOTE
1. While the drone is in process of synchronizing or calibrating, the lights
will ash quickly. When the process is completed, the lights will go
steady. This is your indication that the process is completed.
2. If after 30 seconds, it has not recognized the drone, turn o the
controller and repeat Power-On prodedure.
3. If the Dronium III is unsteady in ight, it may not have been able to
calibrate properly. Power down both drone and remote and restart
pre-ight procedure, including re-calibration of the altitude sensor.
4. For the Altitude Sensor to calibrate properly, the drone must be
synchronized already, but the engines not spinning yet. You cannot
calibrate while the propellers are turning. You have to calibrate before
you start the engines.
Before ying, the drone and transmitter must be turned on in sequence and
synchronized. Once synchronized, you must press the calibration button so
the Altitude Sensor can set properly.
1. Turn on the drone and place it on an even surface.
2. Turn on the remote control.
3. Both indicators on the drone and the remote will ash while they
are syncing.
4. Push the throttle up and then down to sync. You will hear two beeps and
the lights will go steady.
5. Next, you must calibrate the Altitude Sensor. Press the calibration button
down once. Lights will ash quickly and then go steady. Your drone is
now synchronized, calibrated, and in stand-by mode awaiting Engine
Idle command.
6
7
 Loading...