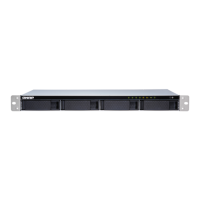
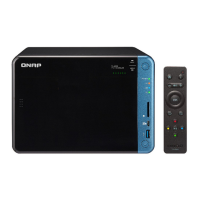
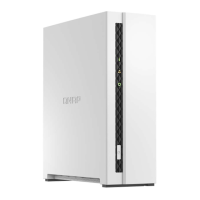
3. Installation and Conguration
This chapter provides specic hardware and rmware installation and conguration steps.
Hardware Installation
This section provides information on installing drives and connecting USB expansion units.
Drive Installation
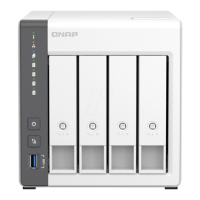
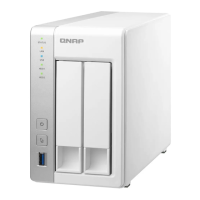
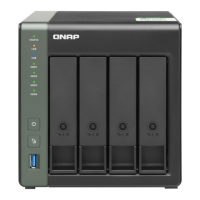
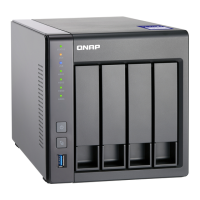
The TS-x33 is compatible with 3.5-inch and 2.5-inch SATA hard drives, and 2.5-inch solid-state drives.
Installing 3.5-inch Hard Drives on 3.5-inch Drive Trays (TS-133)
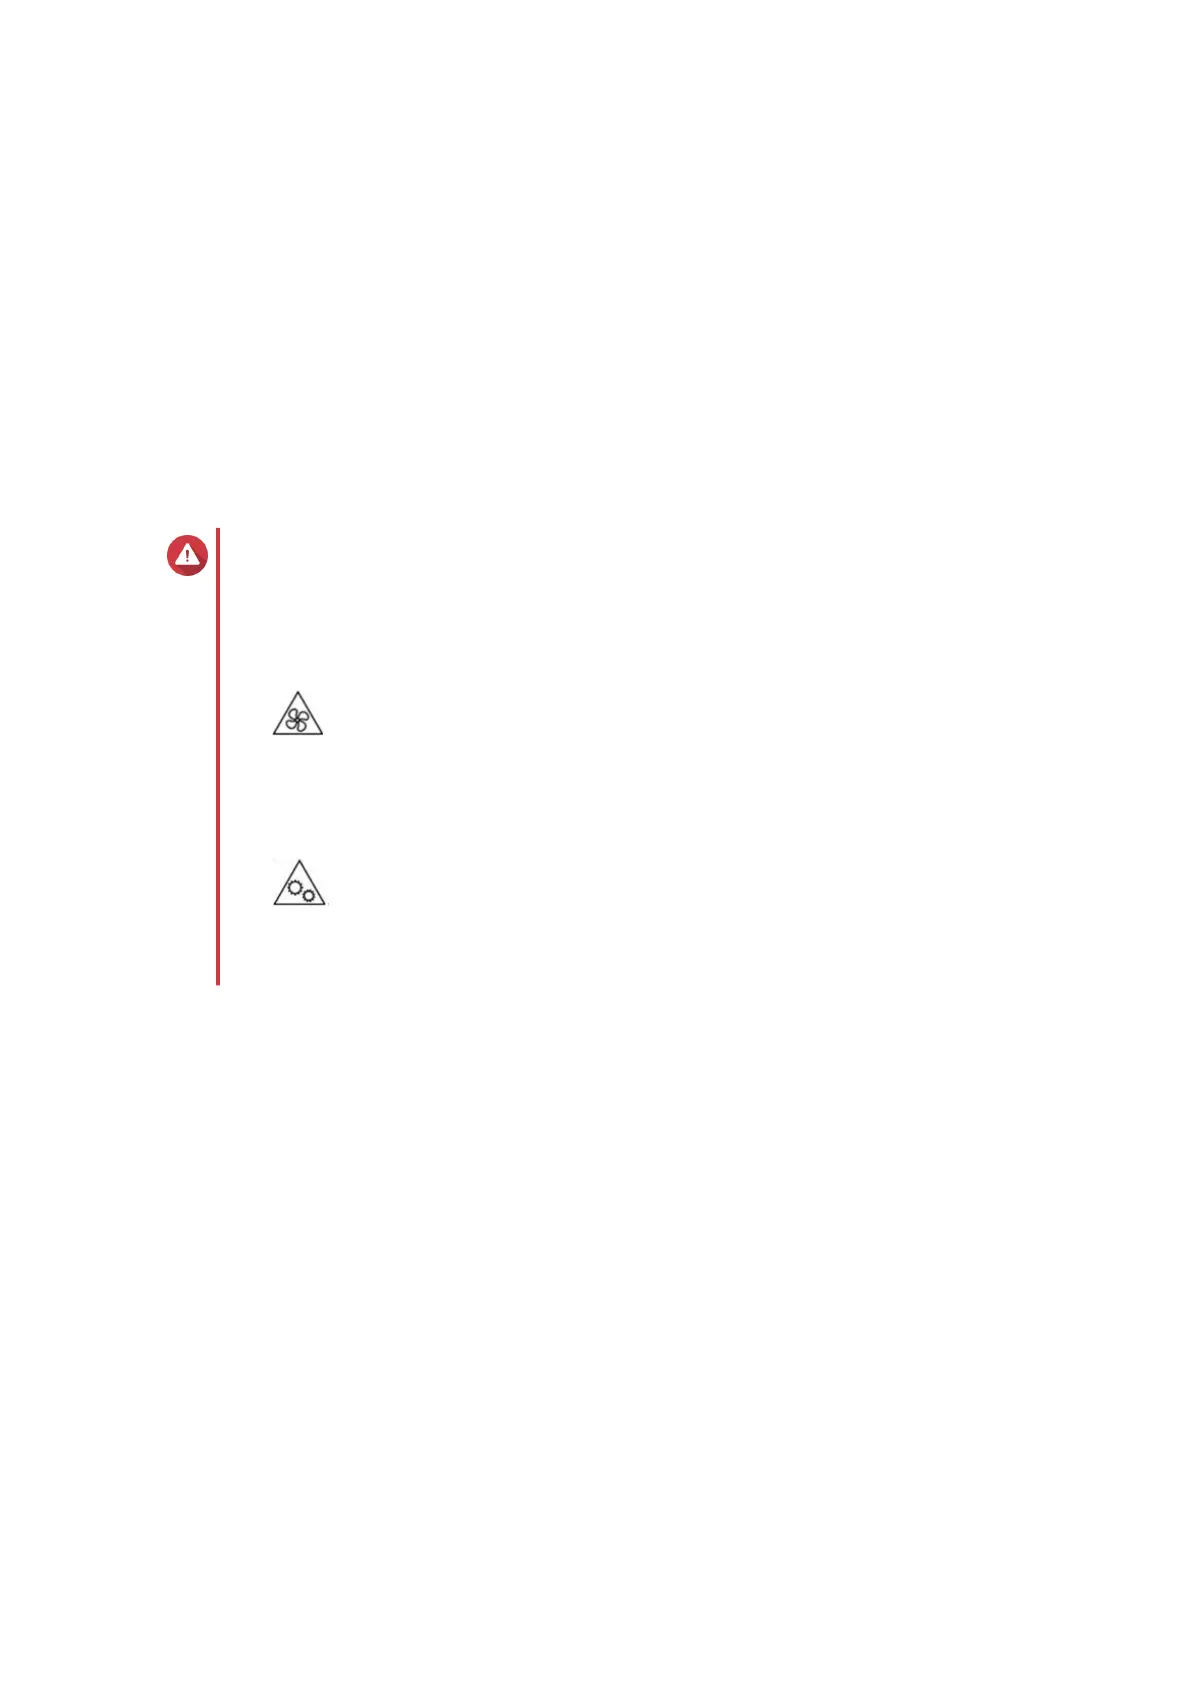
Warning
• Installing a drive deletes all data on the drive.
• Observe electrostatic discharge (ESD) procedures to avoid damage to components.
•
Moving fan blades: Keep your hands and other body parts away from moving fan
blades.
•
Other moving components: Keep your hands and other body parts away from other
moving components.
1. Power o the NAS.
2. Disconnect the power cord from the electrical outlet.
3. Disconnect all cables and external attachments.
4. Remove the case cover.
a. Place the device on its left side.
b. Remove the screw located on the bottom of the device.
TS-x33 User Guide
Installation and Conguration 13
 Loading...