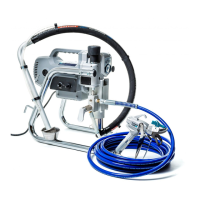
ASSEMBLY
1 Attach the hose to the pump and tighten with a wrench.
2 Attach the hose to the gun and tighten with a wrench.
OPERATION
1 New sprayer / before you start
Your sprayer was factory tested in an oil solution which was left in the pump.
Before using oil-base paint, ush with pump conditioner only. Before using
water-base paint ush with pump conditioner, followed by soapy water, then
a clean water ush.
2 Changing colours
Flush with a compatible solvent such as pump conditioner or water.
3 Changing from water-base to oil-base paint
Flush with soapy water, and then pump conditioner.
14
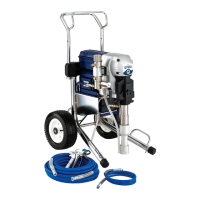
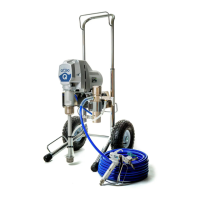
QTech QT290 Airless Sprayer
FLUSHING
WHEN TO FLUSH
1 Cleanup (for further detail turn to page 20).
2 Changing from oil-base to water base paint. Flush with pump conditioner,
followed by soapy water, then a clean water ush.
3 Storage. Always relieve pressure (see PRESSURE RELIEF PROCEDURE
page 8) prior to storage or when machine is unattended.
Oil-base paint: Flush with pump conditioner. Ensure that there is no pressure
in the unit, then close the priming valve.
Water-base paint: Flush with water, and then pump conditioner.
For longer term storage ll with pump conditioner.
Always ensure that there is no pressure in the unit, and close the prime/
pressure relief valve for storage.
4 Start-up after storage. Before using water-base paint, ush with soapy water
and then with clean water. When using oil-base paint, ush out the pump
conditioner with the material to be sprayed.
HOW TO FLUSH
1 Be sure the gun safety latch is engaged and there is no spray tip in the gun.
2 Pour enough clean, compatible solvent into a large, empty metal pail to ll
the pump and hoses.
3 Place the suction tube into the pail.
4 Turn the Priming Valve to the ‘Open’, priming position.
5 Point the gun into the metal pail and hold a metal part of the gun
rmly against the pail. To reduce the risk of static sparking which can cause
re or explosion, always hold a metal part of the gun rmly against the
metal pail when ushing. This also reduces splashing. Disengage the gun
safety latch and squeeze the gun trigger. Turn the ON/OFF Toggle Switch to
the "ON" position and turn Pressure Control Knob clockwise to increase
pressure just enough to start the pump.
6 Close the priming valve. This will allow solvent to be ushed through the
pump, hoses and gun. Allow the unit to operate until clean solvent comes
from the gun.
7 Release the trigger and engage the gun safety latch.
8 Whenever you shut off the sprayer, follow the PRESSURE RELIEF
PROCEDURE.
15
Brought to you by Aristospray
 Loading...