6 Installing and Configuring the SKM Appliance Servers
Quantum Scalar Key Manager 2.5 Quick Start Guide
1 Set the IP address of the laptop or PC you will use to connect to the SKM appliance
server to 192.168.18.100.
2 Connect a CAT5e crossover Ethernet cable from the laptop or PC to Ethernet Port 1
on the rear of the SKM server (see
Figure 1 on page 4).
Note: Ethernet Port 1 is used only for configuration. Once you perform the initial
configuration, you will use Ethernet Port 2 for SKM appliance server
communication via your network.
3 Using SSH, connect to the server using the IP address for Ethernet Port 1:
192.168.18.3.
Note: The IP address of Ethernet Port 1 is a static IP address that cannot be
changed.
4 At the login prompt, type the following (this is the user login ID which will never
change):
akmadmin
5 At the Password prompt, type the default password:
password
6 At the akmadmin@skmserver prompt, type the following:
./skmcmds
7 At the Password prompt, type the default password again:
password
The End User License Agreement displays.
8 Read the license agreement. Press <Enter> to scroll through the agreement. At the
end, type
y to accept and continue or n to decline and stop the installation process.
9 Press <Enter> to begin the setup wizard.
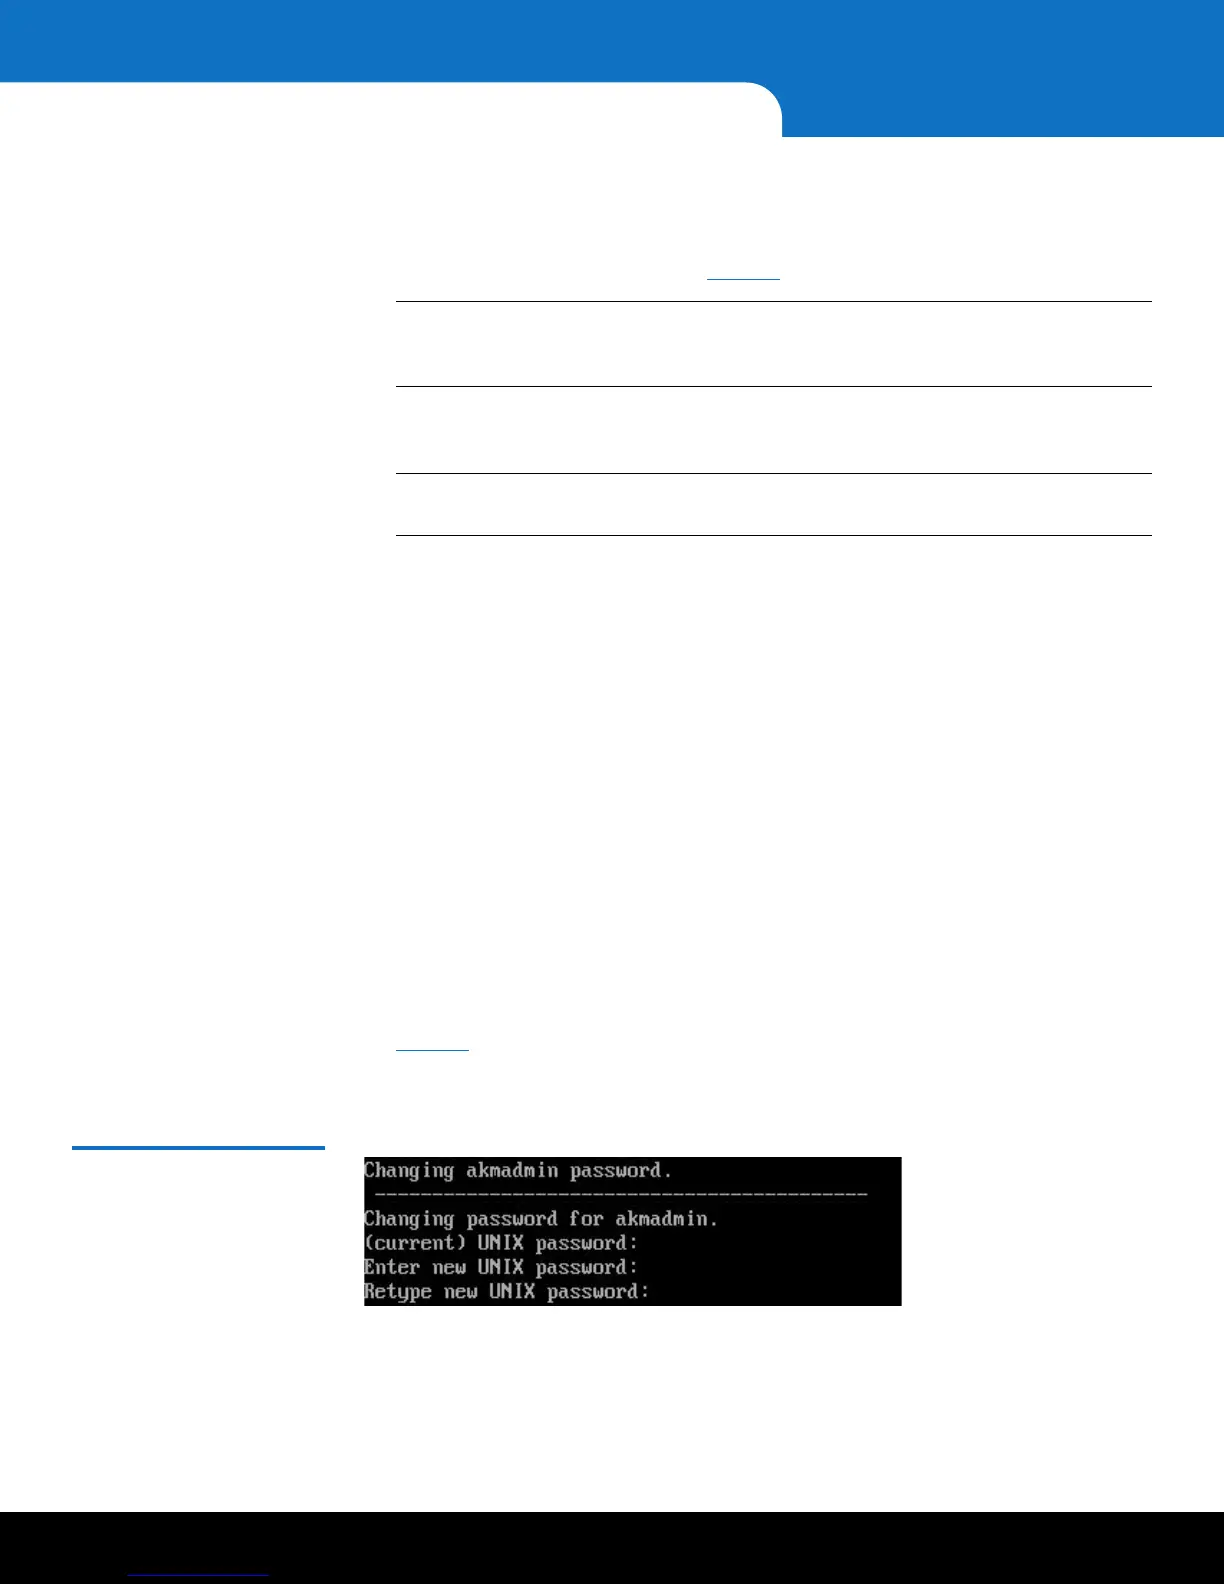
10 The first setup wizard task prompts you to change the akmadmin password (see
Figure 3). There is only one password for SKM. It is called the akmadmin password,
and is required for all logins and access to SKM Admin commands, including backup
and restore.
Figure 3 Changing the
Password
 Loading...


