Installing and Configuring the SKM Appliance Servers 5
Scalar Key Manager 2.5
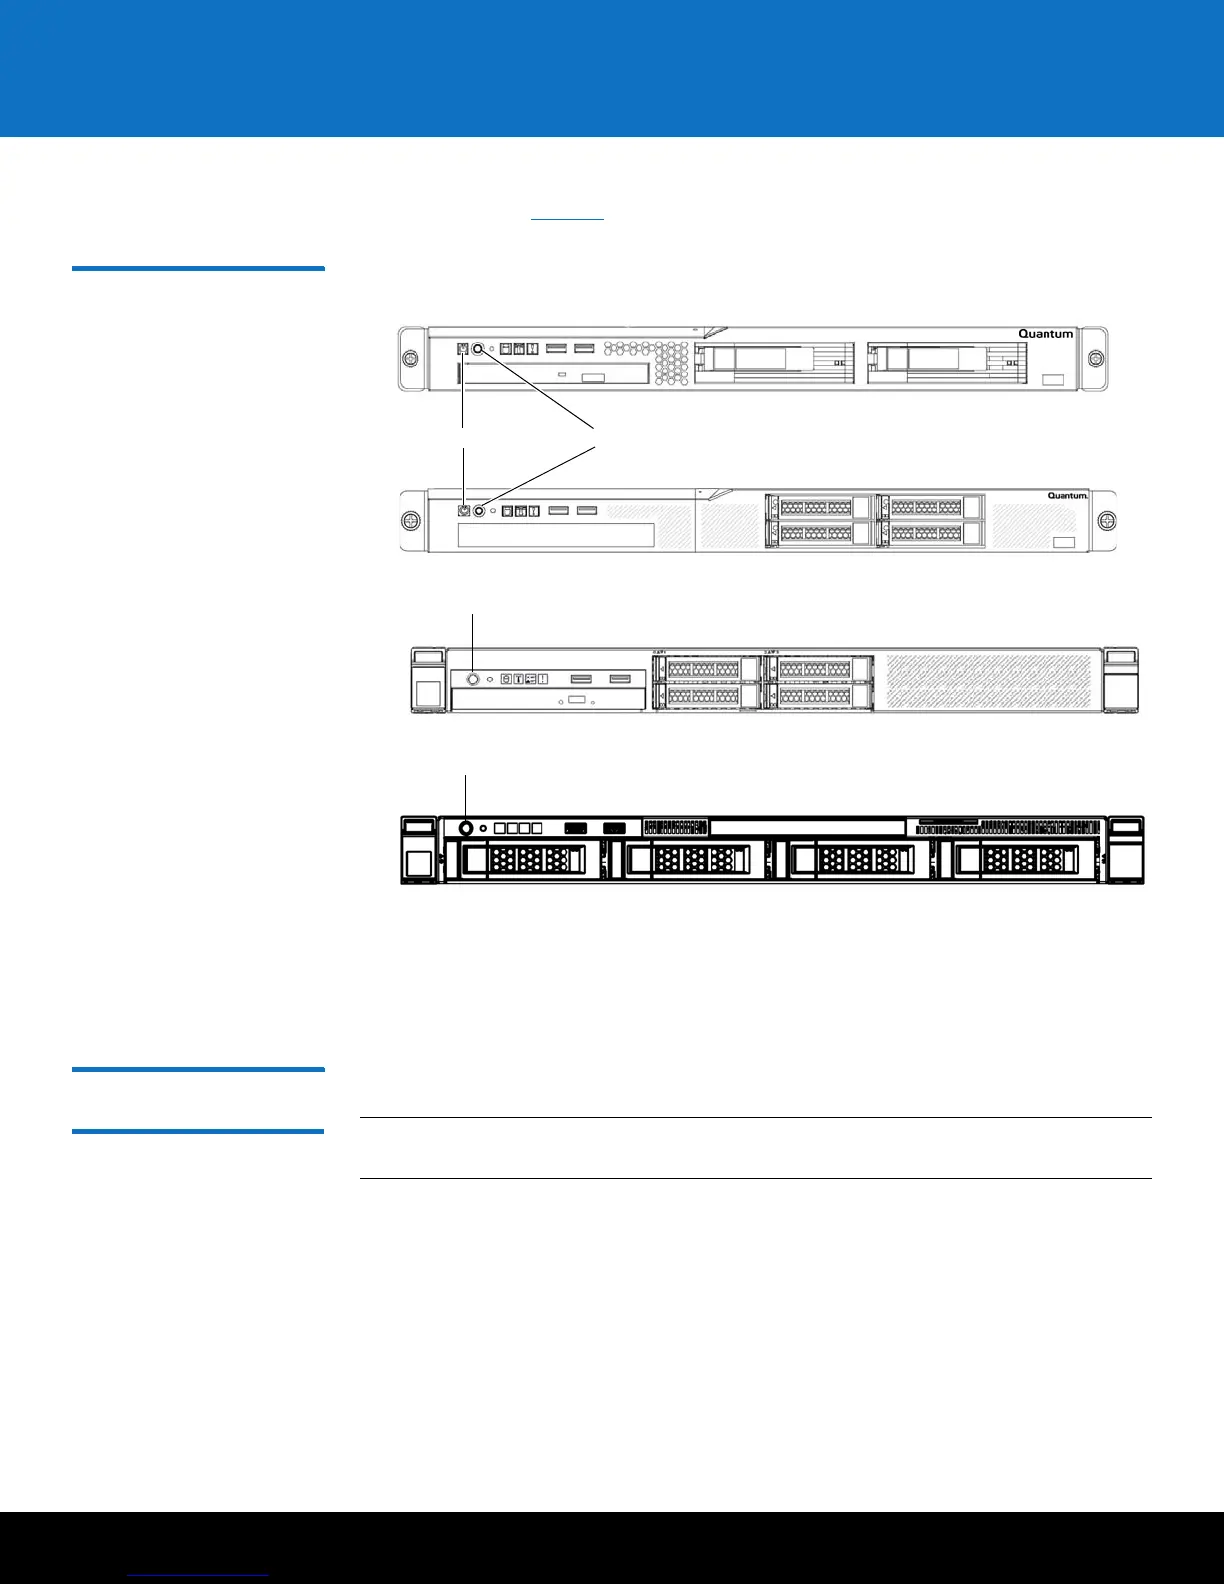
5 Power on the SKM appliance server by pressing the power button on the front of
the server (see
Figure 2).
Figure 2 Front Panel
6 Again, observe the power-on LED on the front panel. Wait until it is illuminated but
not blinking, indicating the server is powered on.
7 Wait about 3 minutes to allow the server to complete startup before you connect via
SSH in the next step.
Configuring the SKM
Appliance Servers
Follow the instructions below for both SKM appliance servers.
Note: Both SKM appliance servers must be configured, operational, and connected to
the network before any libraries can be set up to use them.
Configuration requires you to read and accept the end user license agreement, and then
complete a setup wizard to configure the following values. Before beginning, decide
what each value should be. (You can change these values in the future, if desired.)
• Password
• Time zone, date, and time
• IP address, netmask, and gateway
Allow 30 minutes per server to complete the configuration.
Power ButtonPower-on LED
M3 and earlier
M4 and later
Power Button and LED
M5
Power Button and LED
M6
 Loading...


