Quantum Scalar i40 and Scalar i80: Tape Drive Replacement
6-66561-02 Rev B
February 2014
4 Removing a Tape Drive from the Library
Removing a Tape Drive from the Library
Caution: Do not remove a tape drive that is currently performing an
operation.
1 Save the library configuration.
a From the Web client, select Tools > Save/Restore Configuration.
b Select Save System Configuration and Apply.
2 Make sure the tape drive you want to remove is empty of media. From the
Operator panel, select Actions > Tape Drive and select Unload.
3 Take the tape drive you want to remove offline.
a From the Operator panel, select Actions > Tape Drive, and select
Change Mode.
b Select the tape drive and press Modify.
c Press the Down button to select Offline, then press Apply.
4 Disconnect the cable from the back of the tape drive.
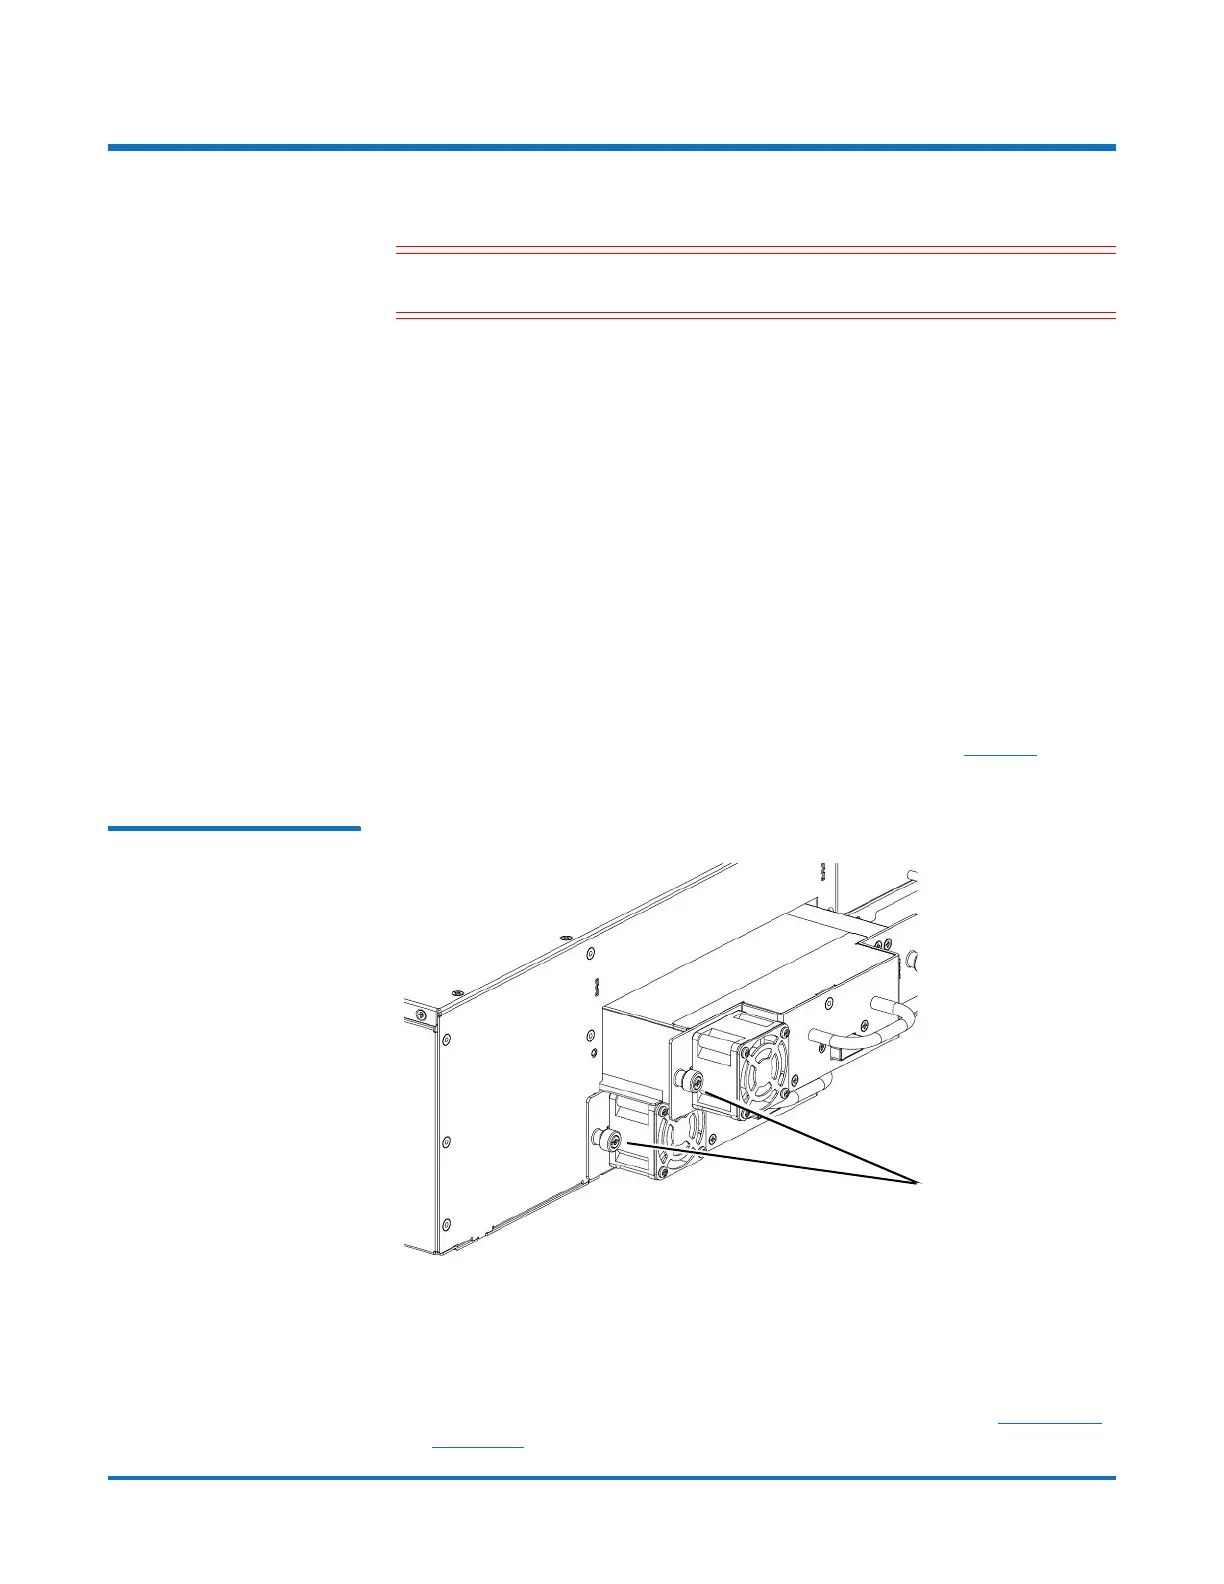
5 Unscrew the captive thumbscrews securing the drive sled to the back of the
library. Half-height tape drives have two thumbscrews (see
Figure 1). Full-
height tape drives have four thumbscrews.
Figure 1 Disk Drive
Thumbscrews
6 Using the handle, pull the drive sled out of the library. It should slide out
smoothly and easily.
Wait at least 10 seconds before installing a replacement tape drive to allow
the library to recognize that the tape drive has been removed.
7 Install a replacement tape drive following the instructions (see Installing a
Tape Drive on page 5). If any empty slots remain, install a filler plate in the
 Loading...


