The JDI's parallel speaker connection feature lets you do this by connecting the JDI directly to the speaker cabinet. It is
important to note that the JDI is NOT a load box; you must have a load such as a speaker connected to the amplier, as
connecting the JDI directly without a load could cause severe damage to the equipment.
Connect your amp as usual, then connect a ¼” to ¼” speaker cable from the second (parallel) speaker cabinet jack to the
JDI. Because of the high impedance and low draw from the JDI, the amp will only see the speaker cabinet, so you do not
have to change the amplier's impedance setting. Depressing BOTH the -15dB PAD switch and the SPEAKER switch
inserts a special circuit that will protect the JDI from overload and allow the parallel speaker connection to be made safely.
Depressing the SPEAKER switch also introduces a band-pass lter circuit that rolls off high and low frequencies to simulate
the performance of a typical 12" speaker cabinet.
Mechanical attributes
All Radial products display the results of our relentless pursuit of durability. Look inside a JDI and you will note that it is
literally two boxes in one. First, there is an internal heavy-duty welded 'I-beam' chassis which houses the circuit board.
Second, an external shell with a ‘book-end’ design protects the switches and jacks from the rigors of touring. Both boxes
are made from 14 gauge steel and protected by a heavy baked enamel nish that will look great even after years of service.
Inside, the mil-spec PC board is two-sided which means that all components are soldered twice. Furthermore, the two
piece enclosure is very rigid making it impossible to torque the PC board ensuring years of noise-free performance without
solder joint failure.
The JDI is also outtted with a full bottom no-slip pad for two important reasons: it provides plenty of ‘stay-put’ friction on
hectic stages to keep your DI from sliding around or falling when stacked. It also works as an electrical isolator when placed
on or around guitar amps – many amp heads have handles or hardware which is sometimes connected to the amp's chassis
or circuit. The isolation pad helps minimize the possibility of shock hazards, especially with older ampliers.
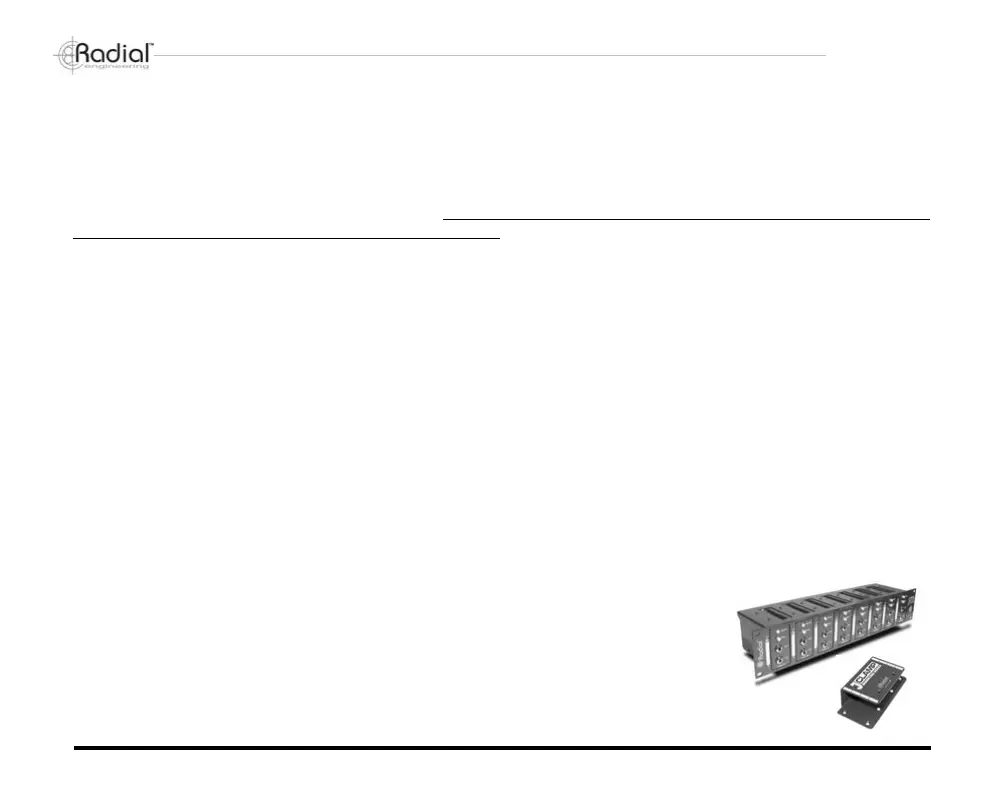
J-Rak and J-Clamp optional mounting kits
The J-Rak is an innovative rack shelf/chassis that lets you rack-mount up to eight Radial
JDI's, J48's or the other similarly sized Radial J-Class products into a high-density 2-RU
space. Each unit can be front or rear mounted allowing the system designer to have the
XLR's on the front or rear of the rack, depending on the application. The J-Clamp is a
mounting adapter that allows any of the Radial J-Class products to be permanently mounted
in locations such as in podiums, under board room tables and inside amplier and effect
racks. Features a heavy-duty steel shell with built in mounting ange and user-writable tabs.
Radial Engineering JDI
™
User Guide
10
True to the Music
 Loading...