8 Rotary Drive - Installation Guide
2. Mounting the drive
Mounting the drive involves four main steps:
• securing the drive to the boat
• connecting the drive to the steering system
• ensuring correct sprocket alignment and chain tension
• completing a steering check
Securing the drive
Mounting location
Before you secure the drive to your boat, you must first check the
suitability of the mounting location.
CAUTION:
Consult the boat manufacturer if you have any doubt about the
strength or suitability of the mounting location.
• Structural strength:
• This drive produces a considerable amount of force, so you
must mount it on a solid structure (i.e. a substantial frame
member) in the boat. In some cases you may need to build a
special frame to mount the drive unit.
• To prevent excess noise and vibration, do not attach this drive
to any structures that support cabins.
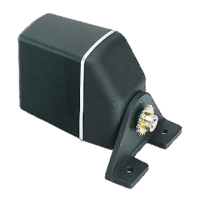
• Drive orientation:
• The drive can be mounted on a vertical or horizontal surface.
• If necessary, you can rotate the mounting foot through 90
degrees to provide a more convenient mounting position (as
shown in Figure 7). To do this: remove the four screws
securing the mounting foot to the drive unit, rotate the
mounting foot, then replace the screws.
• Additionally, the drive may face either way as you can correct
the steering direction by reversing the polarity of the motor
connections at the course computer (see Figure 8).
• General position:
• Refer to the EMC installation guidelines (page 6)
• Make sure the drive will be accessible for future servicing.
 Loading...