English
10
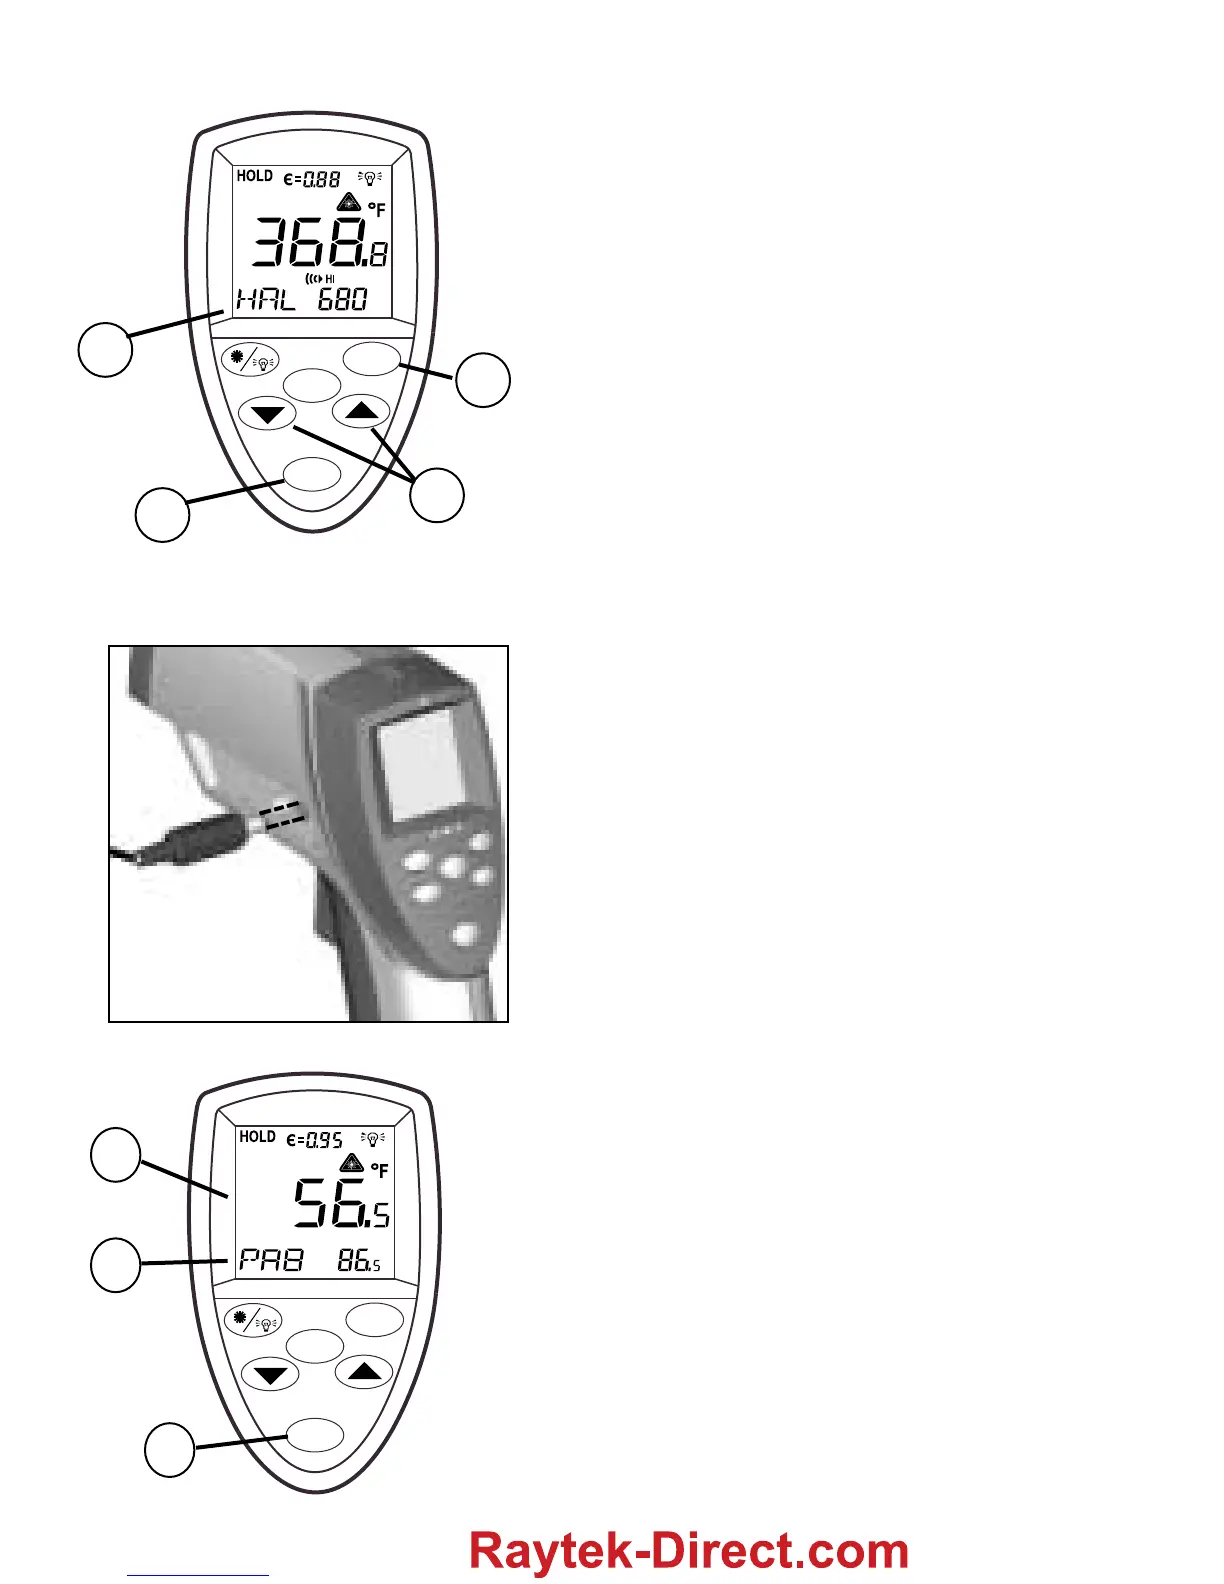
Setting the High Alarm, Low
Alarm, and Emissivity
To set values for the High Alarm (HAL), Low
Alarm (LAL), and emissivity, pull the trigger
or press the MODE button (3) to activate the
display. Press the MODE button until the
appropriate code appears in the lower left
corner of the display (E). Use the up and
down keys (2) to adjust the desired values.
To activate the alarms, press SET (1). To
deactivate the alarms, press SET again.
Using a Probe (PRB)
Connect the probe to the input on the side of
the unit (as shown). PRB automatically
appears in the lower left corner of the display
(E, below). The probe temperature is shown
in the lower right part of the display. The cur-
rent infrared temperature continues to show
in the center of the display (F). While the
probe is connected, you may still cycle
through the mode functions by pressing
MODE (3).
Note: PRB is only available in the MODE
loop when a probe is connected to the unit;
the probe temperature will not activate the
high alarm or low alarm.
 Loading...