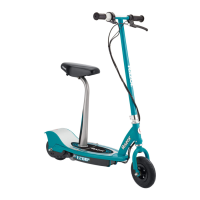
2 Using two (2) 16 mm wrenches, loosen the locknuts by turning the wrenches counter clockwise.
Remove wheel and install replacement wheel. (Note sequence of hardware.)
3 Reassemble, adjust and tighten brake cable. Verify proper brake function prior to riding the scooter.
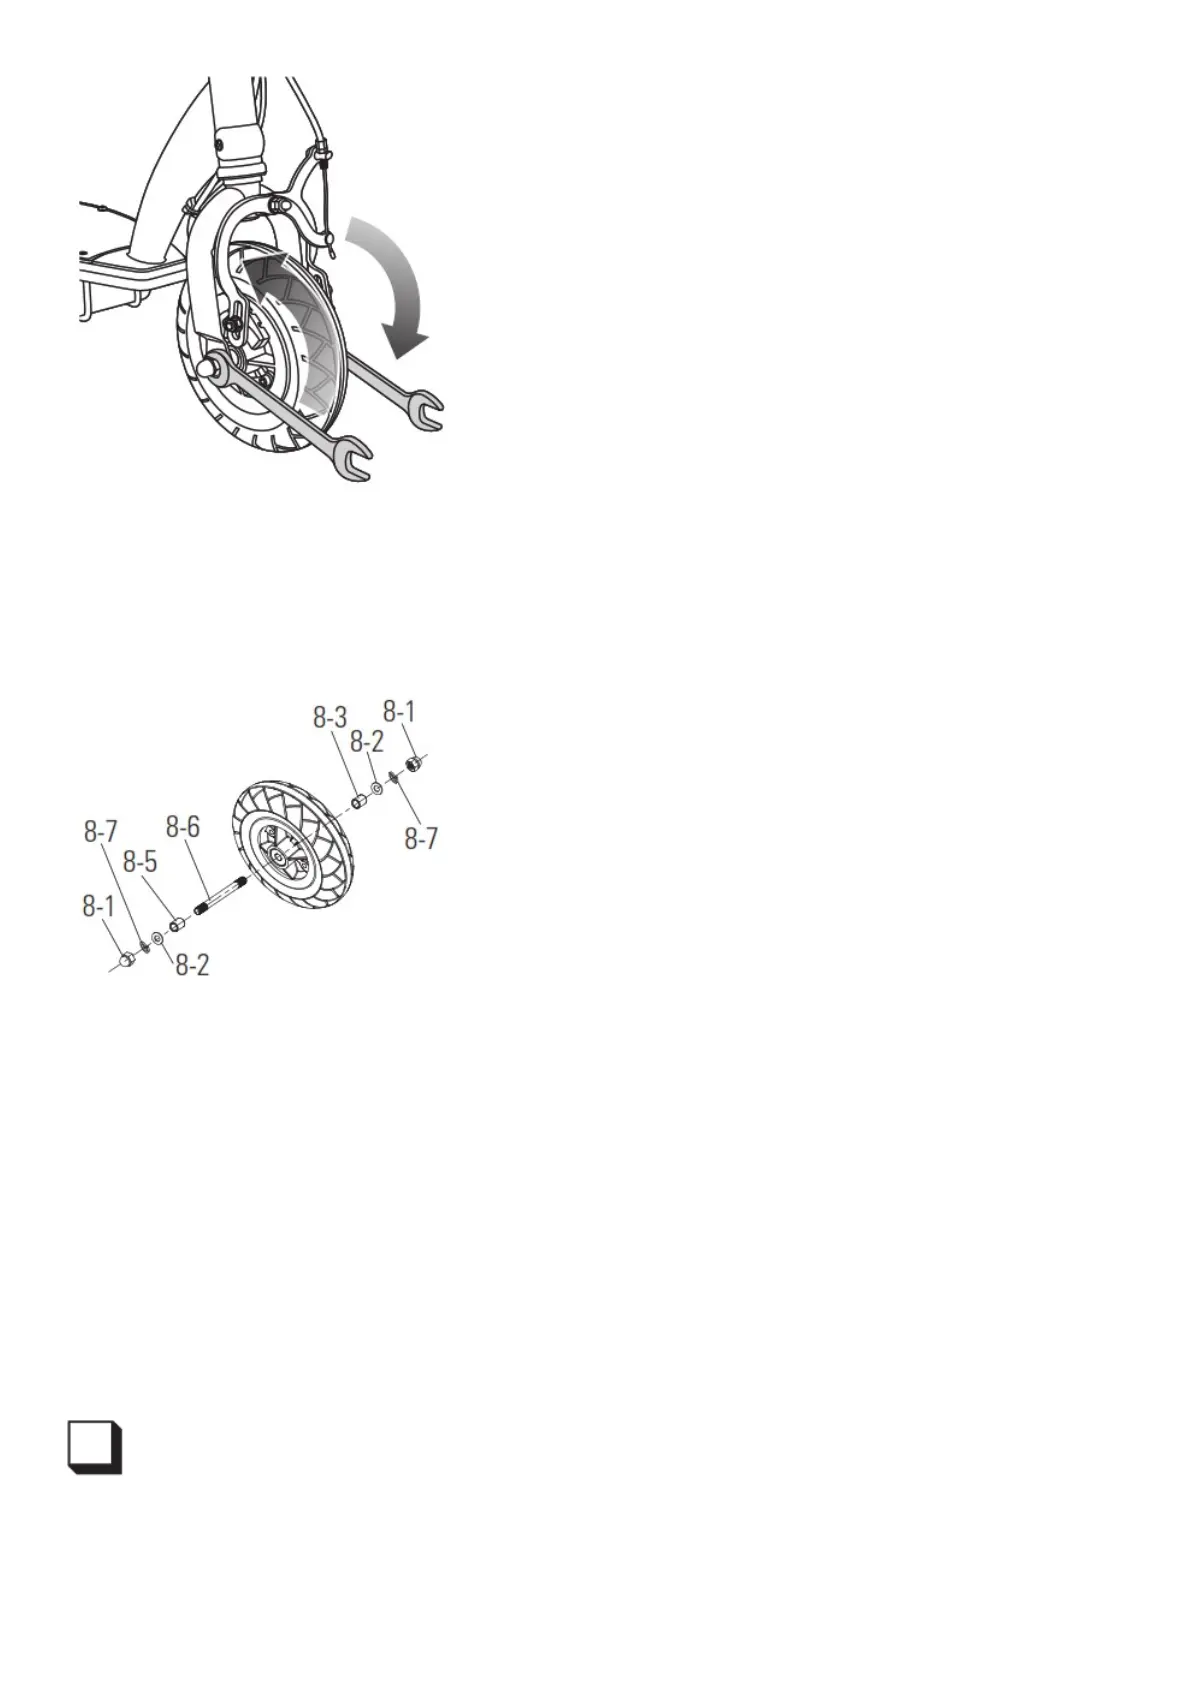
Note: Front wheel hardware sequence
Right Side (Throttle)
8-3 Spacer
8-2 Washer
Fork
8-7 Spring Washer
8-1 16 mm Locknut
Middle
8-6 Front Axle Bolt
Left Side (Brake)
8-5 Spacer
8-2 Washer
Fork
8-7 Spring Washer
8-1 16 mm Locknut
Replacing the Chain and Rear Wheel
Tools Required: Phillips Screwdriver and Two (2) 13 mm Wrenches.
1 Using a Phillips screwdriver, loosen the two (2) screws on the chain guard and remove.
 Loading...