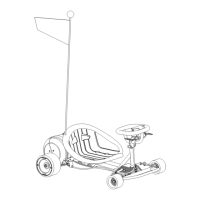
7
A
A
B
B
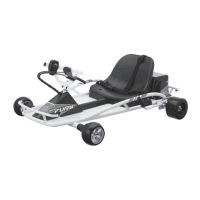
REPAIR AND MAINTENANCE
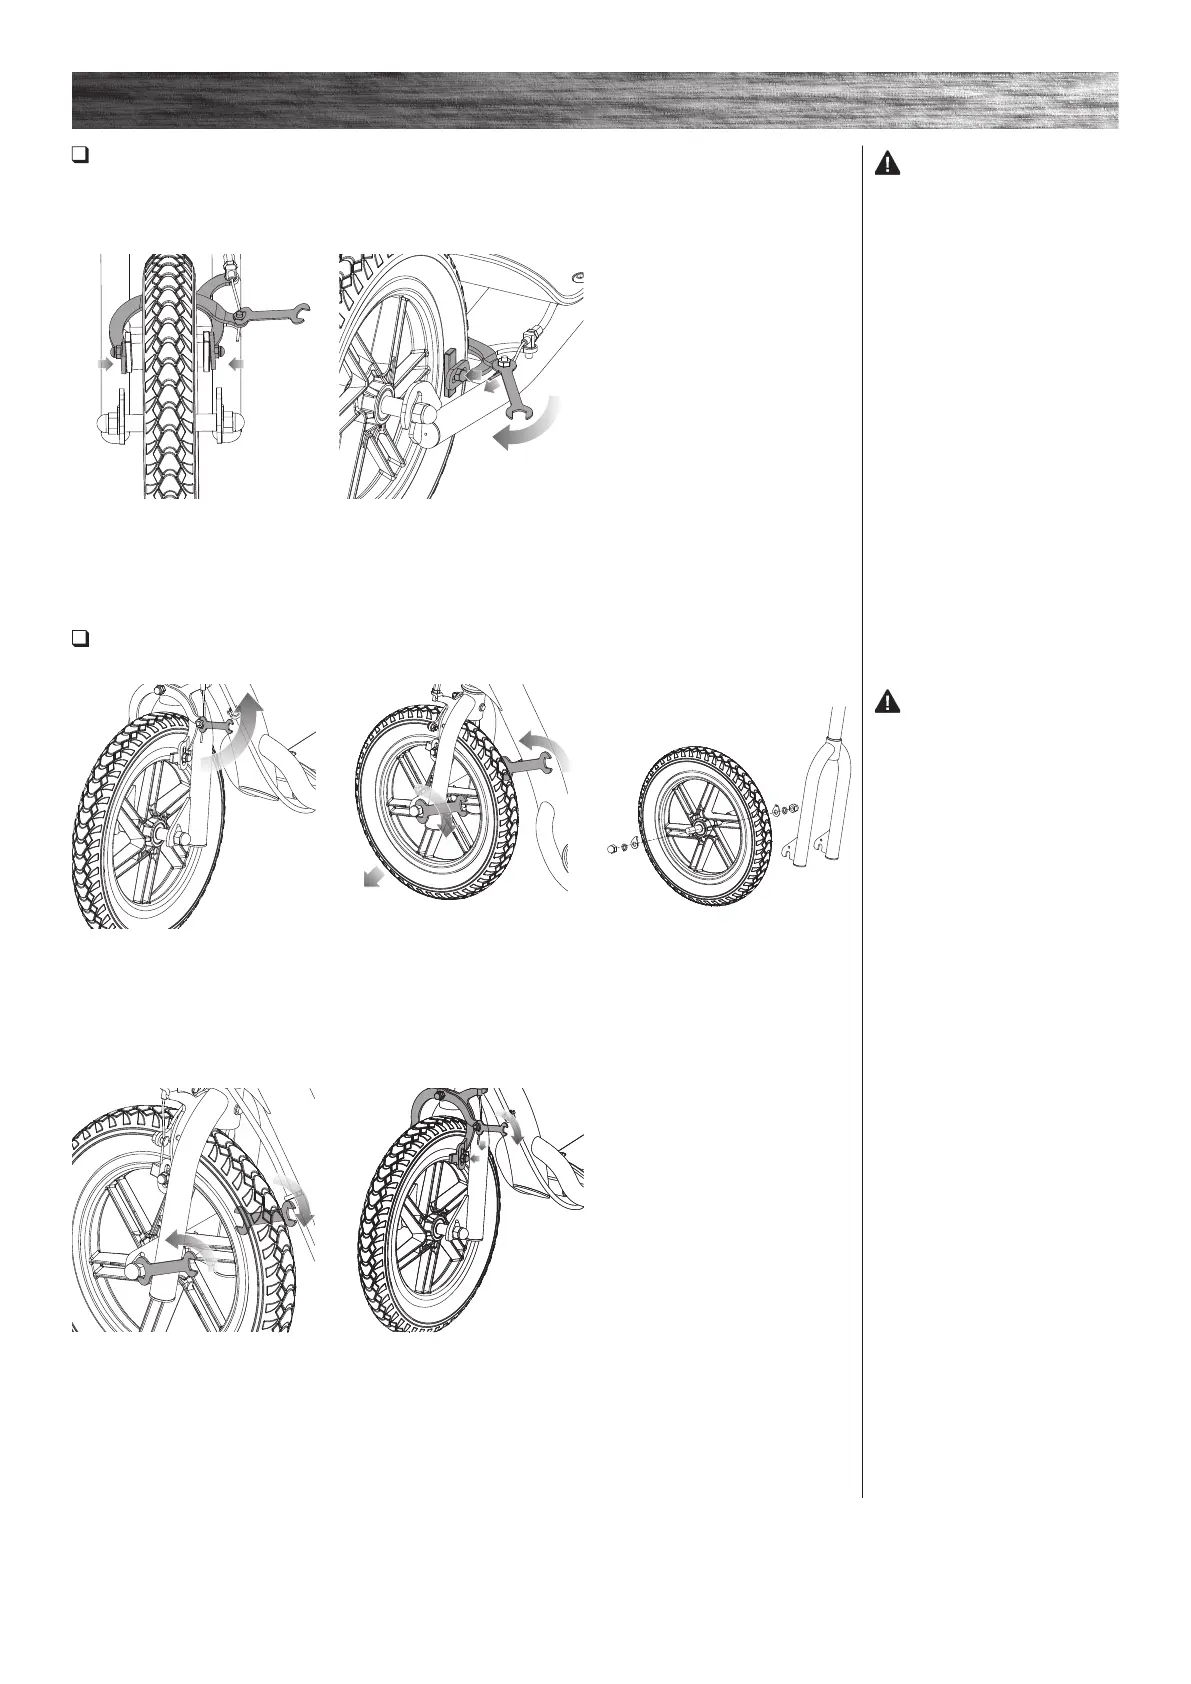
Adjusting the Rear Brake
Required Tool: 10 mm Wrench (included)
The brake lever is fitted with a cable adjuster to compensate for cable stretch and/or to fine tune the lever movement
to brake engagement.
1 Loosen the clamp brake nut with
a 10 mm wrench and press both
sides of the clamp brake inward to
the position close to the hub.
2 Keep both sides of the clamp
motionless while pulling the brake
cable back. Tighten the nut with a
10 mm wrench.
Replacing the Front Wheel
Required Tools: 10 mm Wrench and Two (2) 16 mm Wrenches (included)
1 Loosen the brake clamp nut with
a 10 mm wrench.
4 Tighten the axle nuts using
two (2) 16 mm wrenches.
2 Remove axle nuts from the
axle bolt using two (2) 16 mm
wrenches and remove the wheel.
5 Press both sides of the brake
clamp inward until it is close to the
wheel hub. Keep both sides of the
clamp motionless while pulling the
brake cable down. Tighten the nut
with a 10 mm wrench.
3 Insert the replacement wheel
into the front fork and insert the
tab on the washers (A) into the
holes (B) on the front fork. Safety
washers should be on the outside of
the fork facing the tire.
WARNING: The rear brake
is capable of skidding the rear tire
and throwing an unsuspecting rider.
Practice in an open area free from
obstacles until you are familiar with
the brake function. Avoid skidding to
a stop as this can cause you to lose
control and/or damage the rear tire.
WARNING: Failure to
properly install the front wheel
may cause the rider to lose control
and fall. If you are having difficulty
understanding these instructions,
please contact Razor Customer
Service for assistance.
 Loading...