5 mm
4 mm
3
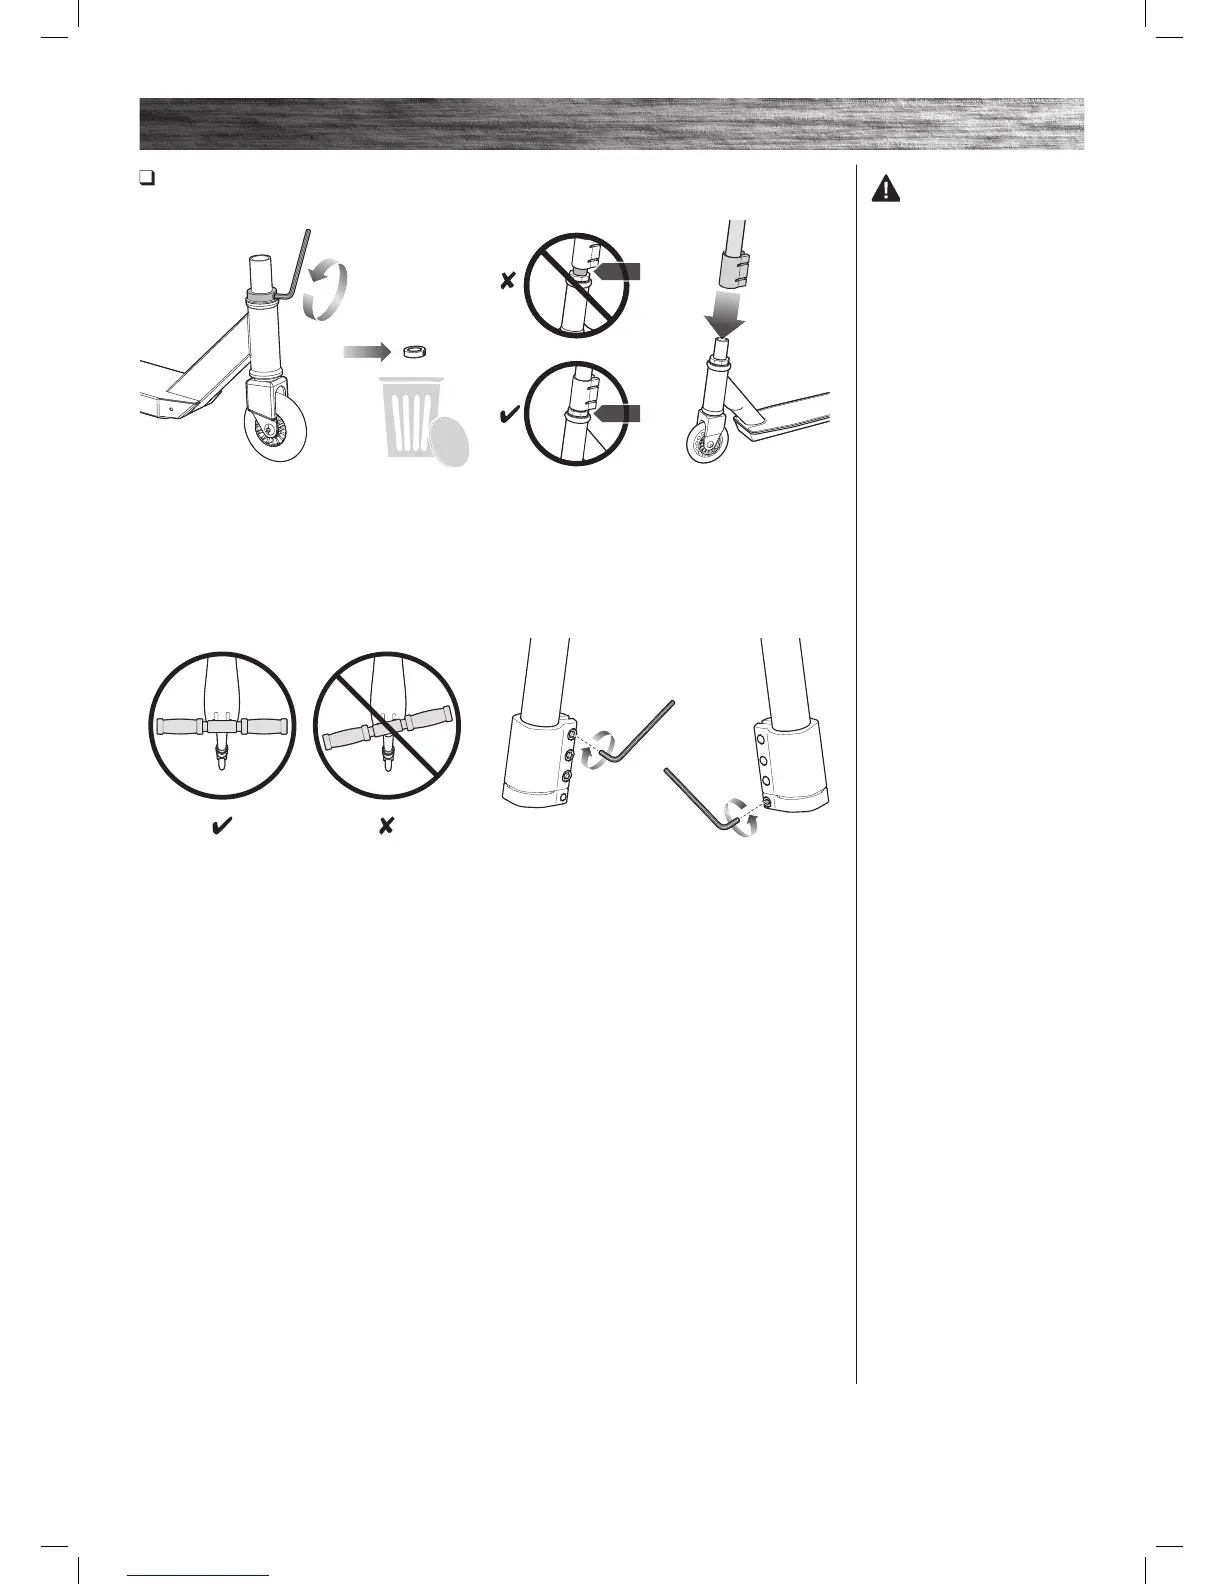
3 Point the front wheel straight ahead, square the
handlebars to the front wheel and face the Razor logo
to the front.
4 Tighten the clamp as shown. Alternately tighten each
bolt until the clamp is tightened securely.
1 (ULTRA PRO only)
Using a 4 mm Allen wrench, loosen the bolt on the
plastic retainer. Remove and discard. Note: Hold the
front fork to prevent the fork from sliding out of the
down tube.
2 Loosen the collar clamp and slide it upward.
Insert T-bar onto the fork until it bottoms out on the
headset locknut. Note: If necessary, carefully twist the
T-bar side to side while pushing downward until T-bar
bottoms out on the headset locknut.
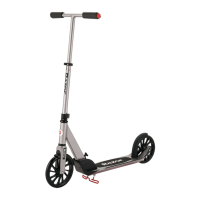
ASSEMBLY INSTRUCTIONS
Attaching the T-bar
Tool Required: 4 mm Allen Wrench (Ultra Pro Only), 5 mm Allen Wrench
WARNING: Failure to
properly install and tighten the
collar clamp may cause the rider
to lose control and fall. If you do
not understand these instructions,
please contact Razor customer
care for assistance.
(Ultra Pro Only)
 Loading...