7
for assembly, it will assure the Scream Machine is properly put together
and adjusted.
ASSEMBLY NOTE: Refer to the list of tools required for assembly
on page three of this manual. If you do not have the proper tools or
understanding of the instructions in this manual, take your bike to a
qualified mechanic for assembly, service or adjustments.
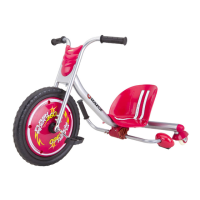
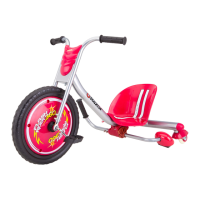
6A. Un-box. Remove contents from box. Remove the cardboard and/or
plastic separators that protect the various component from damage
during shipping. Inspect the contents of the box for scratches in the
paint, dents or kinked cables that may have occurred during shipping.
Your Scream Machine was partially assembled and packed at the
factory to prevent shipping damage and there should not be any
problems, even if the box has a few scars or dents. But if there are,
contact your retailer to resolve any of these issues.
Figure 2.
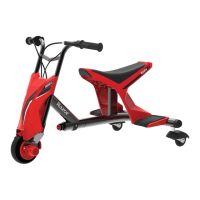
6B. Install the rear wheels.
Installing the rear wheels on the Scream requires the use an 6mm allen
key and the special open-end wrench for the locking nut. The axle
consists of two parts: the axle bolt and the lock nut. These are
preinstalled on the wheels.
 Loading...