28. After installation has completed it will be necessary to restart DS-5. In the dialog click ‘Restart Now’.
29. Once DS-5 has restarted, go to the ‘Help’ menu and select ‘Integrate Toolchain’.
30. In the ‘Preferences’ dialog, under ‘C/C++ -> Renesas -> Renesas Toolchain Management’, ensure the tick-box is
checked, then click ‘OK’.
5. Programming and Debug
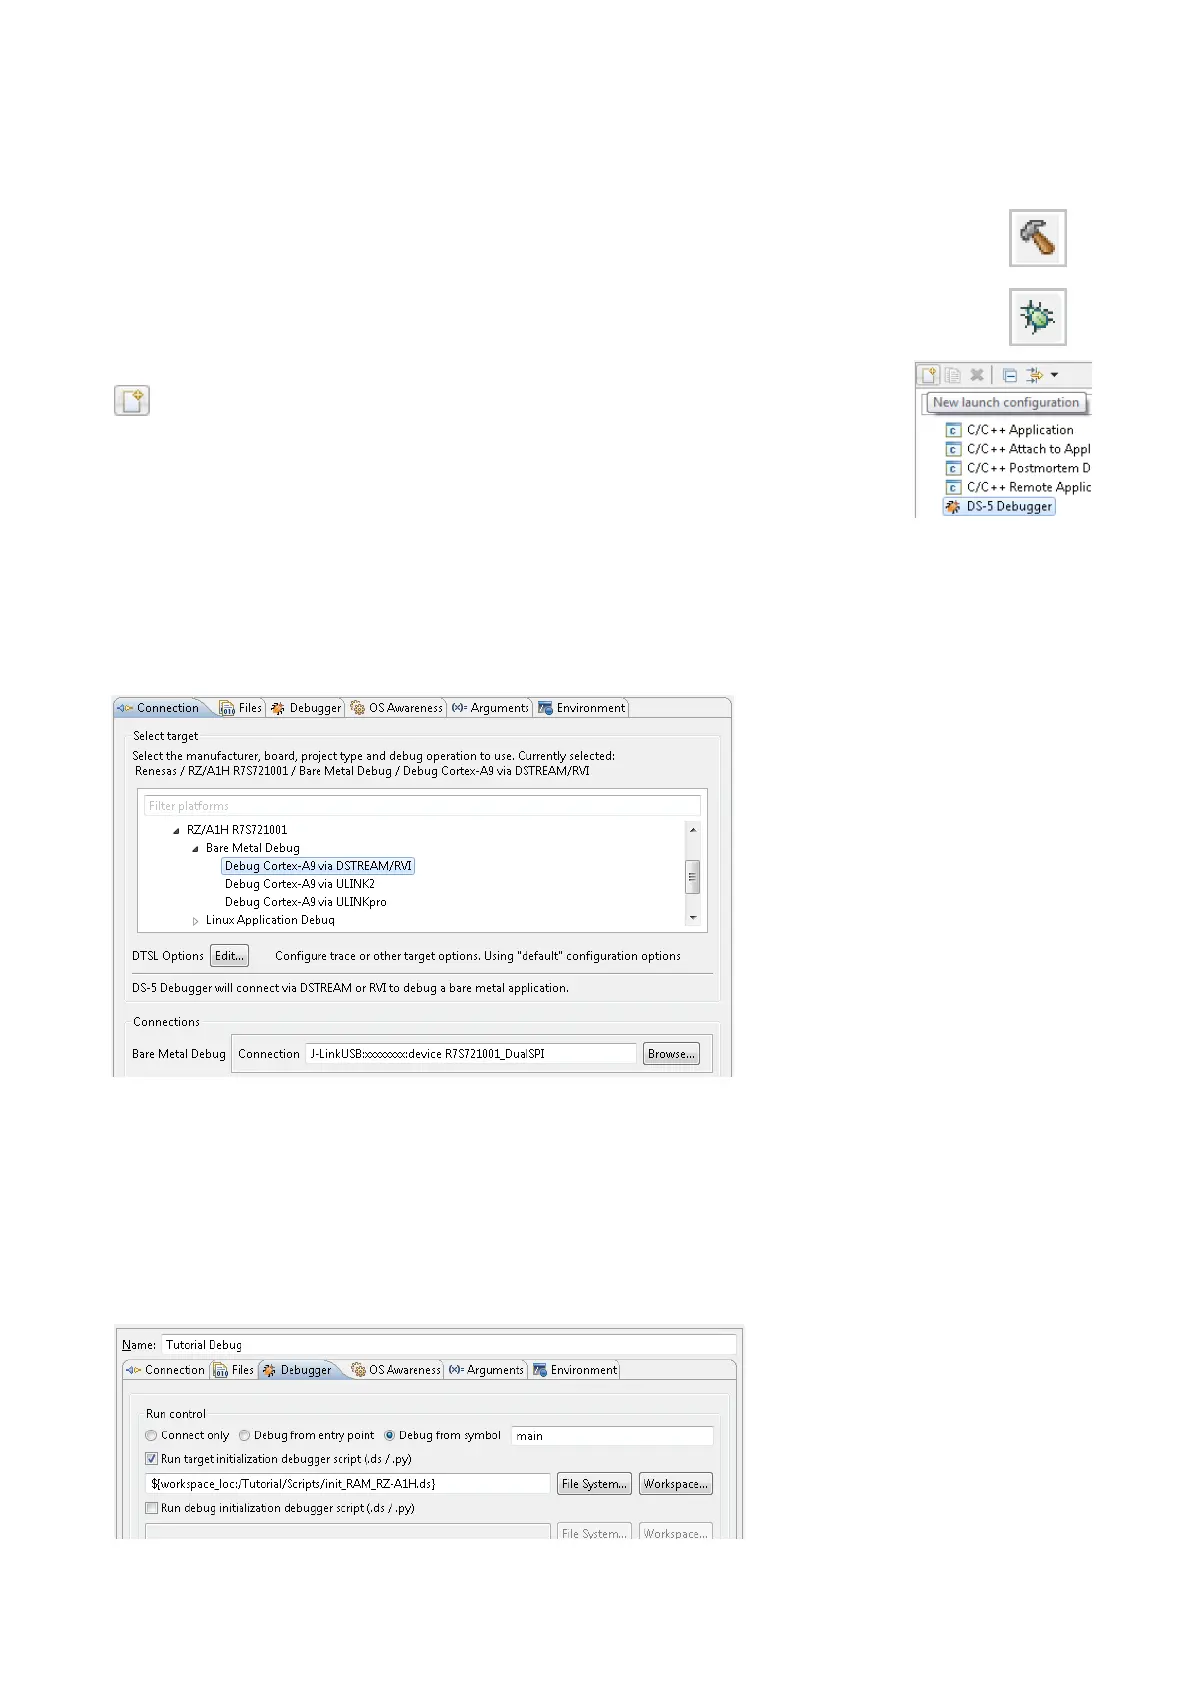
31. Left-click the Tutorial project to select it, then click the arrow next to the build button (hammer icon),
and select ‘Debug’ from the drop down menu.
32. DS-5 will now build the project. Once this is complete, debugging can be started by clicking the
arrow next to the debug button (bug icon), and selecting ‘Debug Configurations…’.
33. Select the ‘DS-5 Debugger’ icon in the left pane and click the ‘New launch configuration’
button.
34. The debug configurations control page will then be created. In the ‘Connection’ tab,
rename the configuration ‘Tutorial Debug’.
35. In the ‘Select Target’ tree control, ensure that ‘Renesas -> RZ/A1H R7S721001 -> Bare
Metal Debug -> Debug Cortex-A9 via DSTREAM/RVI’ is selected.
36. In ‘Connections’, click the ‘Browse…’ button.
37. A firewall warning may be displayed for ‘eclipse.exe'. Check the 'Private networks, such as my home or work
network' box and click 'Allow access'.
38. In the ‘Select Debug Hardware’ dialog, select ‘J-LinkUSB:xxxxxxxx’. Click OK.
39. In the ‘Connection’ tab click ‘Apply’, then review the settings listed in the screenshot below.
40. Append “:device R7S721001_DualSPI” to the connection serial number string as shown above.
41. Select the ‘Files’ tab. Under ‘Target Configuration -> Application on host to download’, click the ‘Workspace’ button.
Browse to ‘RZ_A1H_Tutorial_RSK -> Debug -> RZ_A1H_Tutorial_RSK.x' and click OK.
42. Click ‘Apply’ to save the changes, then select the ‘Debugger’ tab.
43. In the ‘Debugger’ tab, under ‘Run control’, ensure that ‘Debug from symbol main’ is selected.
44. Select the ‘Run target initialization debugger script (.ds/ py)’ tick box and click ‘Workspace’. In the ‘Open’ dialog,
browse to ‘RZ_A1H_Tutorial_RSK -> scripts -> init_RAM_RZ-A1H.ds' and click OK.
45. In the ‘Debugger’ tab, click ‘Apply’ to save the changes, then review the settings listed in the screenshot below
Note: Untick the ‘Run target…’ option when downloading the Release application file.
46. Click the ‘Debug’ button to download the code to the target, and begin debugging.
 Loading...