EasyManuals Logo
Home>Reolink>Security Camera>Argus Eco

Reolink Argus Eco User Manual

Reolink Argus Eco
115 pages
To Next Page IconTo Next Page
To Previous Page IconTo Previous Page
Page #12 background imageLoading...
Page #12 background image
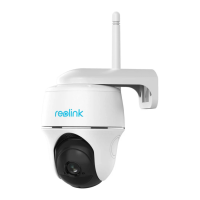
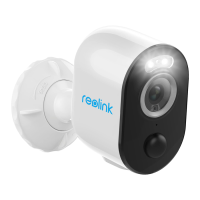
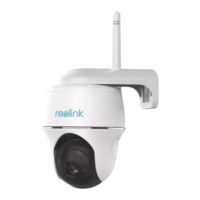
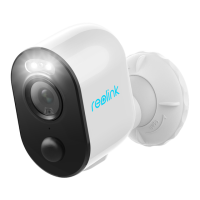
Reolink Wireless Battery-powered Camera
11
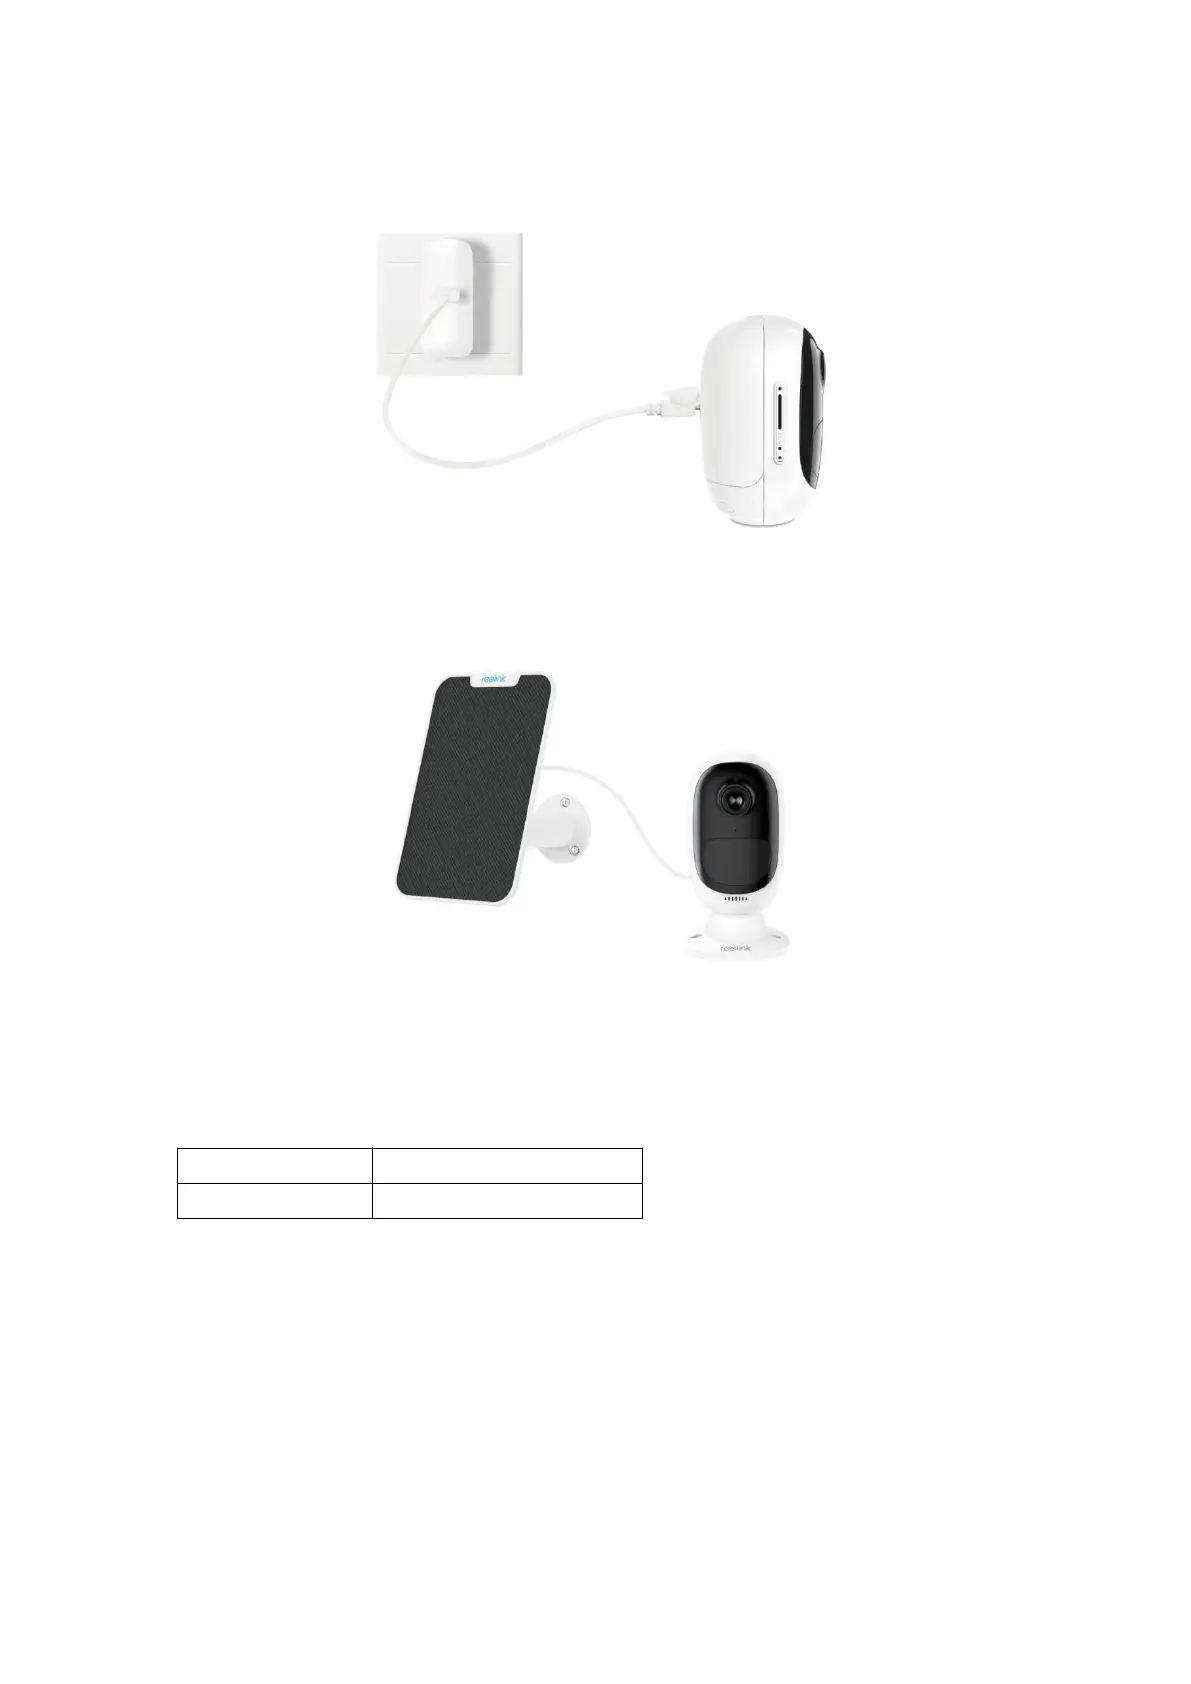
Method 2: Directly connect the camera with the USB adapter via a USB cable and
plug it into the electrical outlet for charging & working.
Method 3: Charge the camera with Reolink Solar Panel (needs to be purchased
separately).
Note:
There is only one battery with each camera, but you can purchase more
at reolink.com or Reolink Amazon official stores.
There is a status LED under the micro USB port of the battery, which indicates the
battery charging status.
Set up the Camera on the App
Please follow the steps below to do initial setup for the battery-powered cameras
via Reolink App.
Step 1. Power on the camera and wait for it starting up. After hearing a startup
sound, you will hear repeated Ding sounds or "Please run Reolink App, add the
camera and set it up", which means you can scan the UID and start the setup
process.
Green LED
Fully charged
Orange LED
Charging

Other manuals for Reolink Argus Eco

Questions and Answers:

Question and Answer IconNeed help?

Do you have a question about the Reolink Argus Eco and is the answer not in the manual?

Reolink Argus Eco Specifications

Video IconVideo
video resolution1080p HD at 15 frames/sec
field of view100° diagonal
night vision range10 m (33 ft)
PIR Detection & Alerts IconPIR Detection & Alerts
PIR detection distanceup to 10 m (33 ft)
PIR detection angle100° horizontal
audio alertcustomized voice-recordable alerts
General IconGeneral
operating temperature range-10°C to 55°C (14°F to 131°F)
weather resistanceIP65 certified weatherproof
size71 x 186 mm
Weight and Dimensions IconWeight and Dimensions
weight320 g (11.2 oz)
operating frequency2412MHz—2472MHz
maximum transmitted power18 dBm

Related product manuals