11 12
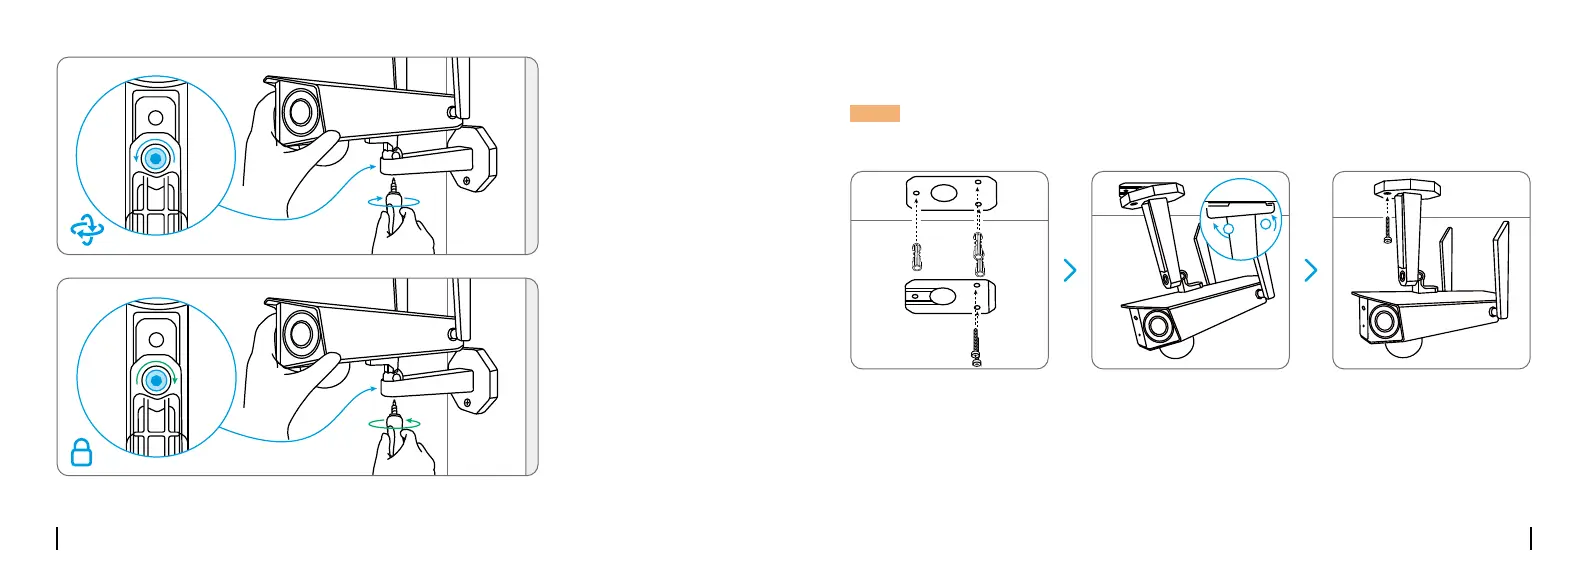
Togetthebesteld
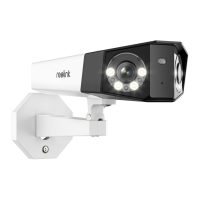
of view, loosen the
adjustment screw on
security mount and
turn the camera.
Stientheadjustment
screw to lock the
camera.
You haven't added any device. Please click
the"+"button in the top right corner to add
You haven't added any device. Please click
the"+"button in the top right corner to add
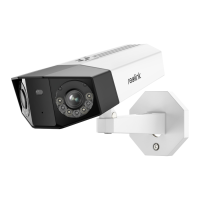
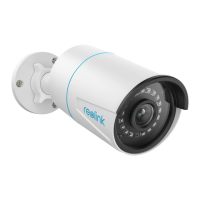
Mount the Camera to Ceiling
Drillholesinaccordancewiththemountingtemplate,Securethemountingplatetothewall
withtheuppertwoscrewsandhangthecameraonit.Thenlockthecamerainposition
withthelowerscrew.
You haven't added any device. Please click
the"+"button in the top right corner to add
You haven't added any device. Please click
the"+"button in the top right corner to add
You haven't added any device. Please click
the"+"button in the top right corner to add
NOTE: The camera can’t be adjusted horizontally when ceiling mounted. Please adjust the
cameraanglebeforexingit.
 Loading...