9 10
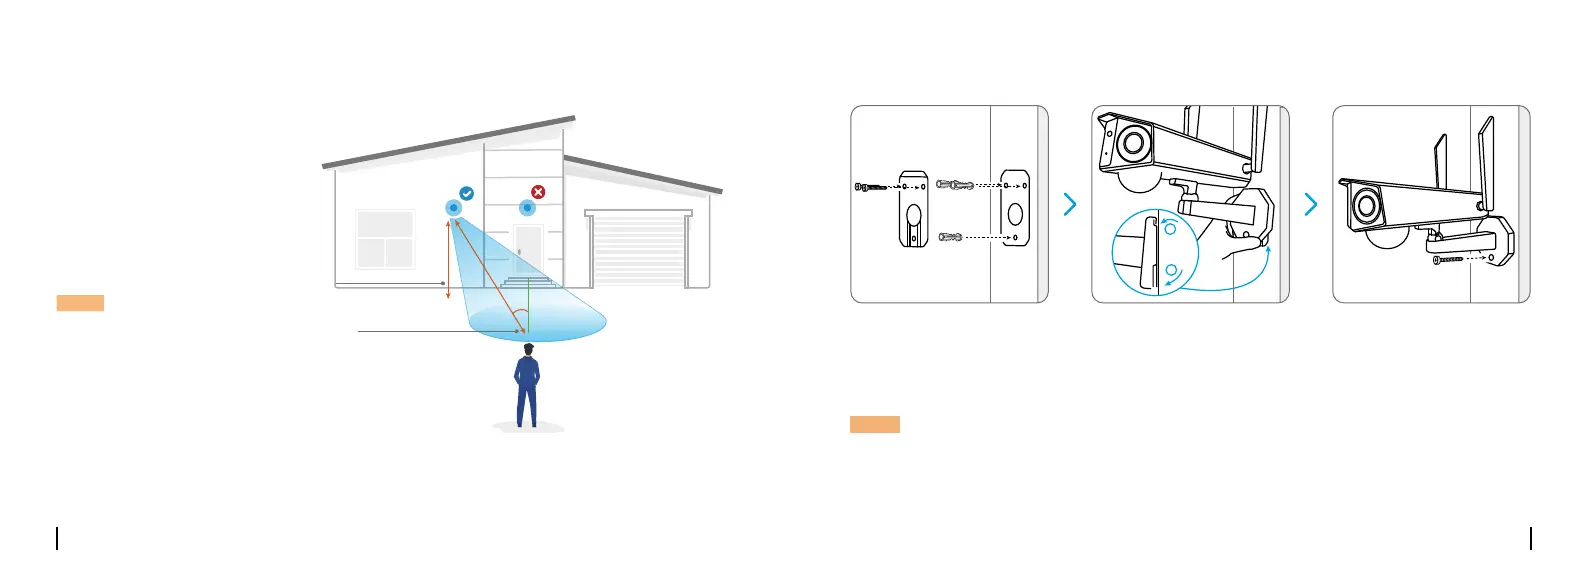
Drillholesinaccordancewiththemountingtemplate.Securethemountingplatetothewall
withtheuppertwoscrewsandhangthecameraonit.Thenlockthecamerainposition
withthelowerscrew.
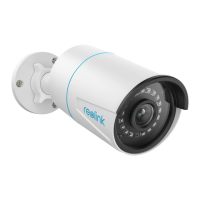
Mount the Camera to the Wall
NOTE: Use the drywall anchors inclued in the package if needed.
You haven't added any device. Please click
the"+"button in the top right corner to add
You haven't added any device. Please click
the"+"button in the top right corner to add
You haven't added any device. Please click
the"+"button in the top right corner to add
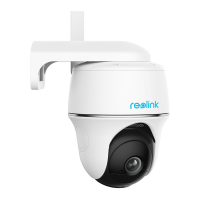
Install the Camera
• Install the camera 2-3 meters
(7-10 ft) above the ground. This
height maximizes the detection
range of the PIR motion sensor.
• For better motion detection
performance, please install the
camera angularly.
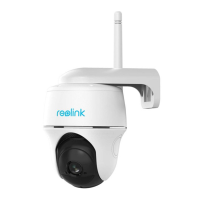
NOTE: If a moving object
approaches the PIR sensor
vertically, the camera may fail
to detect motion.
You haven't added any device. Please click
the"+"button in the top right corner to add
θ
Mounting Height:
2-3 Meters
PIR Detection Distance:
2-10 Meters
 Loading...