7 8
VGAHDMIUSB
AUDIO
OUT
DC 48V
ON
2 4 6 8
1 3 5 7
OFF
LAN
eSATA
2
1
TF
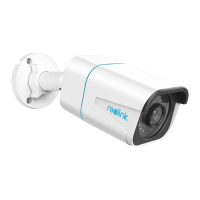
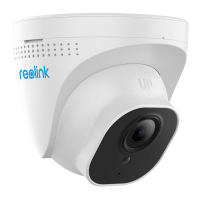
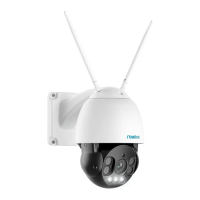
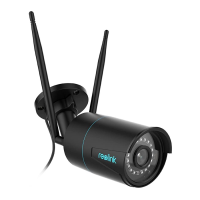
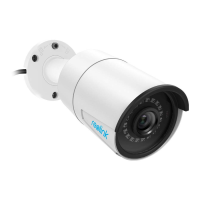
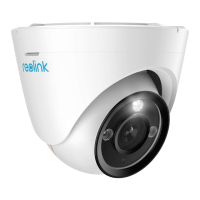
Install the Camera
VGAHDMIUSB
AUDIO
OUT
DC 48V
ON
2 4 6 8
1 3 5 7
OFF
LAN
eSATA
2
1
TF
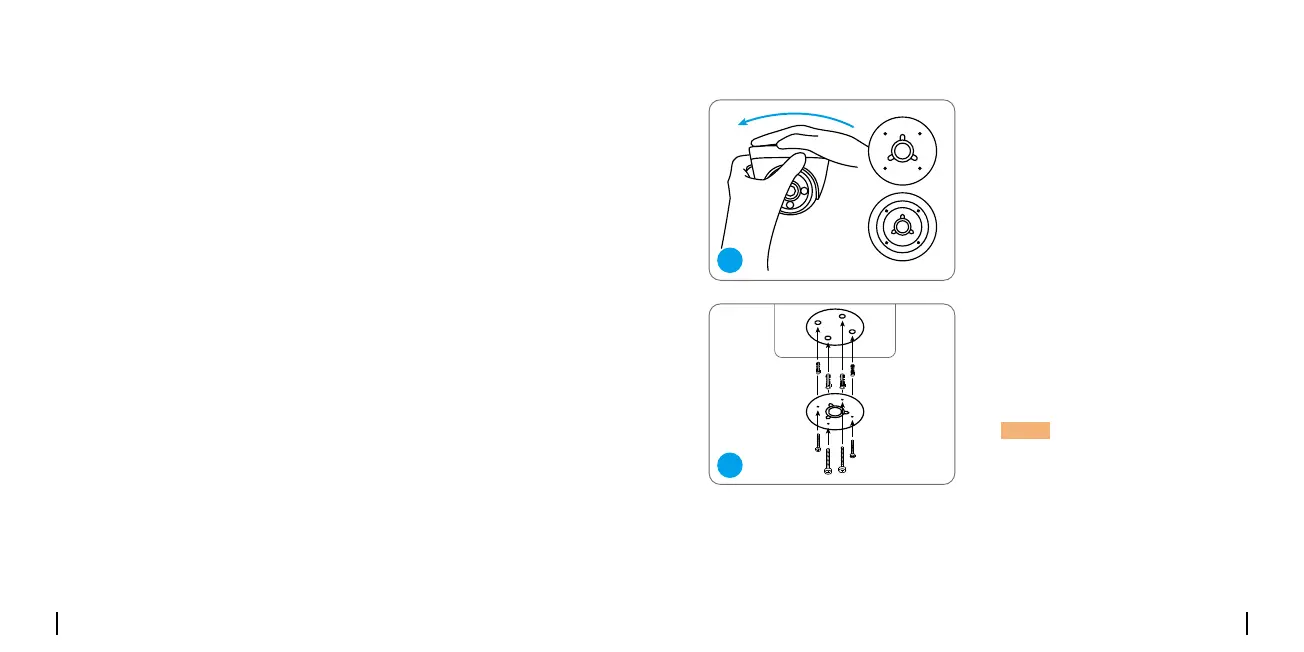
Hold and press on the camera top
and turn anticlockwise to separate
mountingplatefromthecamera.
Drill holes according to the
mounting hole template and
screw the mounting plate to the
mountingholesontheceiling.
NOTE: Usethedrywallanchors
includedinthepackageifneeded.
2
1
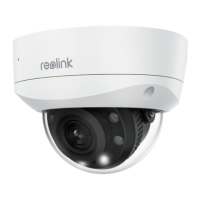
Mount the Camera
•Donotfacethecameratowardsanylightsources.
•Donotpointthecameratowardsaglasswindow.Or,itmayresultin
poorimagequalitybecauseofthewindowglarebyspotlights,
ambientlightsorstatuslights.
• Do not place the camera in a shaded area and point it towards a
well-litarea.Or,itmayresultinpoorimagequality.Toensurebestimage
quality,thelightingconditionforboththecameraandthecaptureobject
shallbethesame.
•Toensurebetterimagequality,it’srecommendedtocleanthelenswith
asoftclothfromtimetotime.
•Makesurethepowerportsarenotdirectlyexposedtowateror
moistureandnotblockedbydirtorotherelements.
•WithIPwaterproofratings,thecameracanworkproperlyunder
conditionslikerainandsnow.However,itdoesn'tmeanthecameracan
workunderwater.
• Do not install the camera at places where rain and snow can hit the lens
directly.
•Thecameramayworkinextremecoldconditionsaslowas-25°C.
Becausewhenitispoweredon,thecamerawillproduceheat.Youmay
poweronthecameraindoorsforafewminutesbeforeinstallingit
outdoors.
Installation Tips
 Loading...