English English11 12
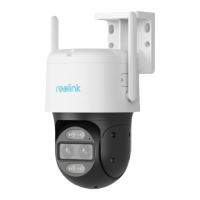
Step 2 Launch the Reolink App, click the “ ” button in the top right
corner to add the camera. Scan the QR code on the device and follow
the onscreen instructions to nish initial setup.
Step 1 Download and install the Reolink Client: Go to https://reolink.com >
Support > App & Client.
Step 2 Launch the Reolink Client, click the “ ” button, input the UID code
of the camera to add it and follow the onscreen instructions to nish
initial setup.
Set up the Camera on PC (Optional)
You haven't added any device. Please click
the"+"button in the top right corner to add
1
2
3
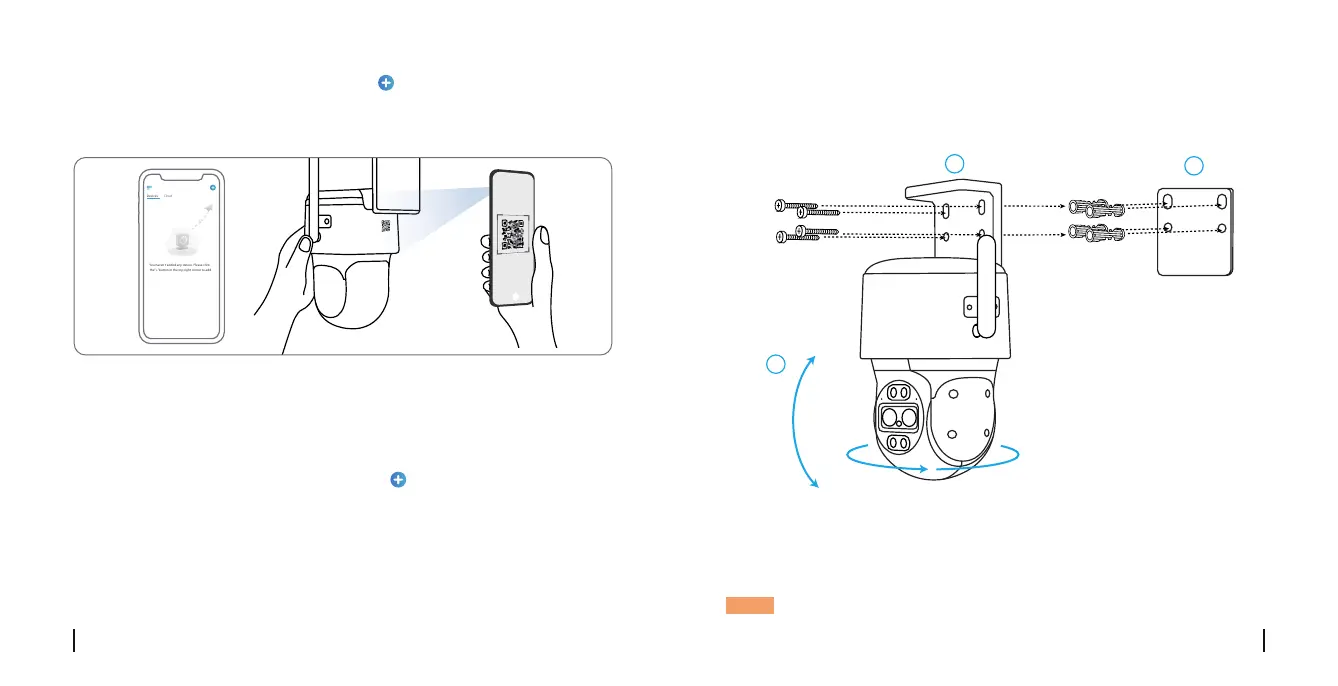
Mount the Camera to the Wall
1. Drill holes in accordance with the mounting hole template.
2. Install the mount base with screws included in the package.
3. To adjust the camera direction, you may control the camera to pan
and tilt via Reolink App or Client.
NOTE: Use the drywall anchors included in the package if needed.
Install the Camera
 Loading...