great care in tightening the turntable screws uniformly to prevent them from
wobbling. For best results, they may have to be rotated by 120°.
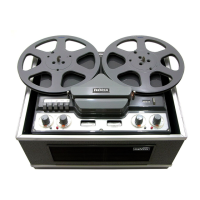
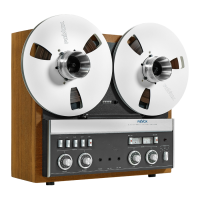
2.1.1 Tape path
The tape path level is determined by the left and right hand tape guides (3 in fig. 1)
and by a small guide (4) positioned between the playback head and the capstan.
We do not recommend that these guides should be interfered with in any way.
Adjustment to the spool carrier height can of course be made to enable the tape to be
wound centrally between the spool flanges. This is brought about by sliding shim-
washers of varying thickness onto the spooling motor shafts after removal of the
bakelite brake drums. To pull a brake drum off the shaft, screws should be inserted
into the three tapped holes (1 in fig. 2) so as to serve as “handles”. Care should be
taken to prevent damage of the brake bands at this stage. Where a brake drum has to
be removed it is recommended that the brake band be removed first.
2.1.2 Brakes
The layout of the brake system is shown in fig. 2. The mounting bracket (5 in fig. 2)
on the rear end (stationary) of the brake band must be held tight against the vertical
pin on the chassis by sufficient tension of the leaf-spring on the bracket.
 Loading...