10
Installing the Water Heater:
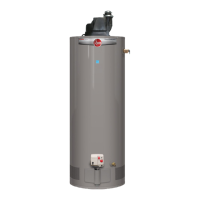
3" (7.6 cm) (90° Elbow (Steel)
6" (15.2 cm)
90° Elbow (Aluminum)
Installing 6” (15.2 cm) Diameter
Aluminum Elbow
Install the 6” (15.2 cm) aluminum elbow over the
3” (7.6 cm) steel elbow. Be certain both are pointed
in the desired direction with the 3" (7.6 cm) centered
inside the 6” (15.2 cm) inch elbow.
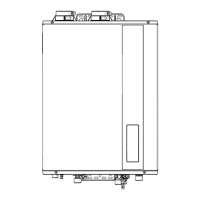
3" (7.6 cm) 90° Elbow (Steel)
Bend the brackets on the elbow as shown on left.
Place the 3” (7.6 cm) steel elbow on the water heater
flue pipe and press it firmly downward until fully
seated and pointed in the desired direction. After
installation of elbow, apply silicone sealant around
the outside of the pipe where the 3" (7.6 cm) elbow
comes in contact with the ue pipe
. An improper
seal can cause product performance and nuisance
pilot outages.
Secure the 3" (7.6 cm) steel elbow to the top pan by
inserting two #8 x 3/8" long screws supplied through
the bent brackets.
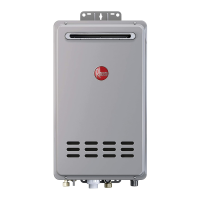
Moving water heater to its final
location
Installing 3” (7.6 cm) Diameter Steel
Elbow
Move the water heater to its final installed location.
Make certain clearances from combustible materials
are observed.
‡ Sheet Metal Screws
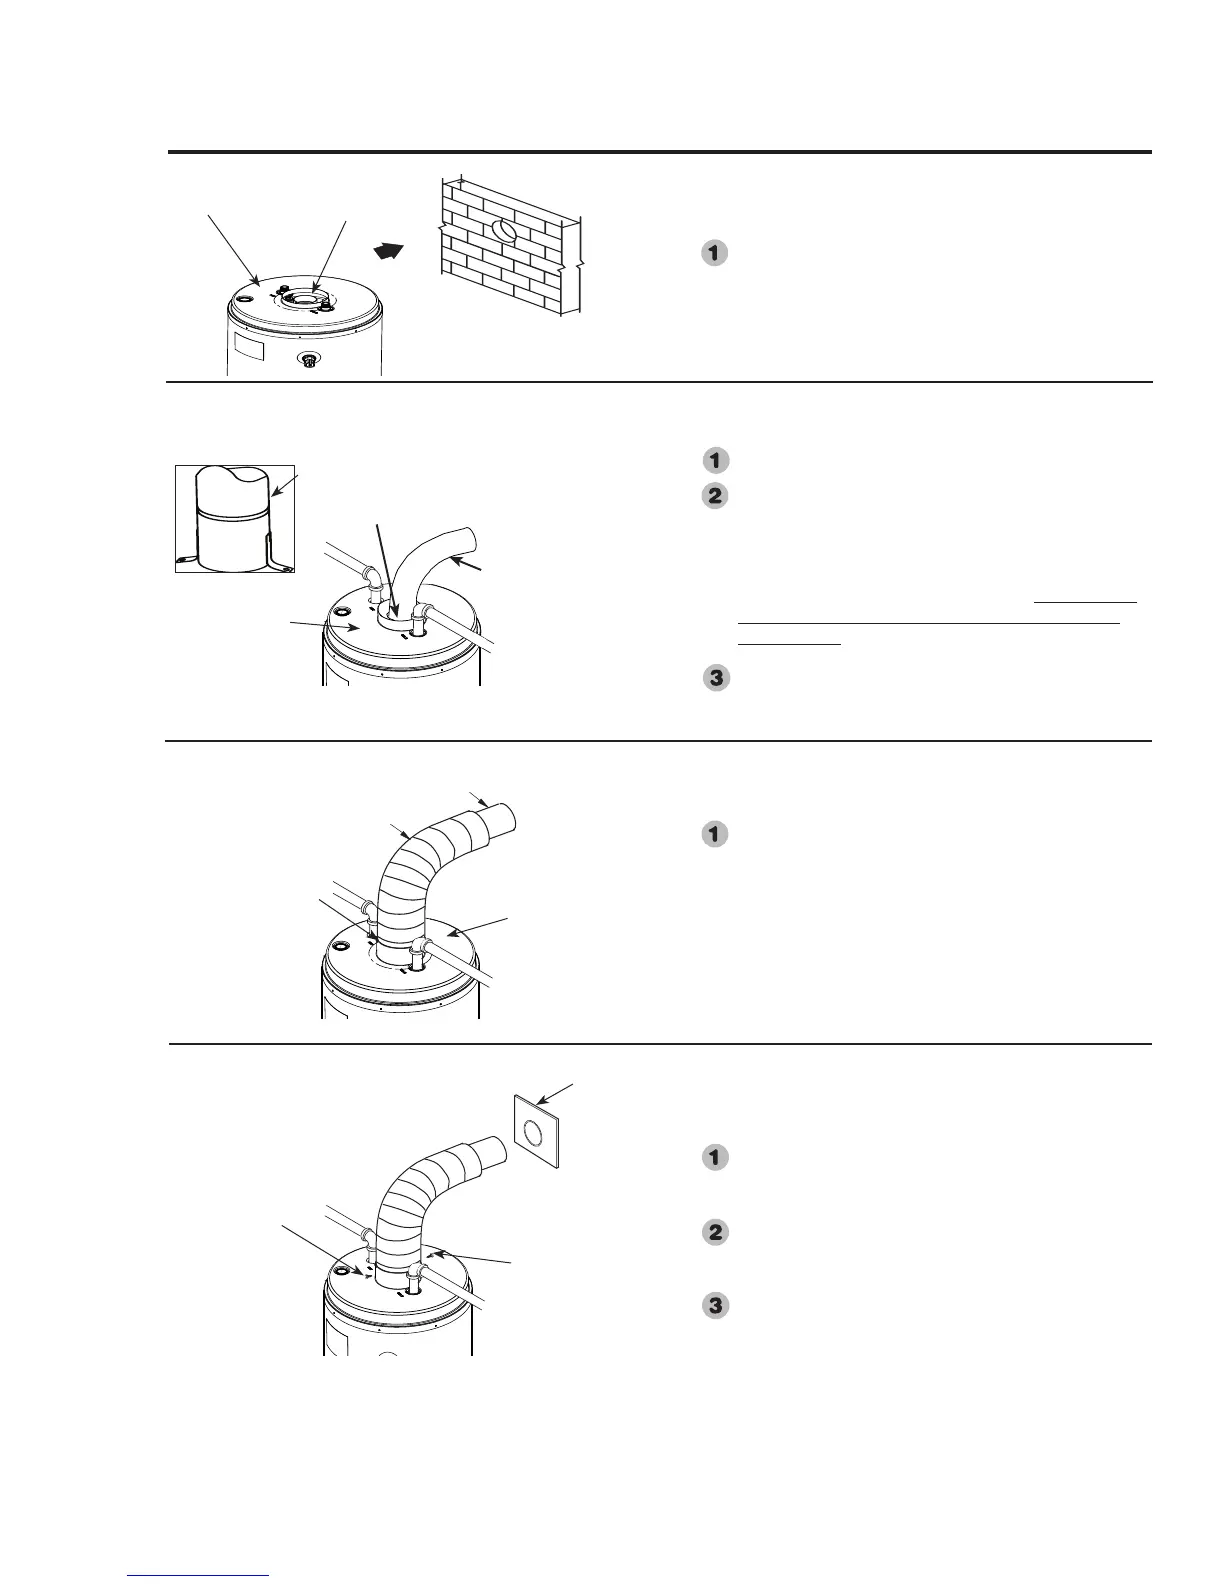
Leveling and attaching 6” (15.2 cm)
Diameter Aluminum Elbow
As an aid to leveling the 6” (15.2 cm) elbow,
temporarily place the 6” (15.2 cm) sliding tube onto
the elbow.
When leveled, drill a
1
/
8
”
inch diameter hole through the
elbow into the collar at the front and back. Secure with the
two #8 sheet metal screws supplied.
Place the finishing collar on the 6” (15.2 cm) elbow, as it
will be positioned later.
‡
‡
Install end of elbow with
label to top plenum.
Top Plenum.
Finishing Collar
Top Plenum
Top Pan
Elbow with brackets bent at 90°
Top Plenum
* Seal with silicone sealant.
 Loading...