6. Scan
This chapter describes frequently used scanner functions and operations. For information not included in
this chapter, see Scan available on our website.
Basic Procedure When Using Scan to Folder
• Before performing this procedure, see "Preparation for Sending by Scan to Folder", Scan and
confirm the details of the destination computer. See also "Registering Folders", Connecting the
Machine/ System Settings, and register the address of the destination computer to the address
book.
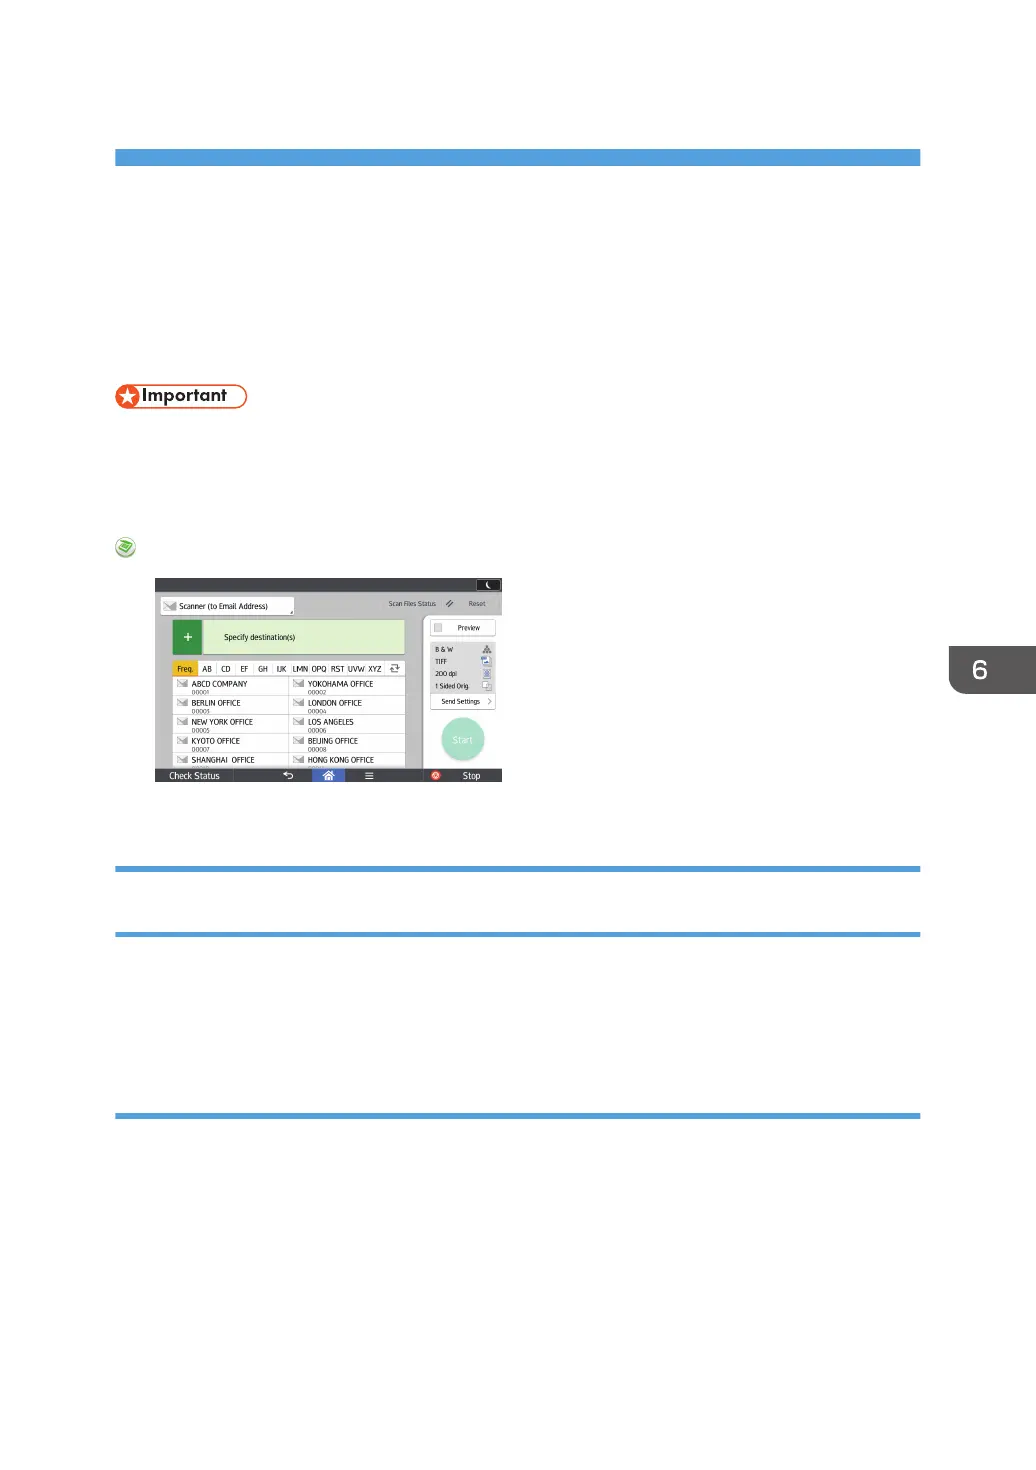
When Using the Scanner Application
About how to use the application's screen, see page 48 "[Scanner] Screen".
Creating a Shared Folder on a Computer Running Windows/Confirming a
Computer's Information
The following procedures explain how to create a shared folder on a computer running Windows, and
how to confirm the computer's information. In these examples, Windows 7 is the operating system, and
the computer is a member in a network domain. Write down the confirmed information.
Step 1: Confirming the user name and computer name
Confirm the user name and the name of the computer you will send scanned documents to.
1. On the [Start] menu, point to [All Programs], click [Accessories], and then click
[Command Prompt].
2. Enter the command "ipconfig/all", and then press the [Enter] key.
3. Confirm the name of the computer.
The computer's name is displayed under [Host Name].
101
 Loading...