EasyManuals Logo
Home>Rockwell Automation>Controller>1766-L32BWAA

Rockwell Automation 1766-L32BWAA Installation Instructions

Rockwell Automation 1766-L32BWAA
42 pages
To Next Page IconTo Next Page
To Previous Page IconTo Previous Page
Page #16 background imageLoading...
Page #16 background image
16 MicroLogix 1400 Programmable Controllers
Publication 1766-IN001D-EN-P - June 2015
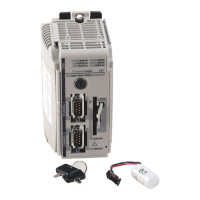
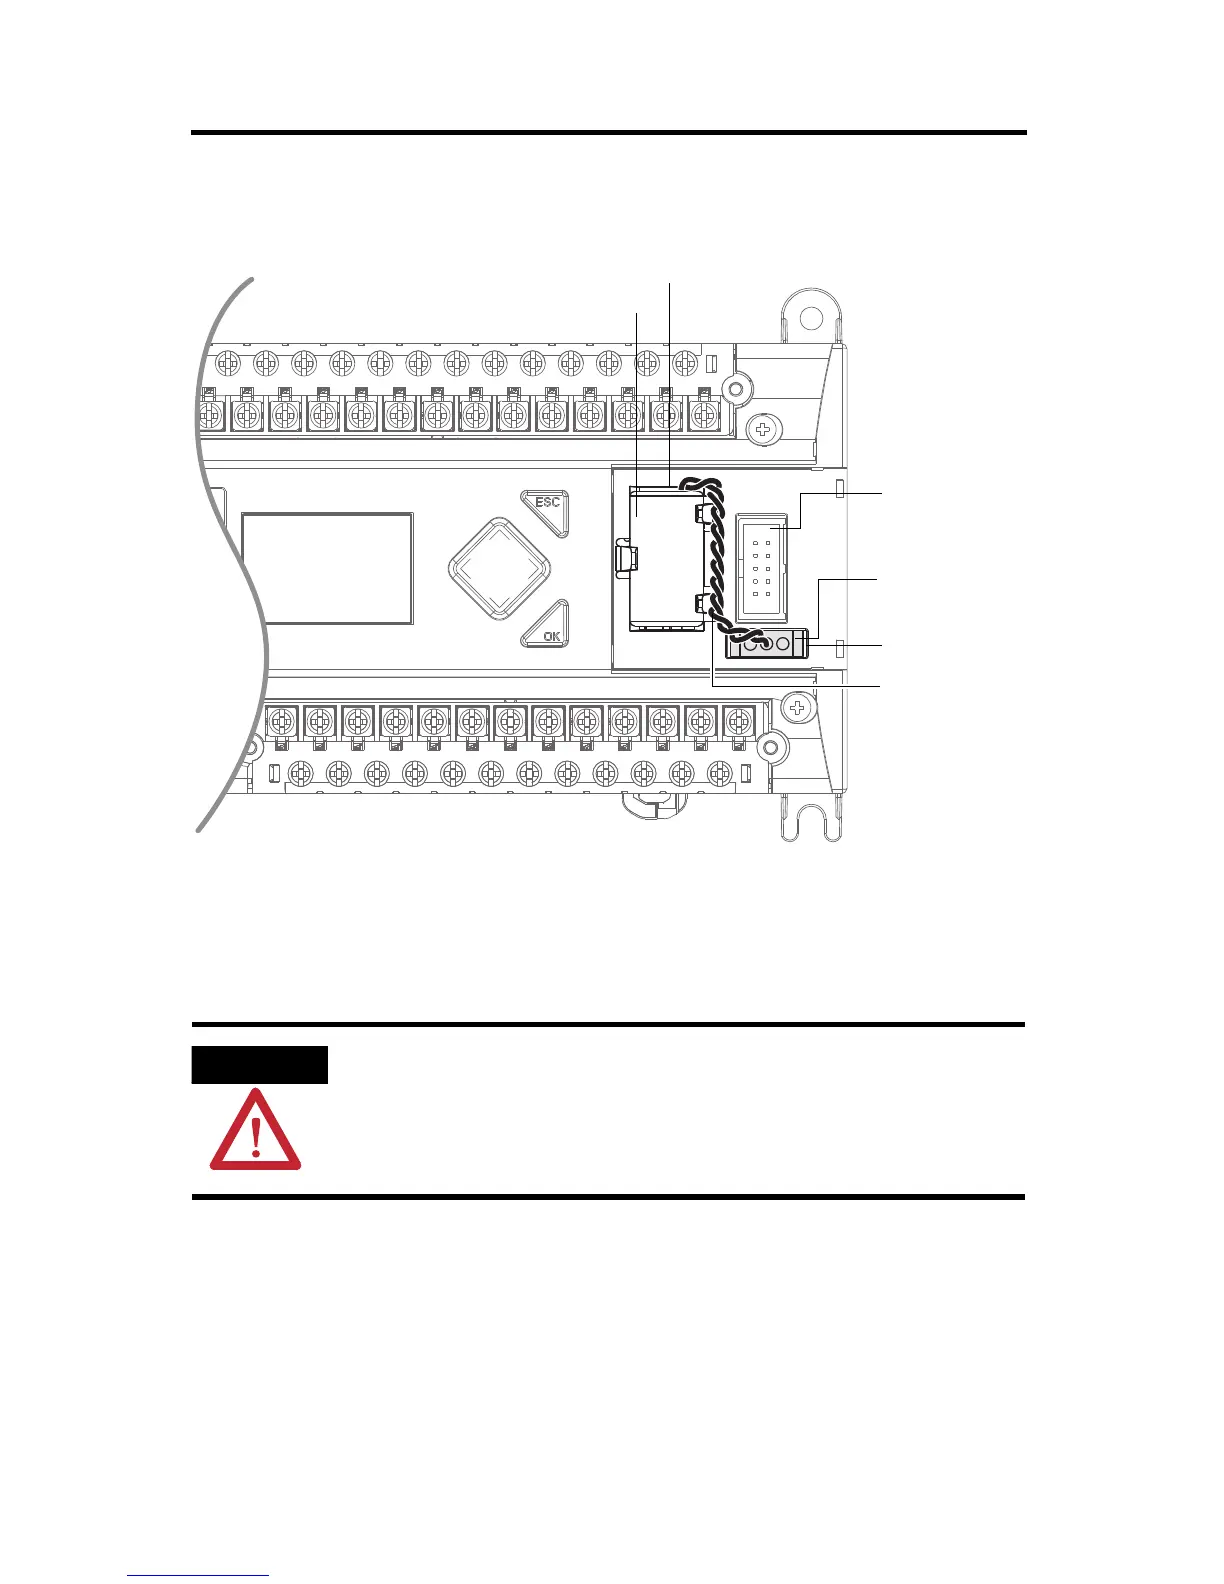
2. Secure the battery connector wires so that it does not block the 1762 expansion bus
connector as shown below.
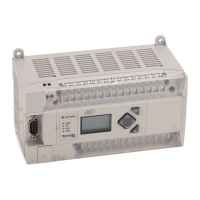
Connect 1762 I/O Expansion Modules
Connect 1762 I/O after mounting the controller.
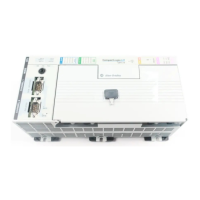
1. Remove the expansion port cover to install expansion I/O modules.
2. Plug the ribbon cable connector into the bus connector.
ATTENTION
Remove power from the system before installing or removing expansion I/O or damage to
the controller may result.
1762 I/O
expansion bus
connector
Battery wires
twisted pair
Battery
Battery wire
connector
Battery connector
44522
Battery compartment

Other manuals for Rockwell Automation 1766-L32BWAA

Questions and Answers:

Question and Answer IconNeed help?

Do you have a question about the Rockwell Automation 1766-L32BWAA and is the answer not in the manual?

Rockwell Automation 1766-L32BWAA Specifications

General IconGeneral
BrandRockwell Automation
Model1766-L32BWAA
CategoryController
LanguageEnglish

Related product manuals