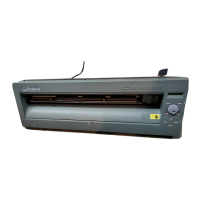
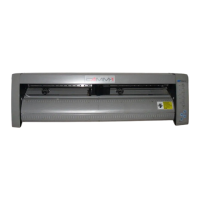
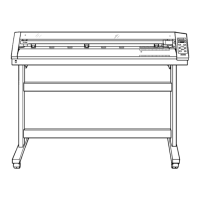
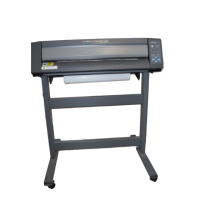
Installing the knifeblade in the CX-300:
1) Unpack knifeblade and & insert into the Blade Holder.
2) The knifeblade is held in magnetically and will snap in when inserted.
3) Rotate the black Nose Cone until the knifeblade is just barely sticking out. This Nose Cone does not
move the blade; it sets the depth of the knifeblade
.
4) Insert the Blade Holder
downward into the black plastic clamp until it is against the collar and
“hand-tighten” the brass knob. Do not over tighten.
Confi guring your cutter settings:
1) Raise the two pinch rollers
by pushing down on the Handle Lever. Insert a piece of vinyl into
the machine.
2) Slide each pinch roller
from side-to-side so that the rubber wheel is over the vinyl and make sure
that each roller is directly underneath a white alignment marker
located above the rollers.
3) Lower the pinch rollers
by pushing up on the Handle Lever.
Setup the CX-300/400/500 from Metric to Standard Units:
1) Hold down the MENU/PARAM button while turning the CX-300 power switch on, and then let go of
the button. The display should read LANG <ENGLIS>.
2) Turn the dial to UNIT <METRIC>.
3) Press the MENU/PARAM button and turn the dial until it reads INCHES.
4) Press the ENTER button and turn off the power to the CX-300.
Initial Set-up of the CX-300/400/500:
1) Turn on the cutter and press the ENTER at SELECT | Roll. The cutter head assembly will move
from left to right the available cutting distance between the Pinch Rollers
will be measured and
displayed.
2) Turn the dial until you see ROTATE I OFF. Press the MENU/PARAM button and turn the dial until it
reads ROTATE I ON. Press the ENTER key.
3) Turn the dial until it reads FORCE. Press the MENU/PARAM button and turn the dial until it reads
100gf. (This is the downwards force setting associated with the type of vinyl to be cut). Press the
ENTER button.
The cutter is now ready to receive instruction from the computer software.
ULTRA-Flex, FlexiBASIC and Signmate Software Setup:
Choose Roland as the manufacturer of your cutter in the Production Manager and select the CX-24
and the computer port that your cutter is connected to (ie COM1, COM2 or LPT1).
You are now ready to send a cut fi le to the CX-300.
Beacon Graphic Systems
189 Meister Avenue
Somerville, NJ 08876
www.BeaconGraphics.com
800.762.9205
908.231.8077
FAX 908.231.8943
Create the cutting edge!
 Loading...


