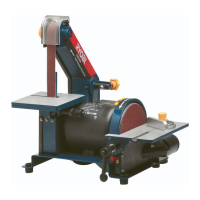
Adjusting the belt tracking
The belt tracking adjustment
knob helps to ensure that the
belt is aligned on the wheels. (Fig 9)
1. To track the belt to the right
rotate the knob in a clockwise
direction.
2. To track the belt to the left
rotate the knob in an anti-
clockwise direction.
3. Rotate the belt with your fingers
to ensure it is aligned
properly on the wheels.
Dust extraction
Dust extraction chutes are
located on the belt cover and
the sanding disc cover. They
allow a dust extraction unit to
be connected for a cleaner and
safer working environment.
Turning on and off
1.
To start the machine push
the switch to the ON (|)
position. When turning the
machine ON stand to either side
of it and never infront of the
sanding belt. Allow the machine
to reach full speed before
performing a sanding
application. To stop the
machine push the switch to
the OFF (0) position.
Operation
Using the mitre gauge
1. The mitre gauge is used to
help support the workpiece
and can be adjusted when
sanding an angle.
2. To adjust the mitre gauge
loosen the knob at the top of
the mitre gauge.
3. Rotate the mitre gauge until the
desired angle is reached.
4. Tighten the mitre gauge knob to
secure the angle.
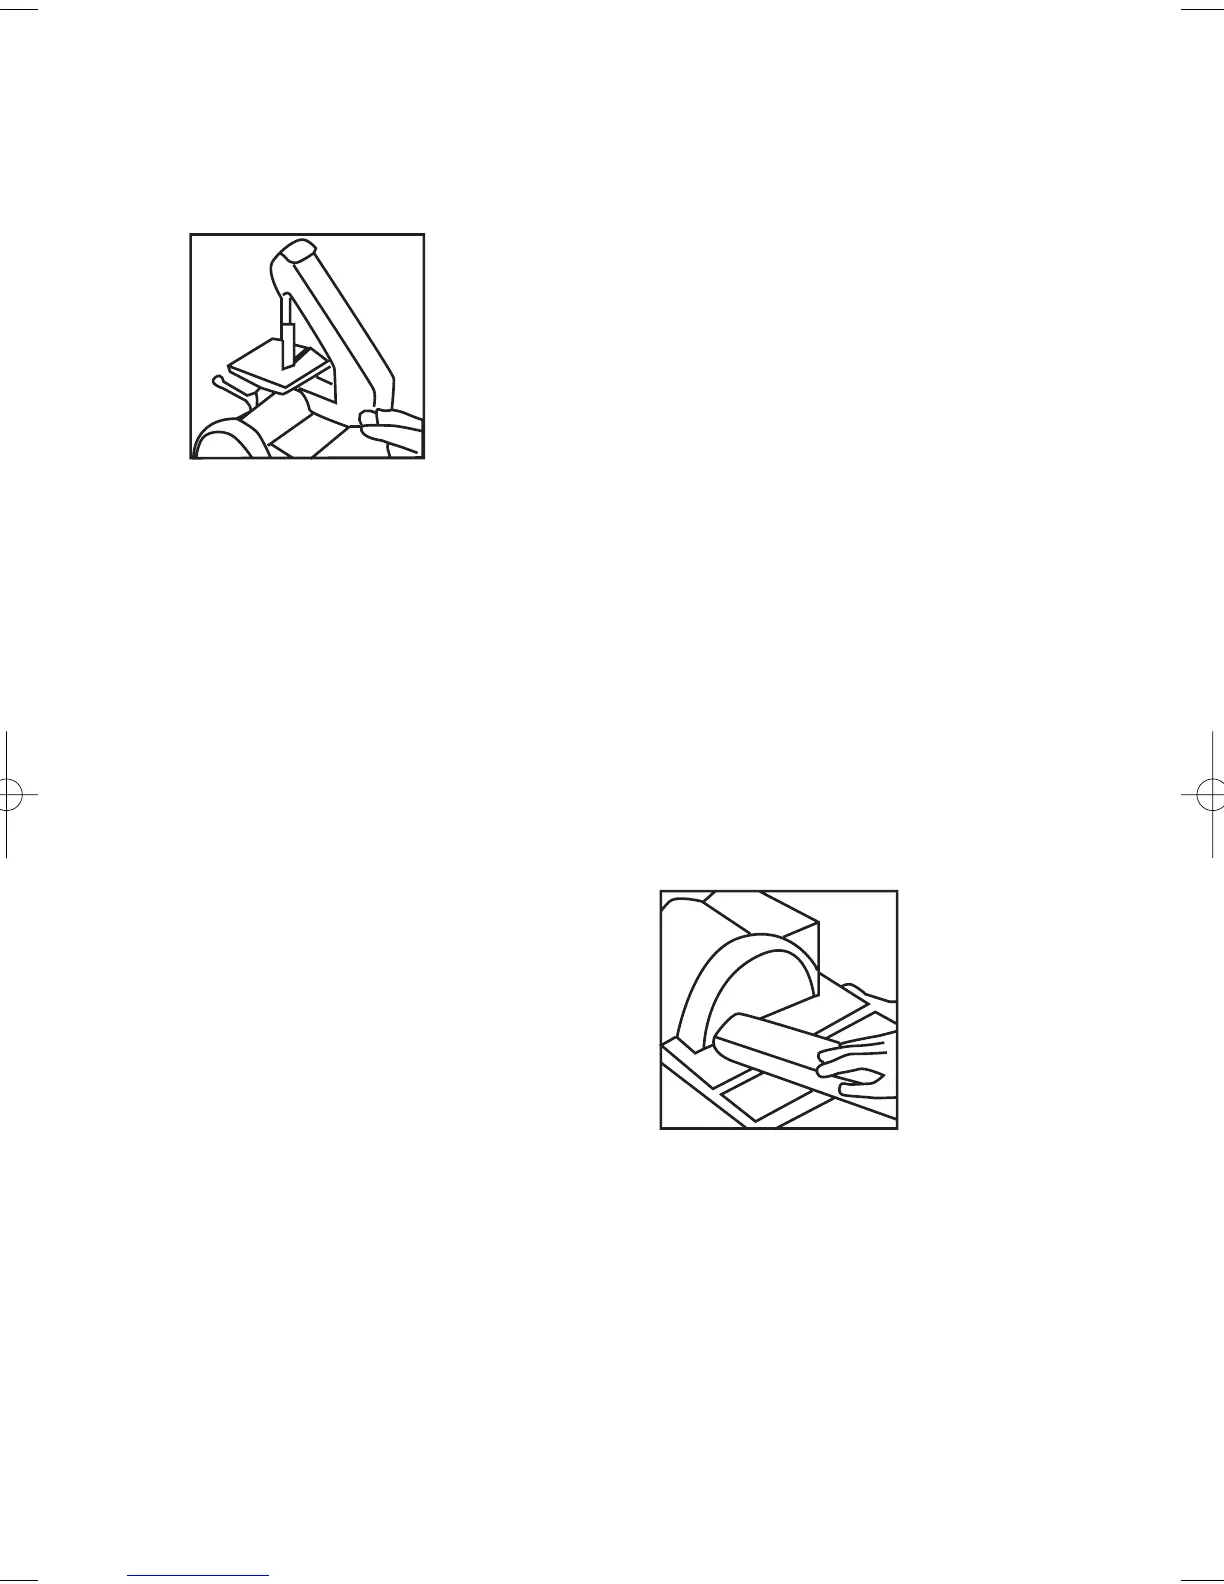
Using the sanding disc
WARNING. To avoid trapping work or
disc the table should be repositioned on
the table support to retain a maximum of
1.5mm distance between the sanding
surface and the table.
1. Turn on the belt & disc sander.
2. Position the workpiece on the
table and move it into the left
hand side of the sanding disc
so that it is sanded on the
downstroke. (Fig10)
3.
The mitre gauge can be
used to assist in keep the
workpiece level and helps
when sanding at specific angles.
4.
Turn off the belt & disc sander on
completion of the operation.
WARNING. Applying the
workpiece on the right hand
side of the disc can cause the
workpiece to fly up and result
in injury.
fingers in between the table and sanding
Fig. 9
Fig. 10
EMBS200 MANUAL 2 5/5/05 2:57 PM Page 12