- 3 -
ASSEMBLY
OPERATION
NOTE: Do not attempt to remove or modify the spacer. This
spacer limits the upper position of the handle grip.
2.
Install the two handle base screws and nuts (48), but
tighten completely.
3.
Place the handle (2) onto the handle base and install the
two screws. Tighten securely.
.
Adjust the position of the handle for best balance and
comfort.
4
.
Tighten the two handle base screws securely.
NOTE: : Make sure the bent end of the muffler guard (20) fits
securely into the opening of the rear housing (21).
MUFFLER GUARD ASSEMBLY (FIG. 6)
1.
Remove muffler guard (10) and two screws (26) from the
owner's kit.
2.
Attach the muffler guard to the rear housing (18).
3.
Using the torx wrench supplied, install the two screws
and tighten securely.
Do not use any type of pre-mixed fuel/oil from fuel
service stations, this includes the pre-mixed fuel/oil
intended for use in mopeds, motorcycles, etc.
4
.
Prior to replacing the fuel cap, clean and inspect the
gasket.
5
.
Immediately replace fuel cap and hand tighten. Wipe up
any fuel spillage. Move 9 m (30 ft.) away from refueling
site before starting engine.
NOTE: It is normal for smoke to be emitted from a new
engine during and after first use.
Use high a quality 2-cycle self mixing oil for air cooled
engines. Do not use automotive oil or 2-cycle outboard
oil.
Mix 2% oil into the fuel. This is a 50:1 ratio.
Mix the fuel thoroughly and also each time before
fueling.
Mix in small quantities. Do not mix quantities larger than
usable in a 30 day period. A 2-cycle oil containing a fuel
stabilizer is recommended.
FILLING THE TANK
1
.
Clean surface around fuel cap to prevent contamination.
2
.
Loosen fuel cap slowly to release pressure and to keep
fuel from escaping around the cap.
3
.
Carefully pour fuel mixture into the tank. Avoid spillage.
ATTACHING THE STORAGE HANGER (Fig. 3)
There are two ways to hang your attachment for storage.
To use the hanger cap, push in the button and place
the hanger cap over end of the lower end attachment
shaft. Slightly rotate the cap from side to side until the
button locks into place.
The secondary hole (59) in the attachment shaft can
also be used for hanging.
Y
SAFETY GUARD (FIG. 4)
1.
Remove wing nut (14), flat washer (16), lock washer (15),
and bolt (12) from the Owner's Kit.
2.
Place safety guard (5) over shaft and bracket (13).
3.
Install bolt through the slots in the tabs on safety
guard and bracket on driveshaft housing.
4.
Install flat washer, lock washer and wing nut.
4.
Tighten securely.
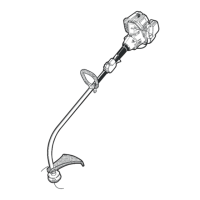
FRONT HANDLE (FIG. 5)
1.
Place the handle base (49) and the bracket on the driveshaft
housing below the spacer (56).
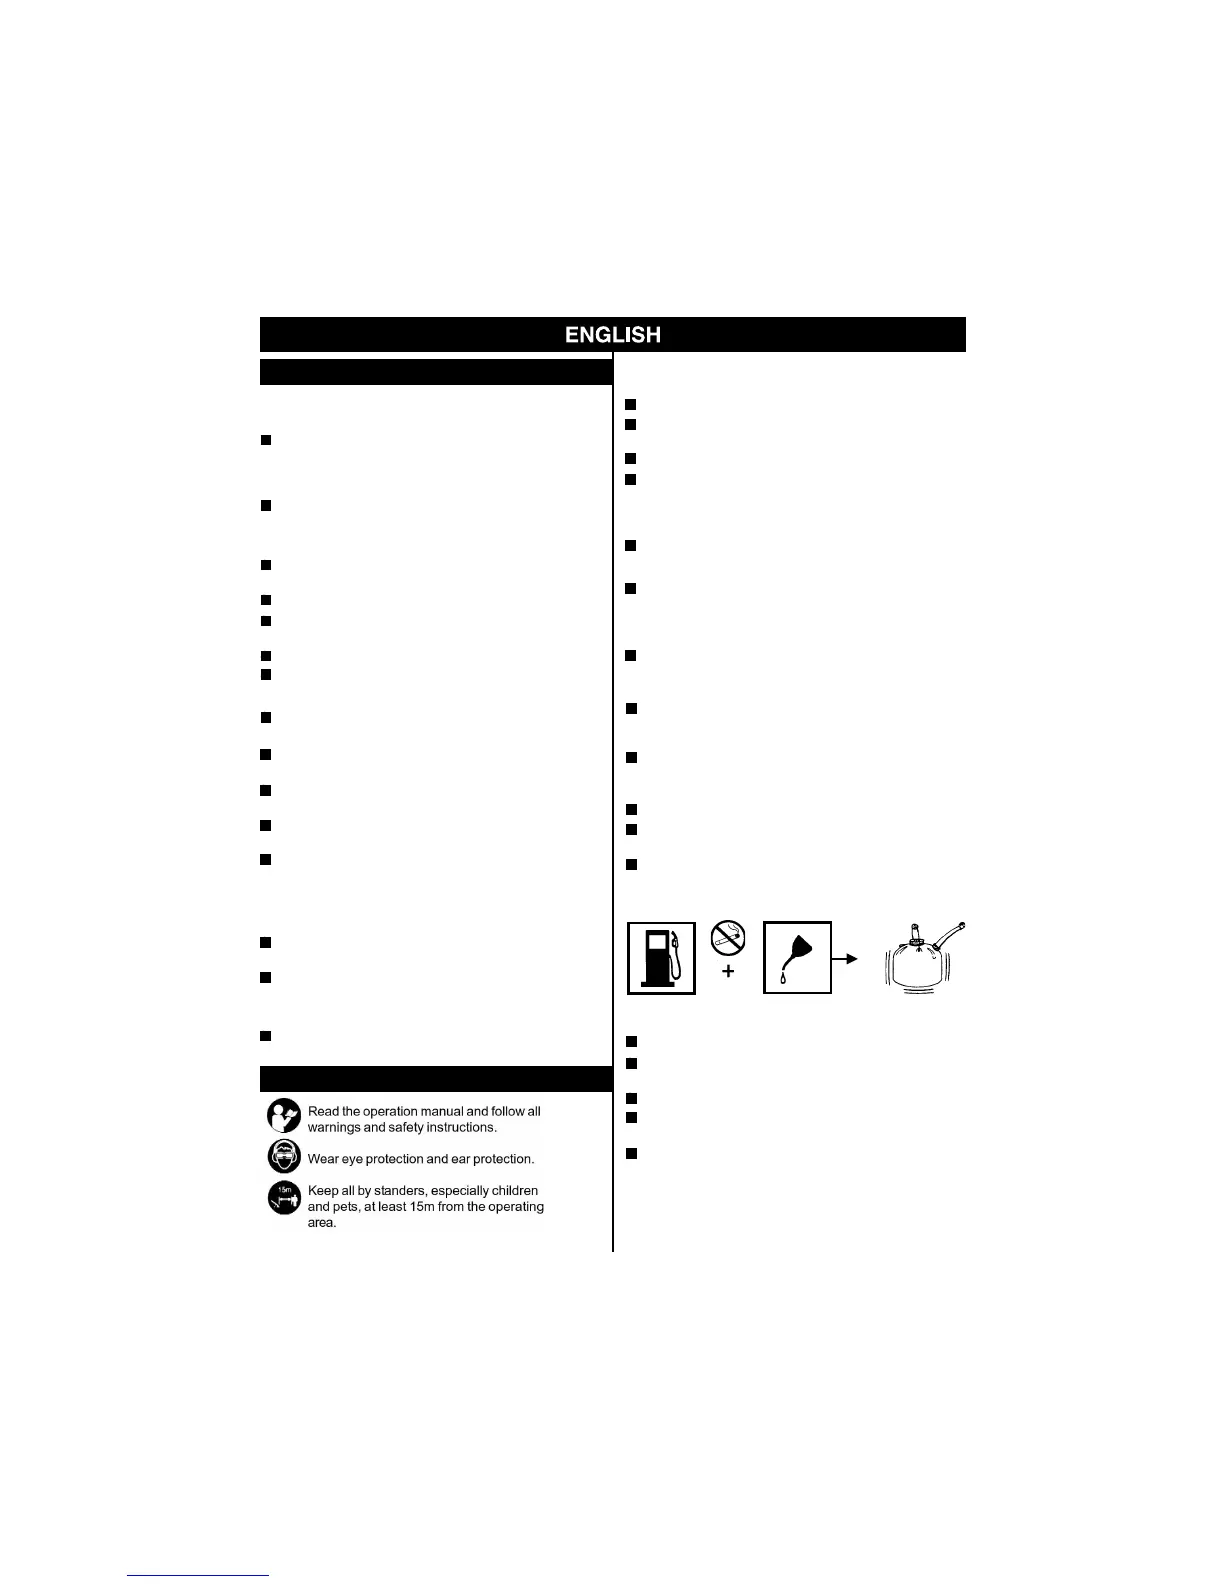
FUEL AND REFUELING
HANDLING THE FUEL SAFELY
Always handle fuel with care, it is highly flammable.
Always refuel outdoors where there are no sparks and
flames. Do not inhale fuel vapors.
Do not let fuel or oil come in contact with your skin.
Keep fuel and oil away from the eyes. If fuel or
oil comes in contact with the eyes, wash them immedi-
ately with clean water. If irritation is still present, see a
doctor immediately.
Clean up spilled fuel immediately.
MIXING THE FUEL
This product is powered by a 2-cycle engine and requires
pre-mixing fuel and 2-cycle oil. Pre-mix unleaded
fuel and 2-cycle engine oil in a clean container
approvedforfuel.
This engine is certified to operate on unleaded fuel
intended for automotive use with an octane rating of 87
([R + M] / 2) or higher.
 Loading...