2. Select a track by using the e or f button.
- The number buttons on the remote control can also be used.
3. Press the MEMORY button.
4. Repeat steps 2 - 3 to programme additional tracks.
5. Press the PLAY/PAUSE i button to start programmed play.
When all programmed tracks have been played, the player stops
automatically.
- The programme contents are retained in memory.
- Any attempt to programme more than 32 tracks will result in first
programmed track being displayed and discontinuation of the
programming.
- To cancel programmed play, press the STOP n button twice.
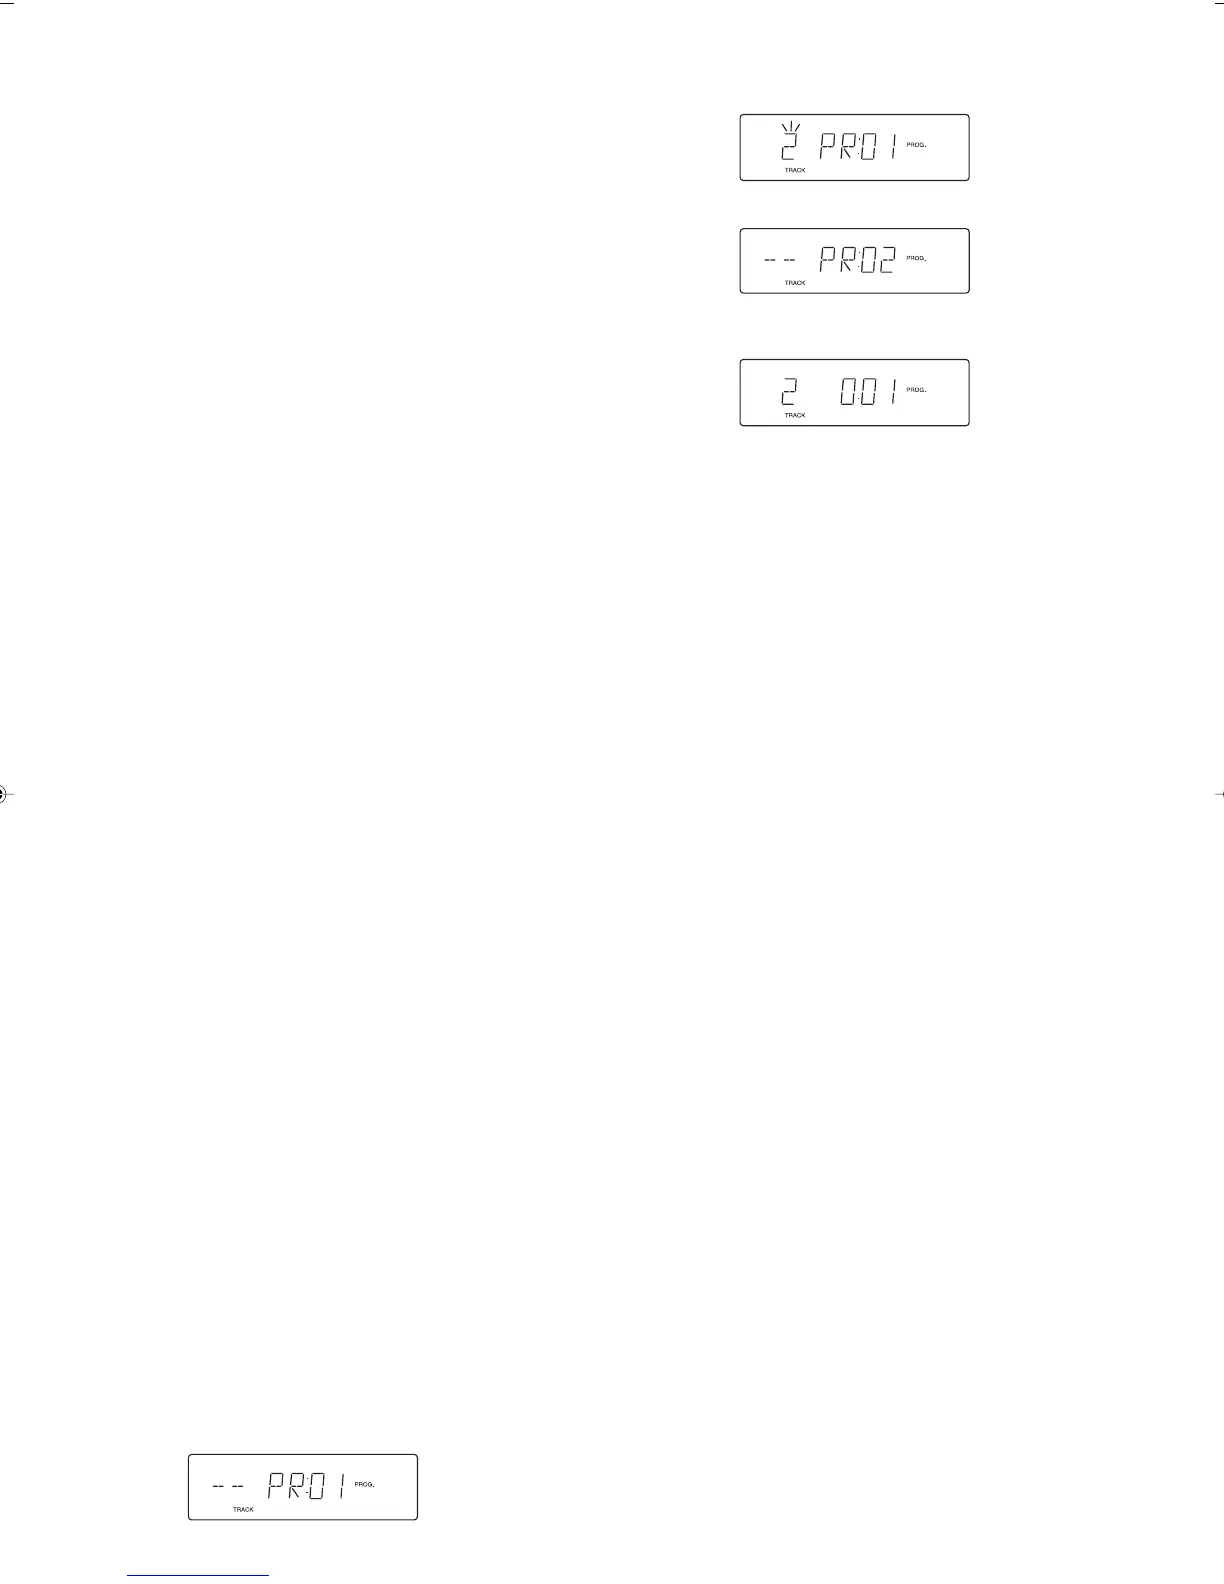
Checking the programme
Each time the MEMORY button is pressed in the stop mode, the pro-
grammed details sequentially appear on the display.
Changing a programme
To add a new track to a programme:
1. In the stop mode, press the MEMORY button repeatedly until
“- - - -” on the track number part is displayed.
2. Select a track as explained above.
3. Press the MEMORY button.
To change a track:
1. In the stop mode, press the MEMORY button repeatedly until the
track number to be replaced is displayed.
2. Select a track as explained above.
3. Press the MEMORY button.
Note:
Programmed details cannot be partially deleted or inserted.
9
Notes on handling compact discs
- Do not expose the disc to direct sunlight, high humidity or high tem-
peratures for extended periods of time.
- Discs should be returned to their cases after use.
- Do not apply paper or write anything on the disc surface.
- Handle the disc by its edge. Do not touch the playing surface (glossy
side).
- Fingerprints and dust should be carefully wiped off the playing sur-
face of the disc with a soft cloth.
Wipe in a straight motion from the centre to the outside of the disc.
- Never use chemicals such as record cleaning sprays, antistatic sprays
or fluids, benzene or thinner to clean compact discs.
To start play from the desired track
Select the track by using the e or f button, then press the PLAY/
PAUSE i button.
Temporarily stopping play
Press the PLAY/PAUSE i button, elapsed playing time blinks on the
display. To resume play, press the button again.
Skip play
To skip to track 6 while track 3 is playing, press the e button repeat-
edly until “6” appears (in the track section) on the display. To skip back
to track 3 while track 6 is playing, press the f button repeatedly until
“3” appears.
- The number buttons on the remote control can also be used for skip
play. To skip to track 6 while one track is playing, press 0, then 6.
Search (forward/reverse)
If the e or f button is pressed during play, the player will search at
high speed in the forward or reverse direction while the button is being
pressed. When the button is released, normal play will continue.
Repeat play (Remote control only)
Press the REPEAT/PRESET + button repeatedly before or during play
to select various repeat mode available.
Each time the REPEAT/PRESET + button is pressed, the repeat mode
changes as shown below:
RANDOM play (Remote control only)
1. Press the RANDOM/PRESET - button, “RANDOM” appears.
2. Press the i button. All tracks on the disc are played in random
order.
3. To cancel random play, press the RANDOM/PRESET - button again,
“RANDOM” disappears.
- Random play will not function during programmed play.
PROGRAMMED PLAY
Up to 32 tracks on a disc can be programmed for play in any order.
- First, select “CD” function and load a disc that you want to programme.
- The tracks must be programmed in the stop mode.
- The same track can be programmed more than once.
1. Press the MEMORY button.
“REPEAT” blinks
(Repeat one track)
“REPEAT” appears
(Repeat all tracks)
Released
(Normal play mode)
v
v
v
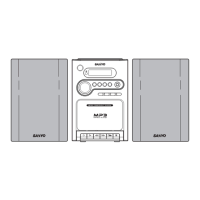
MP3 CD OPERATION
This unit can play back the CD-R/RW that has recorded music data or
MP3 files. Before playing back MP3 CD, please read the following.
MP3 CD information
- MP3 CD is the disc that standardized by ISO9660, its file name must
include 3-digits extension letters, “mp3”.
- The directory and file names of the MP3 CD must be corresponded
to the ISO standardized files.
- Single-session disc can be played back.
As for multi-session disc, only the first session can be played back.
- This unit can recognize up to 255 folders or 640 files per disc.
The CD with 256 folders or 641 files and over is not available to this
unit.
- This unit can recognize up to 8 directory trees per disc.
- MP3 CD may not be played in the recorded order.
- Music section in “CD Extra” can be played back, not Data section.
- “Mixed CD” cannot be played back.
- Music files recorded by “Packet Writing” cannot be played back.
There are three basic methods for writing to a CD: “Track-at-Once ”,
“Disc-at-Once”, and “Packet Writing”.
Music files recorded by “Track-at-Once” or “Disc-at-Once” can be played
back on this unit. (Note: The unit cannot play back the music files added
with “Track-at-Once”.)
Music files recorded by “Packet Writing” cannot be played back.
DC-DA1400M/XE 4/8/05, 4:54 PM10
 Loading...