LC-60E77UN/LC-65E77UM/LC-C6077UN/LC-C6577UM
5 – 11
6. Special features
* STANDBY CAUSE (Page 1/40)
Display of a cause (code) of the last standby
The cause of the last standby is recorded in EEPROM whenever possible.
Checking this code will be useful in finding a problem when you repair the troubled set.
* EEP SAVE (Page 40/40)
Storage of EEP adjustment value
* EEP RECOVER (Page 40/40)
Retrieval of EEP adjustment value from storage area
7. Microcomputer software writing
7.1. Main microcomputer/monitor microcomputer software writing (Main PWB: QPWBXF282WJZZ)
7.2. Model/inch discrimination writing (Main PWB: QPWBXF282WJZZ)
• When writing the sub microcomputer software, the model data is configured with the software from the USB memory mounted to the checker.
• Reference and setting change are enabled through the process menu (Page 40/40) and RS-232C communication.
8. Signal adjustment
8.1. LCD section adjustment 1 [LCD module adjustment]
*2 Details of P1.10 (ERROR STANDBY CAUSE)
11 Prolonged unspecified-signal input in PC mode in the cause of continuous “out of range”, PC input mode
17 Temperature error in the cause of abnormal temperature
1A Monitor trouble detected in the cause of abnormal monitor mode
22 LCD controller Rom error in the cause of software abnormality of LCD controller
Adjustment item Adjustment conditions Adjustment procedure
1 Software writing
Main/Monitor microcom-
puter software
Checker process
File version check
USB memory check
1. Connect the given jig to SC9301 (TL9301-TL9309, TL9311-TL9316) using the
checker.
2. Connect the USB memory to J8001 (TL8003-8006) using the checker.
3. Apply the specified voltage to the main PWB and perform boot from the jig.
4.Send the software writing start command using RS232C.
5.Send the writing status check command and confirm the response of OK. Then
turn off the power.
CAUTION: When the USB memory is not inserted or reading error occurs, nothing
is written.
Adjustment item Adjustment conditions Adjustment procedure
1 Opposite bias adjustment.
Left/Right
(LCD module adjustment
item)
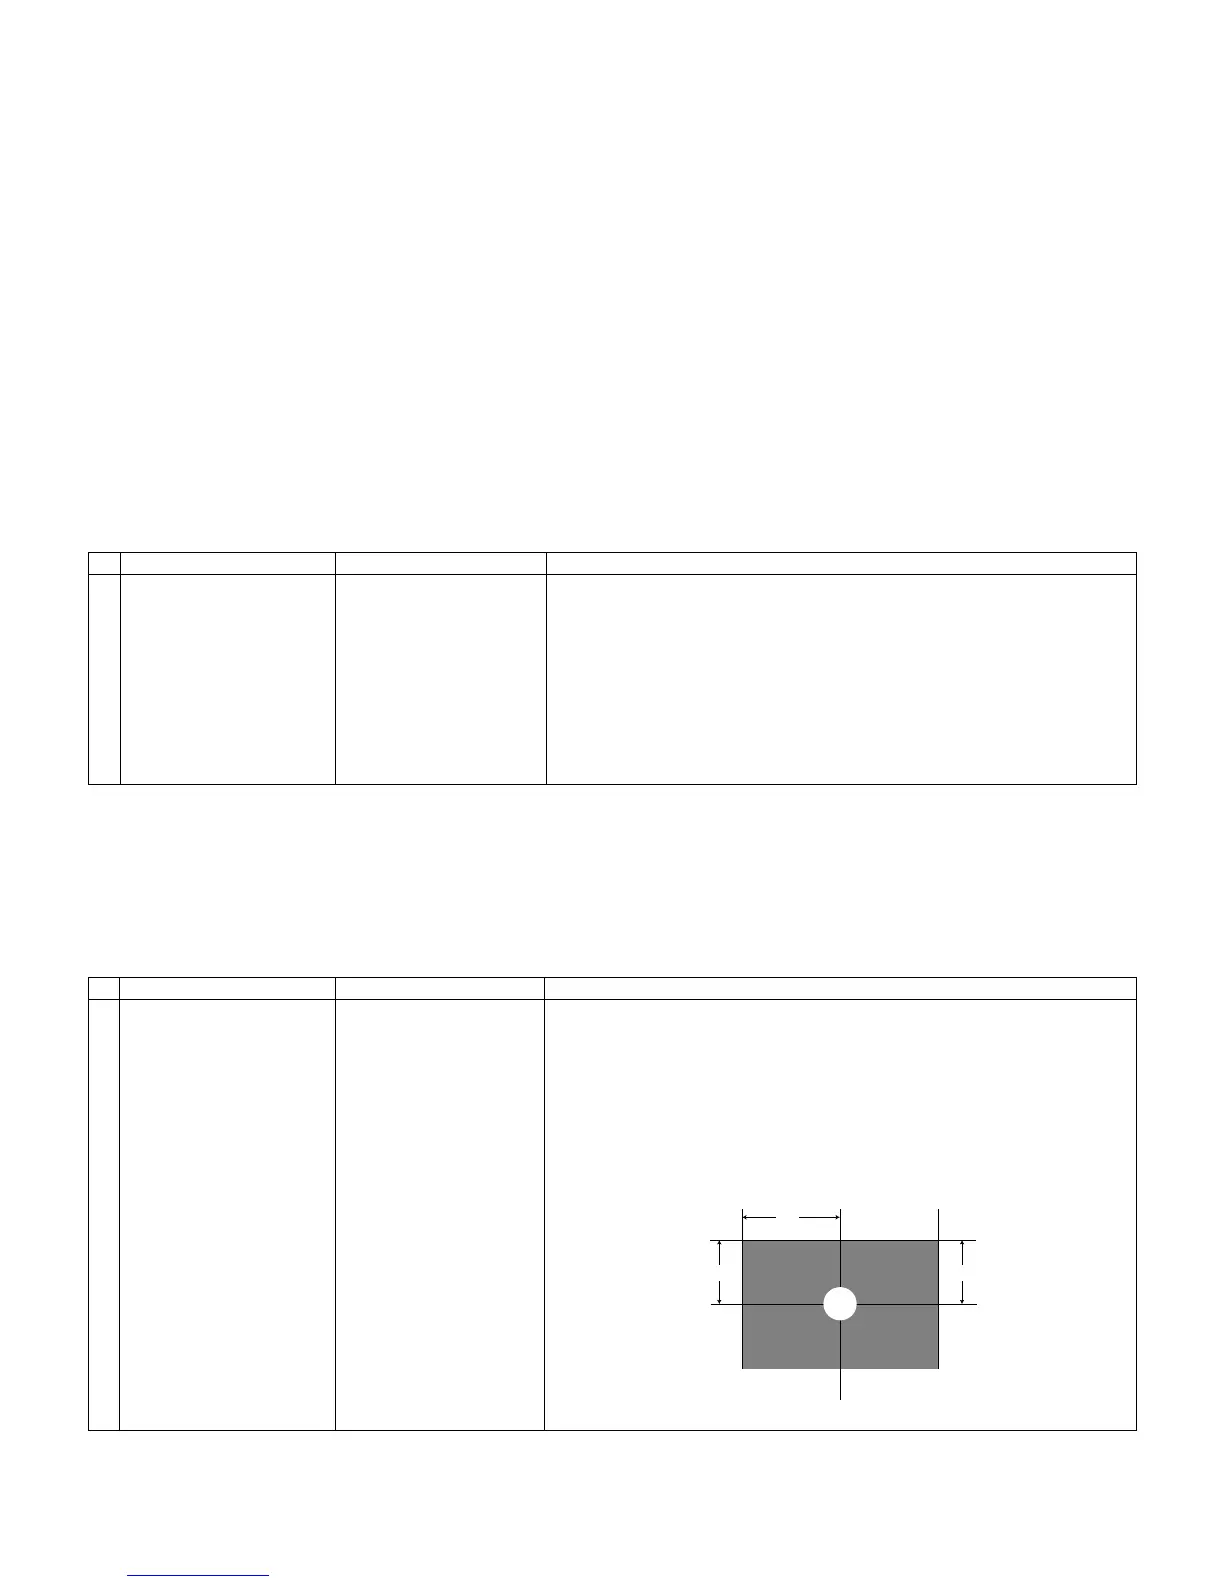
Adjustment in the center
position of the panel
1. Enter the process mode using the process adjustment remote control.
2. Select [VCOM ADJ] using the Channel ↑, ↓ keys on the remote control.
3. Press the Enter key to check that the pattern for adjustment is displayed.
4. Make adjustment so that the flicker located in the center of the screen is mini-
mized using the Volume +/- keys on the remote control.
5. If the status is optimized in step 4, press the Enter key to turn off the pattern.
CAUTION: * Make adjustment without ANT signal (since the active backlight
changes the brightness).
[Adjustment position]
 Loading...