*) If P13 = ON → electric heater in cooling mode
Either floor temperature sensor or external room temperature sensor can be used.
Dew point monitoring is essential to prevent condensation on the chilled ceiling
(cooling with fan disabled, parameter P52). It helps avoid associated damage to
the building.
A dew point sensor with a potential-free contact is connected to multifunctional
input X1 or X2. If there is condensation, the cooling valve is fully closed until no
more condensation is detected, and the cooling output is disabled temporarily.
The condensation symbol “ ” is displayed during temporary override and the fault
“Condensation in room” will be sent via Modbus.
The input must be commissioned accordingly (P38, P40).
See section 3.9 “Multifunctional input”.
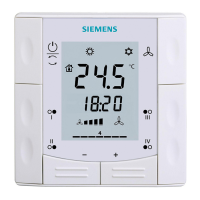
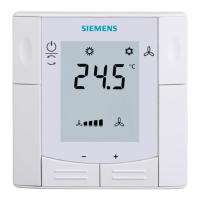
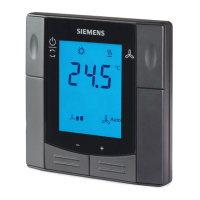
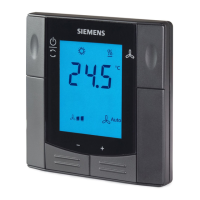
Manual “key lock” function is enabled by parameter P14 (0=Disabled, 1=Auto lock,
2=Manual lock).
When P14=2, press operating mode button
for 5 seconds to lock or unlock all
the buttons.
If “Auto lock” is configured (P14=1), the thermostat will automatically
lock all the buttons 10 seconds after the last adjustment and the way to unlock the
buttons is the same as per manual lock.
The key lock command from the Modbus has higher priority to execute. Users are
not able to change the operating mode by pressing the key button on the unit to
release the key lock unless an unlock command received from the Modbus.
The key lock command from the Modbus provides several levels of functions:
A = Lock all buttons
B = Lock operating mode button only
C = Lock fan button only
D = Lock temperature adjusting buttons (+ & -) only.
E = Unlock
 Loading...