Note: * These are suggested tension settings only.
* Tension settings are effected by;
1) Type and thickness of fabric
2) Needle size
3) Size, type and fiber content of thread
* See page 26 to converting the upper looper
into spreader.
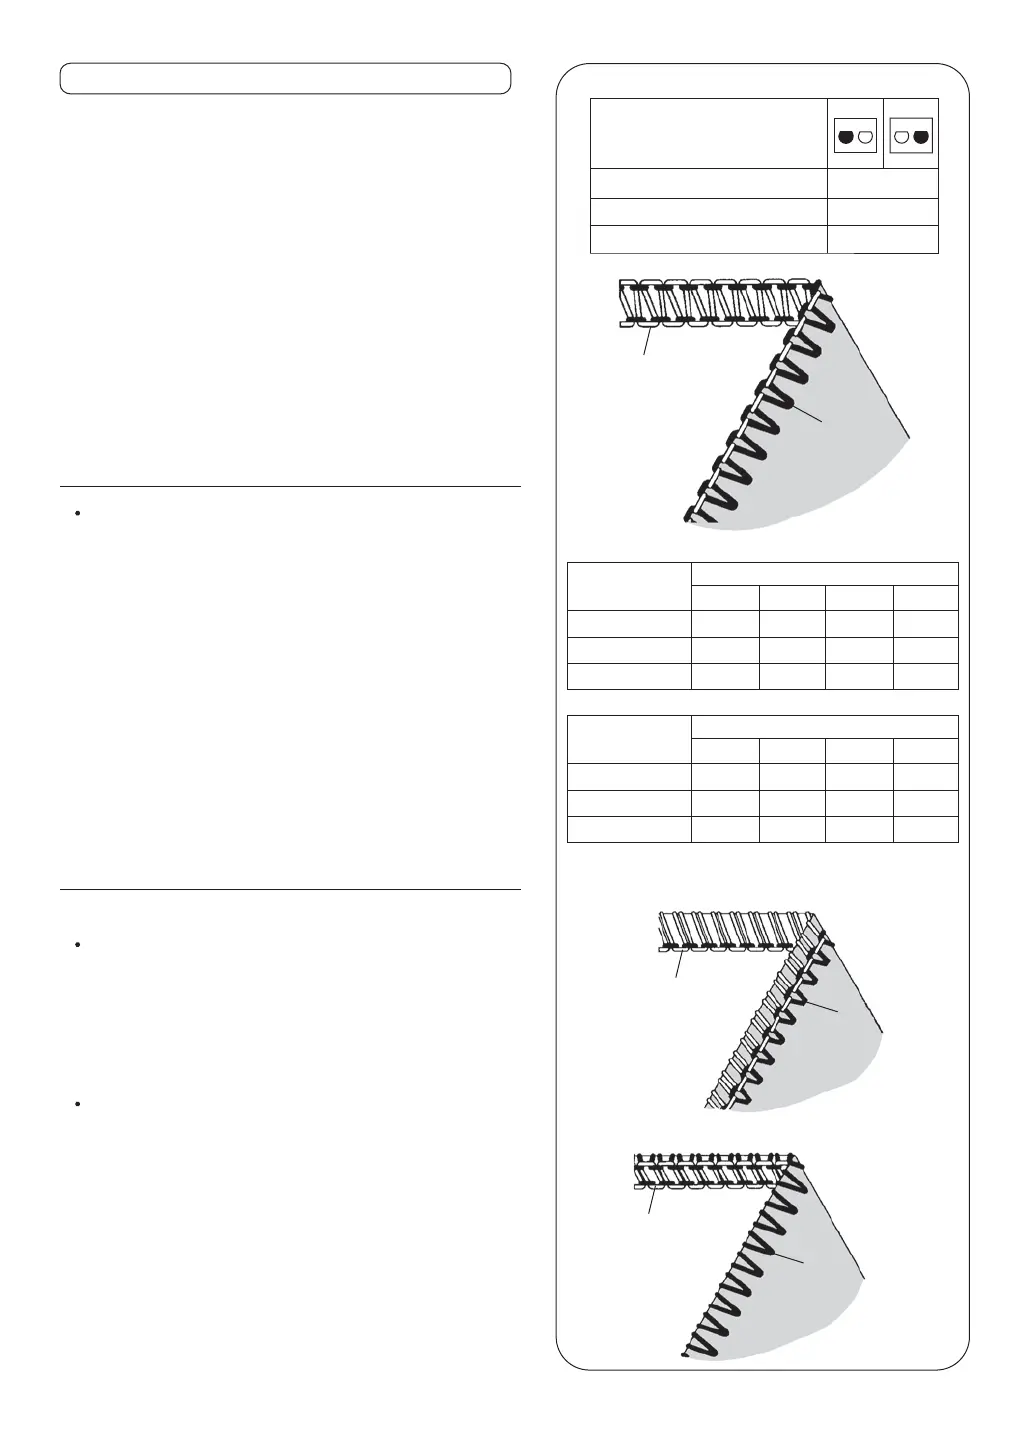
Set each tension dial to settings shown at right
and test sew on a sample of your fabric
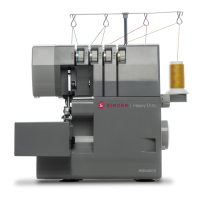
(503)
Lower looper
thread
Topside
Needle thread
Underside
Lower looper
thread
Topside
Needle thread
Underside
Lower looper
thread
Topside
Needle thread
Underside
NEEDLE POSITION
S
2 - 4
USE
Tension Dial
Blue Green Orange Yellow
Fabric
SEAM WIDTH FINGER KNOB
STITCH LENGTH
SPREADER
Light weigt
Medium weight
Heavy weight
0
0.5
1.0
Spreader
Spreader
Spreader
5.0
5.0
5.0
Tension Dial
Blue Green Orange Yellow
Fabric
Light weigt
Medium weight
Heavy weight
0
0.5
1.0
Spreader
Spreader
Spreader
5.0
6.0
6.5
2) 2-Thread standard rolled hem stitching
Correct Balance
When the lower looper thread is botton side of the
fabric.
-Tum the lower looper thread tension dial (yellow)
toward a higher number.
-Or, turn the needle thread tension dial (blue or
green) toward a lower number.
When the needle thread tension is too loose;
-Tum the needle thread tension dial (blue on green)
toward a lower number.
-Or, turn the lower looper thread tension dial (yellow)
toward a lower number.
How to Balance
32
 Loading...