SMCCO02-Z CO Alarm User Guide
B. Insert the supplied two screws and
secure the mounting plate to the
wall or ceiling surface. If mounting
in plasterboard or drywall, drill a
3/16 in. hole and use the plastic
anchors provided.
2
Mounting the Alarm
The SMCCO02-ZCO alarm can be wall
mounted or ceiling mounted.
Use the following instructions to mount
the SMCCO02-Z. Before you mount the
unit permanently, verify RF performance
(see “Running the RF Communication
Test” on page 7).
C. After the mounting plate is secured,
slide the alarm over the mounting
plate (see Figure 5 on page 4).
D. Pull out the battery pull tab to
power-up the SMCCO02-Z.
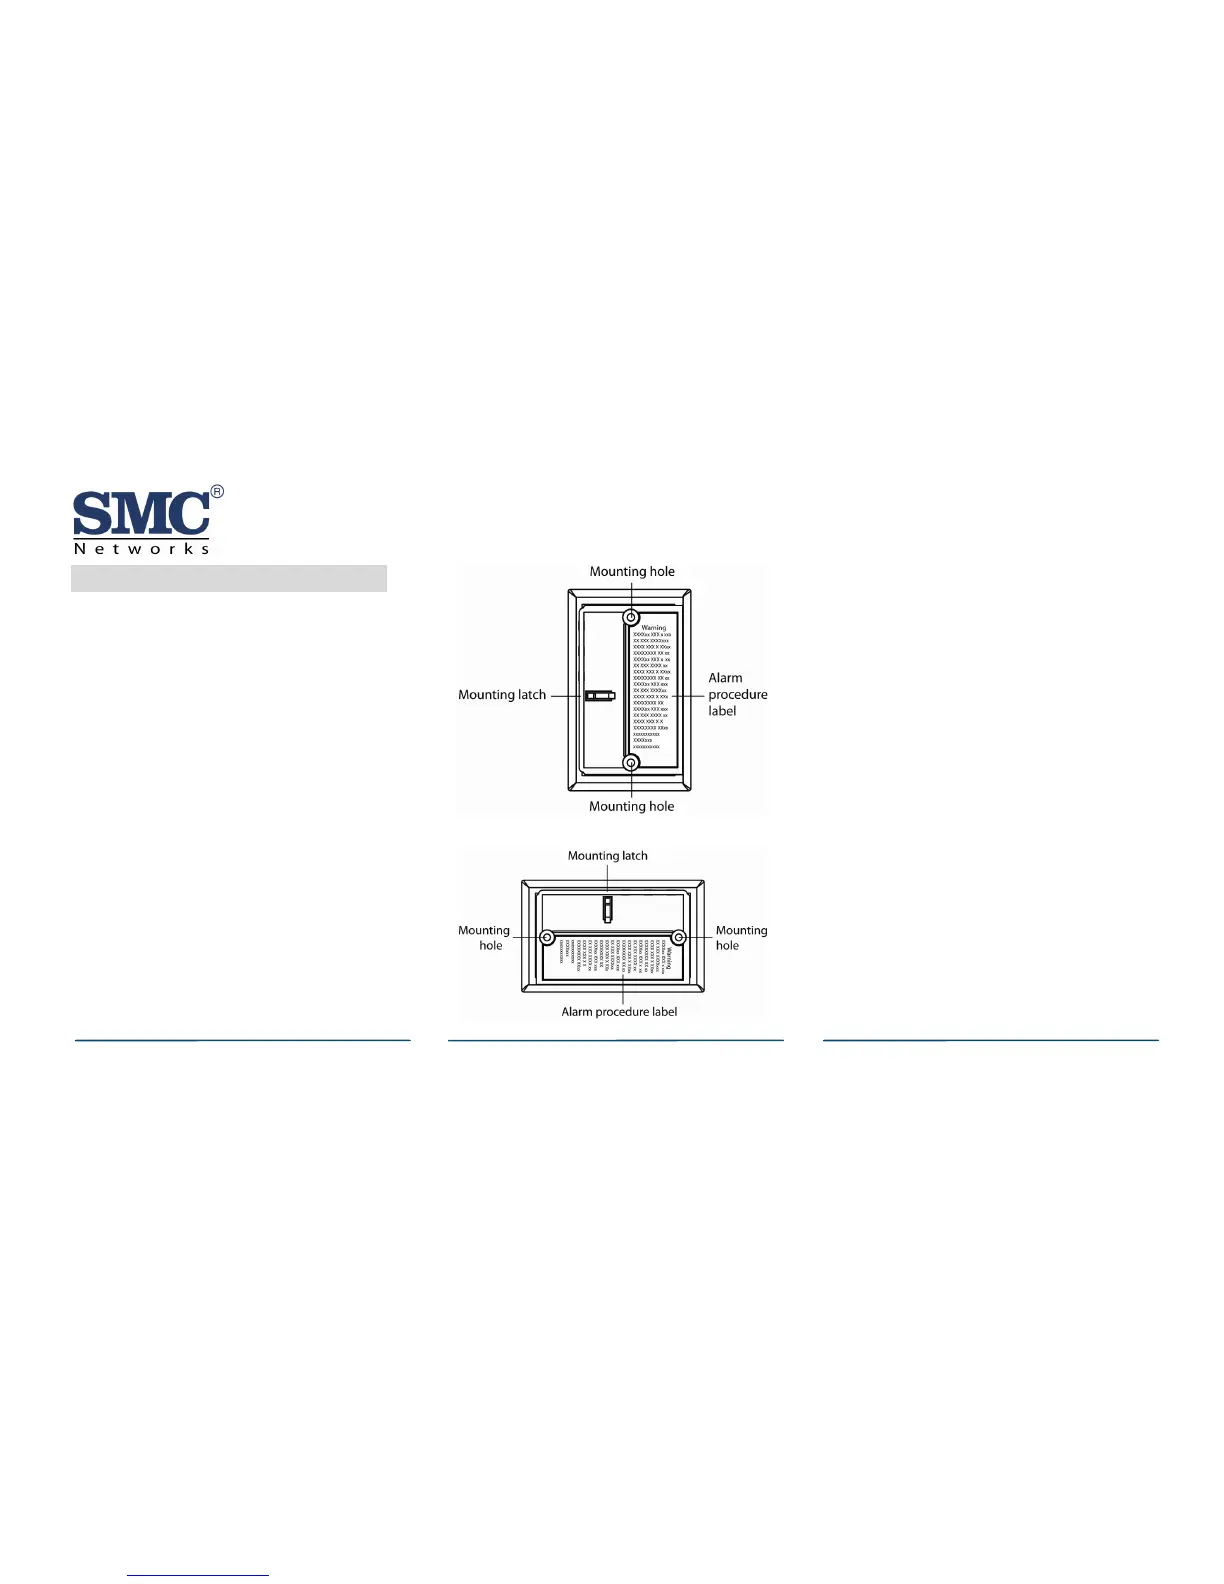
A. Slide the alarm body off the
mounting plate. Place the mounting
plate in the desired location and
mark the location of the 2 mounting
holes. Orient the mounting plate
vertically or horizontally (see Figure
2 and Figure 3).
E. Two labels are provided that have
important information on what to do
in case of an alarm. Record the
phone number of your emergency
service provider in the space
provided. Then place one label next
to the alarm after it is mounted,
and the other label near a fresh-air
source, such as a door or window.
Figure 2. Mounting the Alarm Vertically
Note: The SMCCO02-Z can also be
directly mounted to a single gang box.
Figure 3. Mounting the Alarm Horizontally
Copyright
©
2011 SMC Networks Page 3
All Rights Reserved
I/M SMCWK01-Z rev. 1.0
4/19/11
 Loading...