88
Editing the imported images
You can cut out only required movie parts
to save.
1 Turn on the computer.
2 Double-click [ ] (Picture Motion
Browser) on the desktop.
[Picture Motion Browser] starts up.
3 Select the movie you want to edit
in the Folder view or Calendar
view (p. 86).
4 Click [ ] and select [Video
Trimming].
The Video Trimming window is
displayed.
z Tips
• You can display the Video Trimming window
by selecting [Video Trimming] from the
[Manipulate] menu in the Main window, or
clicking [ ] in the view image window and
selecting [Video Trimming].
5 Select the scene you want to set
as an IN point (the beginning of
the required part) using the [c],
[C] buttons on the right side of
the window, or the slider, and
click [Set IN point].
The selected scene is displayed in the
thumbnail of [IN point].
6 Select the scene you want to set
as an OUT point (the end of the
required part) in the same way,
and click [Set OUT point].
The selected scene is displayed in the
thumbnail of [OUT point].
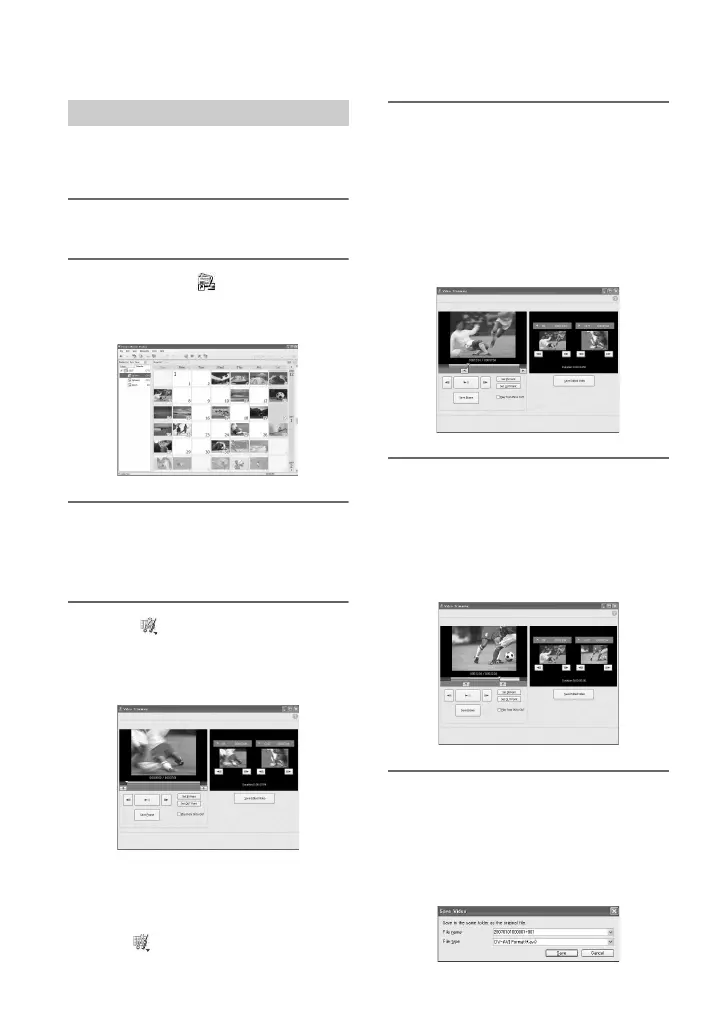
7 After setting the points, click
[Save Edited Video].
The Save Video window is displayed.
The edited movie file will be saved with
a file name different from that of the
original file name.
Editing movies
 Loading...