49
Table of Contents Enjoy Useful Functions Index
GB
Importing movies and
photos to a computer
Movies and photos recorded on your
camcorder can be imported to a computer.
Turn on the computer beforehand.
Notes
Connect your camcorder to the wall outlet (wall
socket) using the supplied AC Adaptor for this
o
perat
ion (p. 15).
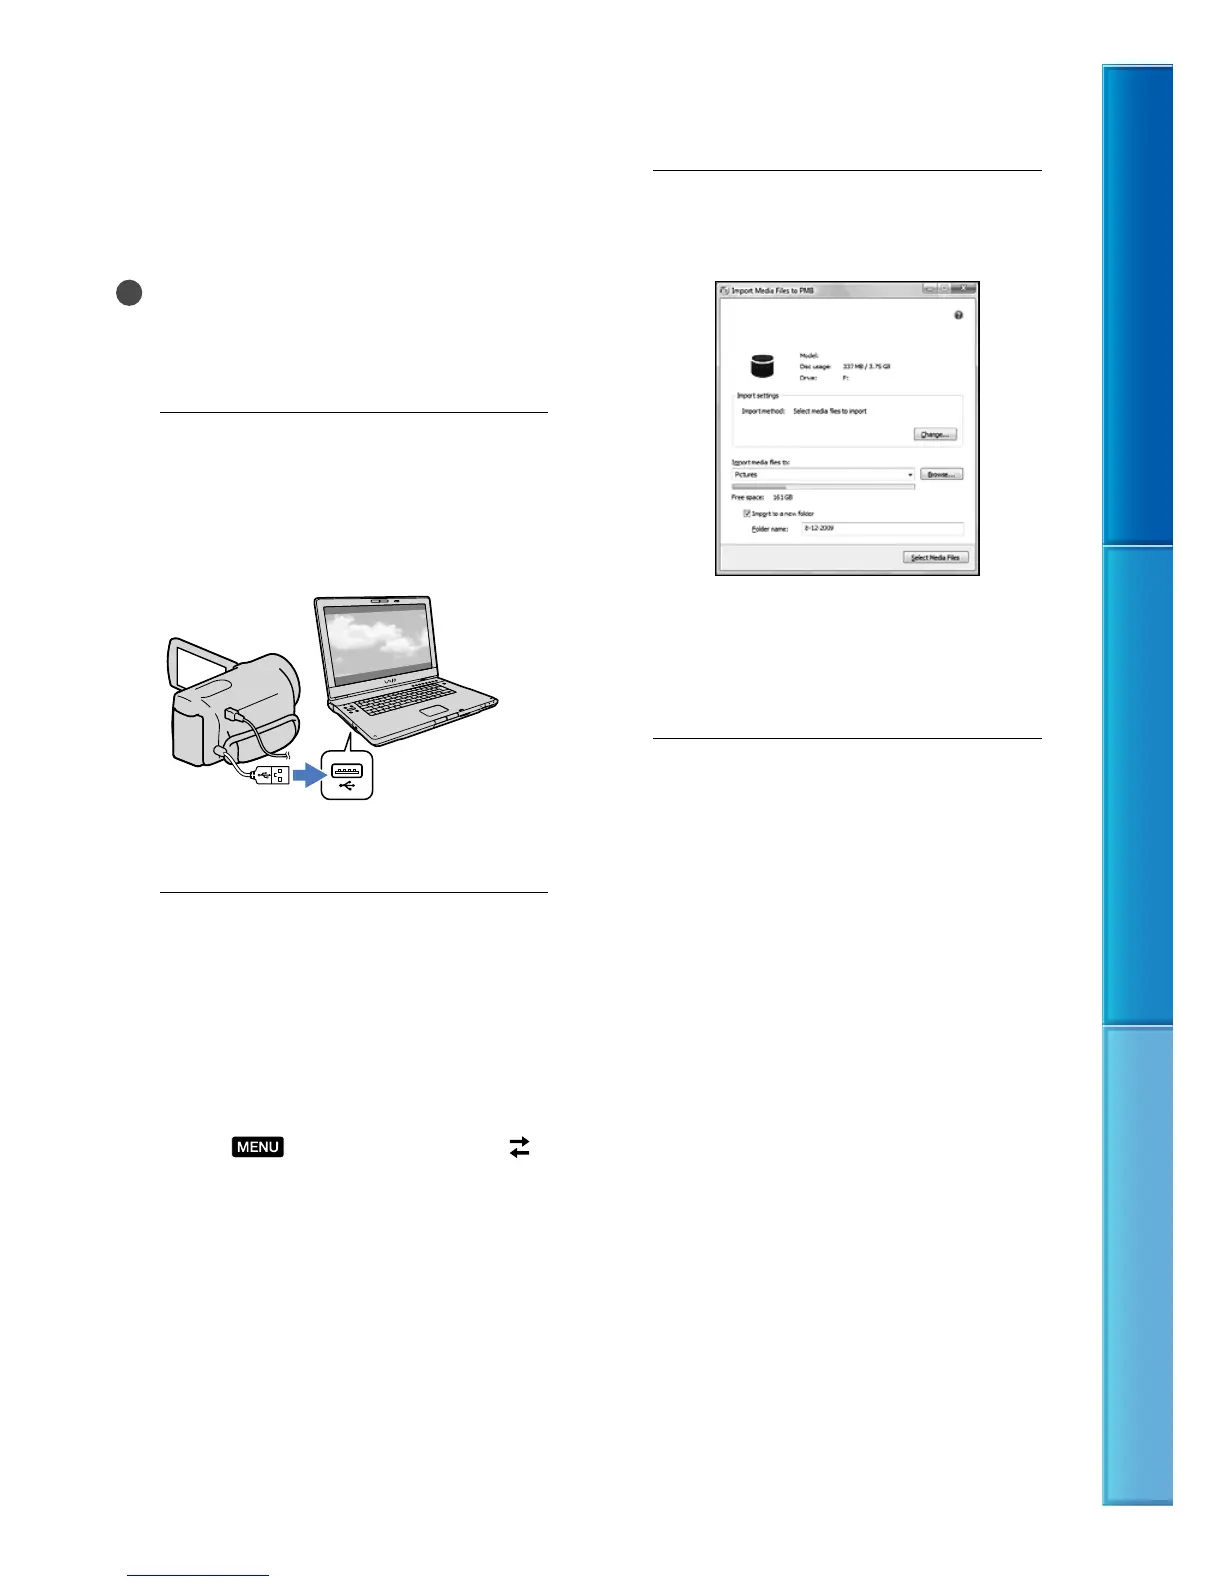
1
Turn on your camcorder, then
connect the camcorder to the
computer using the Built-in USB
Cable.
The [USB Select] screen appears on the
camcorder screen.
2
Touch [USB Connect] on the
camcorder screen.
Prior to the connection, select the
recording medium with image data to
import to the computer using the [Media
Select] menu (HDR-CX160E/CX180E).
If the [USB Select] screen does not appear,
touch
(MENU) [Setup] [
(Connection)] [USB Connect].
The window for import appears on the
computer screen.
If you want to change the location
where imported media files will be
saved, click [PMB] [Tools]
[Settings...] [Import media files to]
[Browse...], then select the desired
location.
3
Click [Import].
Refer to “PMB Help” for details.
Movies and photos are imported to
your computer.
When the operation is completed, the
“PMB” screen appears.
 Loading...