Page 3 of 12 Last Modified: 06/24/2003
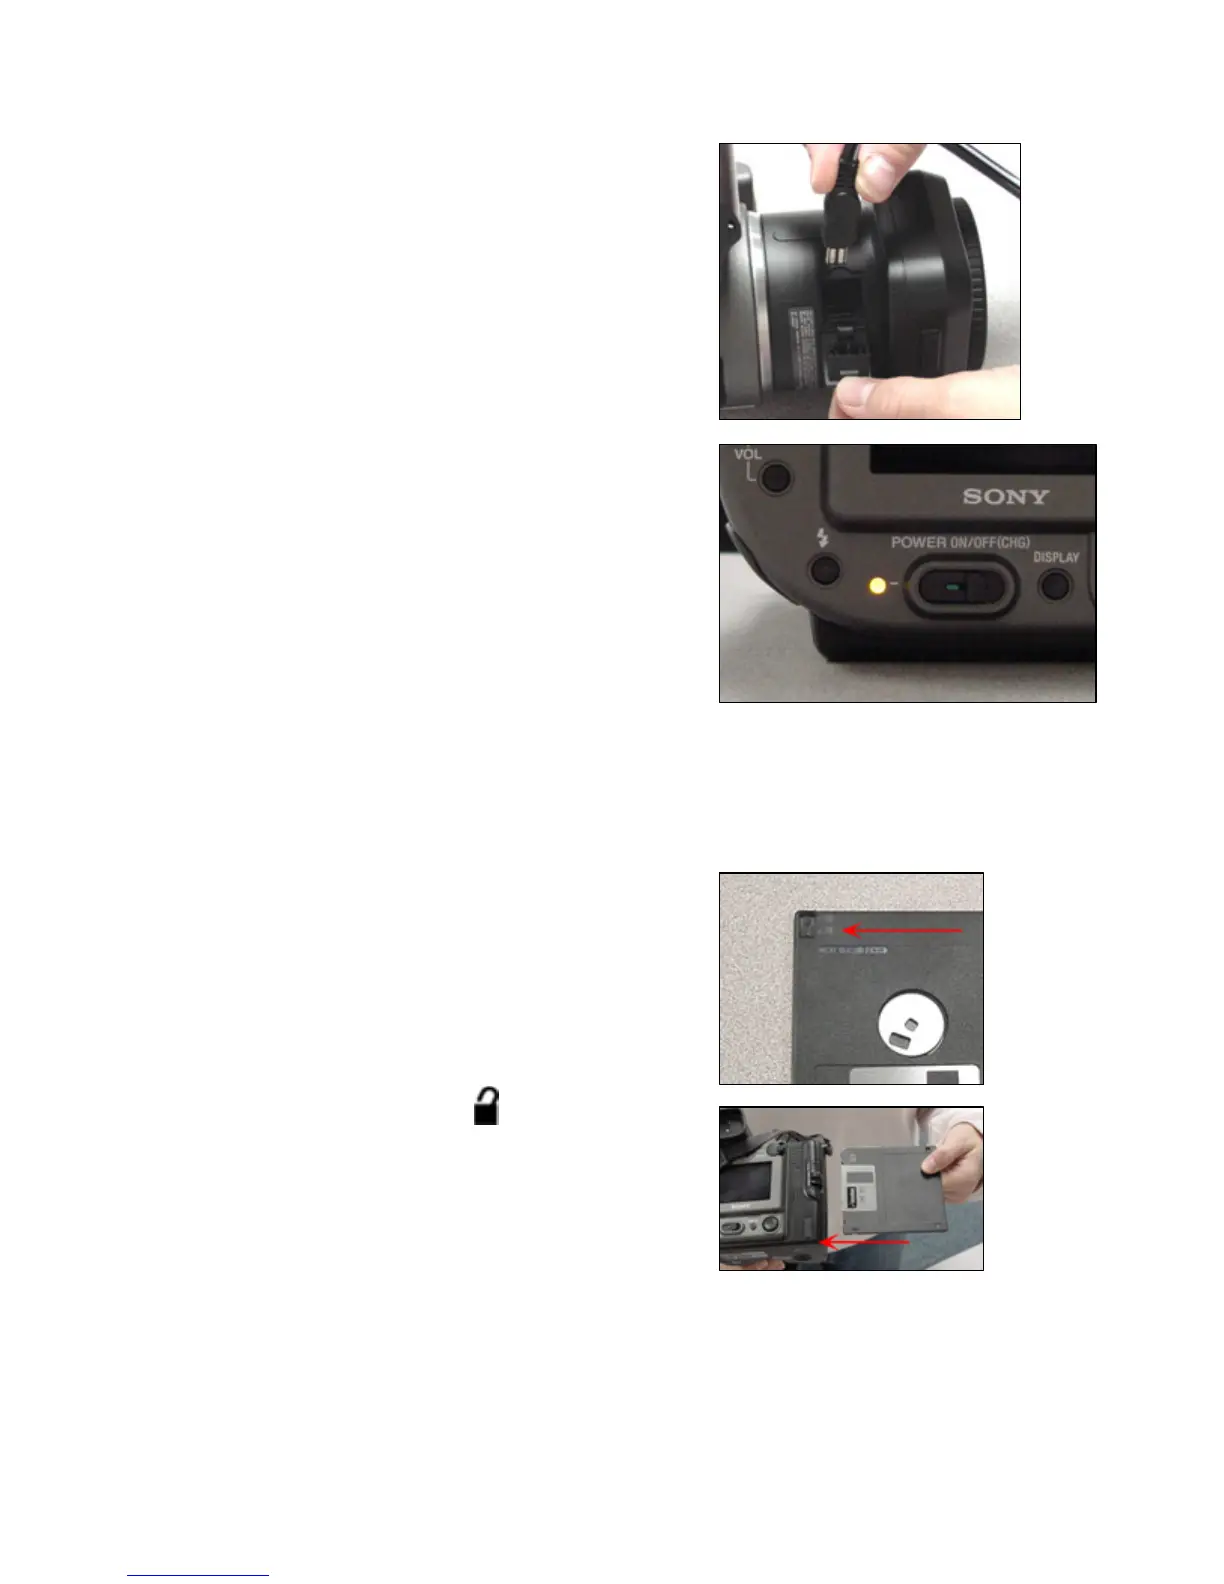
Beneath the lens is a cover labeled
“DC IN.” Open the cover and insert
the end of the cord into the camera.
Plug the other end into a power source.
To recharge the battery:
To recharge the battery, follow the
same directions from the “To use the
power cord” section of this handout.
When charging the battery, the camera
should be turned off. The orange light
will turn off when the battery is fully
charged.
Inserting a Floppy Disk
The Sony Mavica uses standard 3.5
inch floppy disks.
A floppy disk will hold:
30 jpg images (640x480)
10 jpg images (1024x768)
4 jpg images (1600x1200)
Before inserting the disk into the
camera, make sure the write protection
tab is in the unlocked position (See
image to the right).
Simply insert the disk into the side of
the camera. The label side of the
floppy disk should face the LCD
screen. When a click sound is made
the disk is properly inserted.
 Loading...


