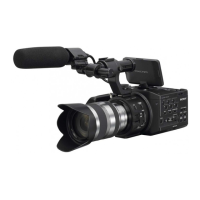
NEX-FS100C/FS100CK/FS100E/FS100EK/FS100J/FS100JK/FS100N/FS100NK/FS100P/FS100PK/FS100U/FS100UK
3-2
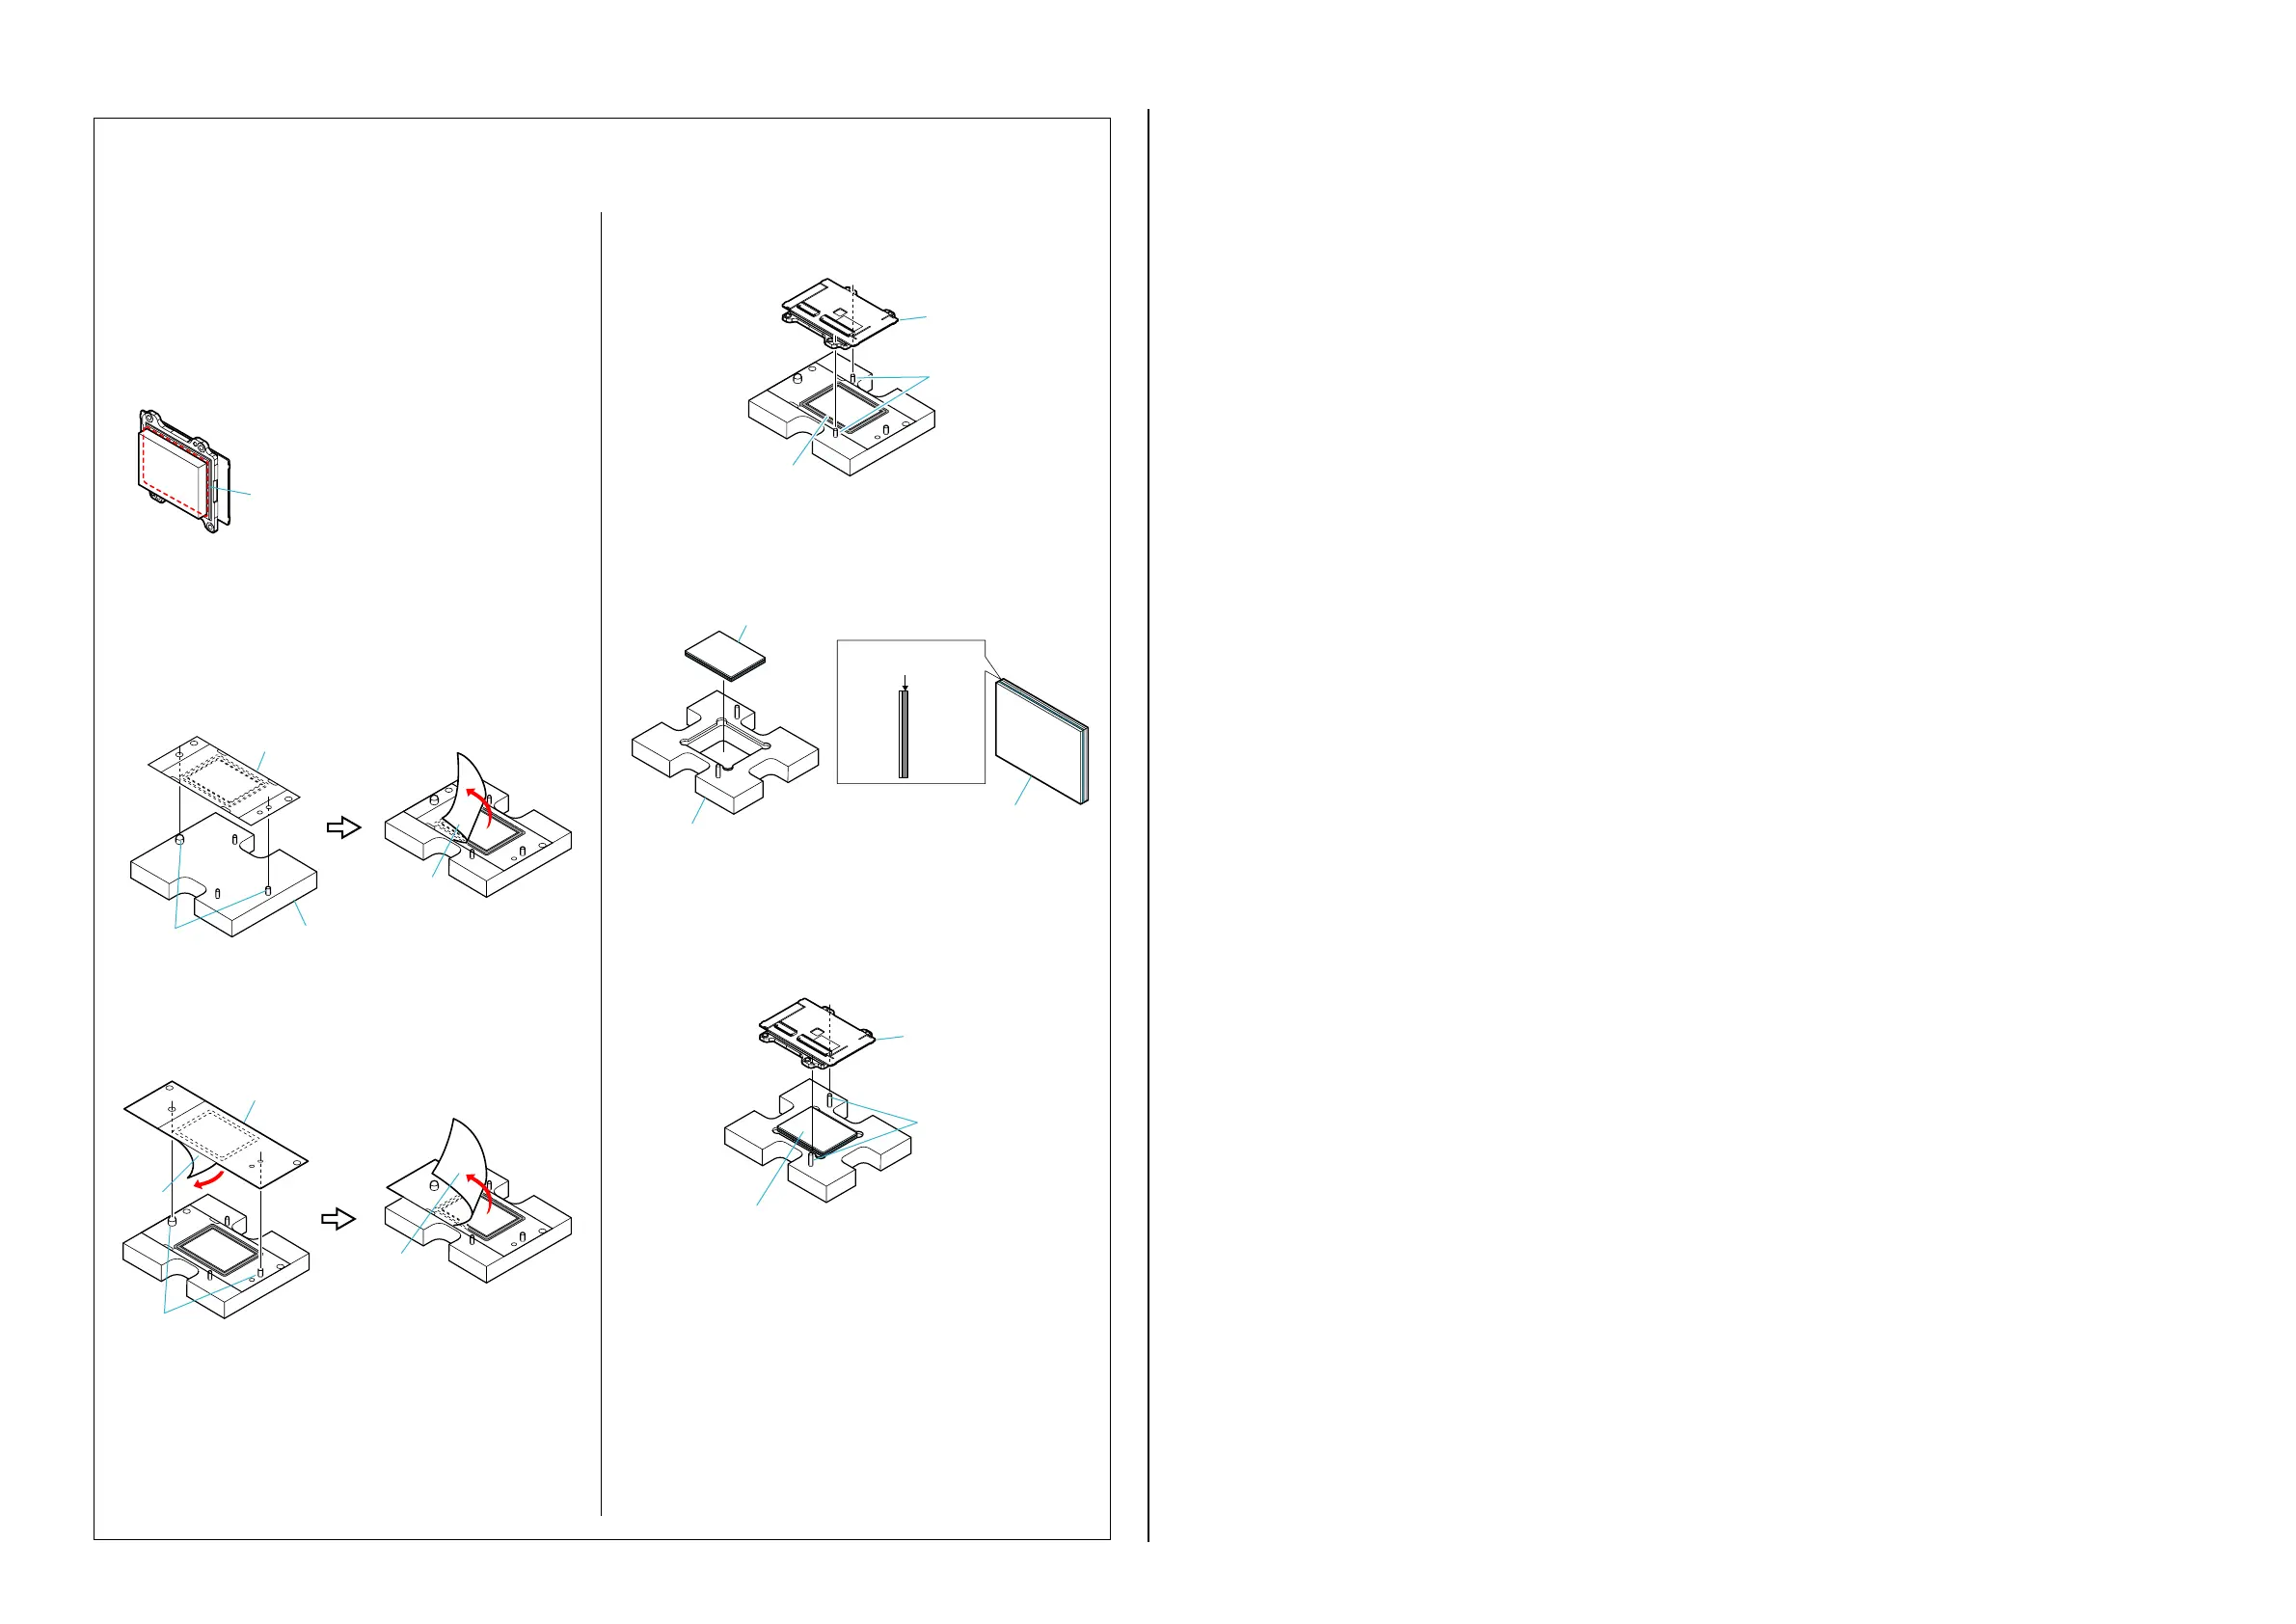
Optical Filter Block
Replacement of Optical Filter Block
When replacing the optical filter block, refer to the procedure below.
How to remove
(1) Pour a solution (alcohol or cleaning liquid) in between the IM flare
cutter and the imager.
* Wait until the adhesion of IM flare cutter tape becomes weak.
(2) Remove the IM flare cutter from the imager.
How to assemble
(1) Set the IM flare cutter to the flare cutter adjustment jig (J-6082-
752-A), facing it up.
After setting it, peel the released paper.
(2) Set the IM flare cutter tape to the jig, facing down its adhesive
side. Then, push it and peel the released paper.
(3) Set the image to the jig and affix the IM flare cutter to the imager
by pushing.
(4) Set the optical filter block to the flare cutter adjustment jig (J-
6082-753-A) with the IM flare cutter faced up.
(5) Set the imager to the jig and affix the optical filter block to the
imager by pushing.
Note: Be careful for dust not to enter.
Flare Cutter Adjustment Jig
J-6082-752-A
Optical Filter Block Adjustment Jig
J-6082-753-A
Optical Filter Block
IM Flare Cutter
Pin
Pin
Released Paper
Released Paper
IM Flare Cutter Tape
(The adhesive side faces down.)
Two layer side is
Imager side
Mount
Side
Imager
Side
Released
Paper
IM Flare Cutter
Pin
Imager
Optical Filter Block
Pin
Imager
Pour a solution (alcohol or cleaning liquid) in
between the IM flare cutter and the imager.
 Loading...