OPERATING INSTRUCTIONS
For information on the engine and the battery (if sup-
plied), read the relevant owner manuals.
NOTE – The number which precedes each paragraph
links the references in the text to the respective illus-
trations (listed on page iii and following pages).
1. COMPLETE ASSEMBLY
NOTE The machine can be supplied with some parts al-
ready assembled.
WARNING! Unpacking and completing the assem-
bly should be done on a flat and stable surface, with
enough space for moving the machine and its packag-
ing, always making use of suitable equipment.
Disposal of the packaging should be done in accord-
ance with the local regulations in force.
1.1 Assembling the handle
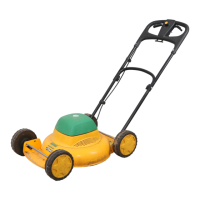
• Model 474:
i-
-
tive holes.
ii
iii-
iv
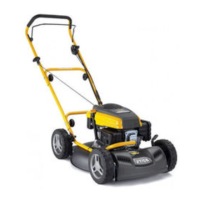
• Model 504:
-
-
trol cables.
• Manual ignition models
• Electric key ignition models
Fit the starter cable in the guide spiral (6) and tighten
the nut (7).
1.2 Battery connection
• Electric key ignition models
-
• Electric push-button ignition models
-
2. CONTROLS DESCRIPTION
NOTE The meanings of the symbols on controls are ex-
plained in the previous pages.
2.1 Throttle lever
Lever positions are indicated on the relevant plate.
a throttle.
2.2 Engine brake lever / cutting means
2.3 Drive lever (where applicable)
-
released.
-
gaged.
WARNING! To prevent damage to the transmis-
sion, do not pull the machine backwards with the trans-
mission engaged.
2.4 Converter control lever (if tted)
-
speed.
-
vided near the control lever.
IMPORTANT The engine must be running and the drive
engaged when switching from one speed to another.
Do not touch the converter control when the engine is
stopped. Doing this could damage the converter.
NOTE If the machine does not move forward with the le-
ver in the « » position, simply move the lever to « » and
then immediately return to the « » position.
2.5 Cutting height adjustment
DO THIS WHEN THE CUTTING MEANS IS STATIONARY.
3. GRASS CUTTING
3.1a Preparation for mowing and mulching
3.1b Preparation for mowing and side discharge
of grass (if provided)
-
charge guard (2).
– Close the side discharge guard (2) so that the side dis-
-
charge guard (2).
– Release the side discharge chute (3).
3.2 Engine ignition
-
ual.
3.2a
• Manual ignition models (“I”)
 Loading...