0458-683-0121-A
14
English
6 Charging the Battery, LEDs
6.1 Charging the Battery
The charging time depends on several factors, e.g.
temperature of the battery or the ambient temperature. The
actual charging time may differ from the specified charging
time. For specified charging times see
www.stihl.com/charging-times.
► Recharge the battery fully as described in the instruction
manual for the STIHL AL 101, 300, 500 chargers.
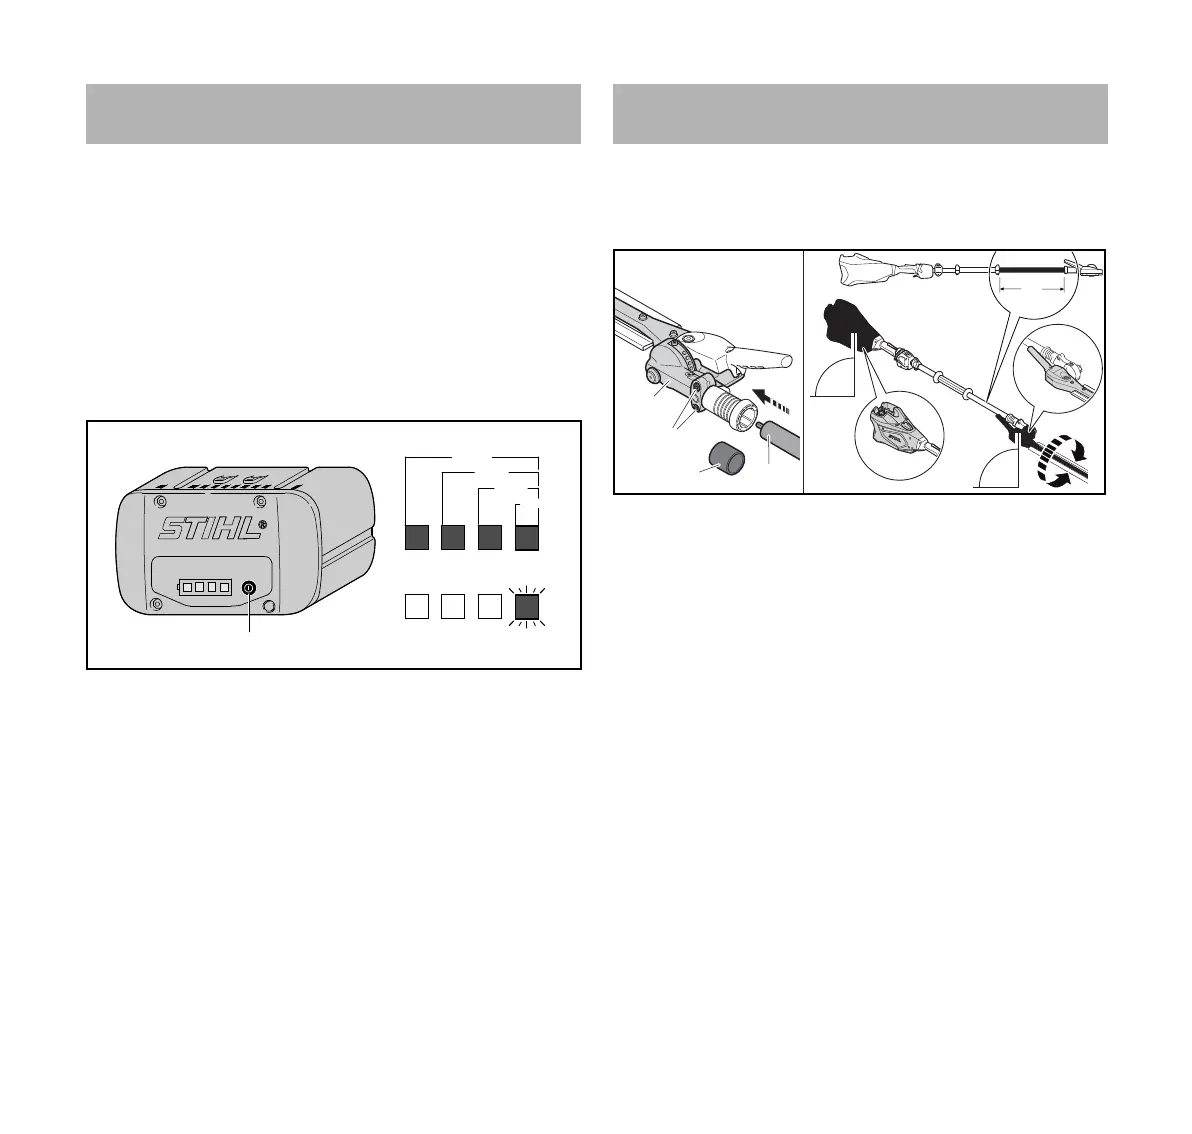
6.2 Displaying State of Charge
► Press the button (1).
The LEDs (5) glow green for about 5 seconds and indicate
the state of charge.
► If the LED on the right flashes green: Charge the battery.
6.3 LEDs on Battery
The LEDs can show the state of charge or malfunctions. The
LEDs can glow or flash green or red.
The state of charge is indicated when the LEDs glow or flash
green.
► If the LEDs glow or flash red: Troubleshooting, @ 18.
There is a malfunction in hedge trimmer or battery.
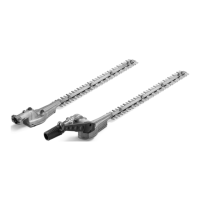
7.1 Assembling the Long-Reach Hedge Trimmer
► Switch off the long-reach hedge trimmer and remove the
battery.
► Remove the protective cap (1).
► Undo the screws (2).
► Push the transmission (3) onto the shaft (4) in such a way
that the following conditions are met:
– In case of assembly of an HLA 135: a = approx. 53 cm
– In case of assembly of an HLA 135 K: a = approx. 38 cm
► Align the housing (5) and transmission (3) as shown.
► Tighten down the screws (2) firmly.
The long-reach hedge trimmer does not need to be
dismantled again.
7.2 Mounting the loop handle HLA 135
► Switch off the long-reach hedge trimmer and remove the
battery.
6 Charging the Battery, LEDs
1
0000-GXX-1248-A0
20-40%
40-60%
60-80%
80-100%
0-20%
7 Assembling the Hedge Trimmer
1
4
3
2
3
5
a
90°
90°
0000098180_001
 Loading...