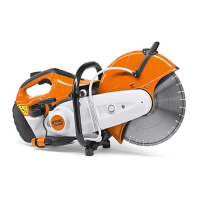
► Swing the quick-release clamp (1) to straight
position as shown.
► Unscrew the quick-release clamp (1).
► Pull the depth limiter (2) off the guard (3).
► Take out the screws (4).
► Pull the guard (3) off the guide bar.
6.3 Tensioning the Saw Chain
The saw chain expands or contracts during cut‐
ting work. Chain tension changes as a result.
Check chain tension regularly during operation
and readjust if necessary.
► Shut off the engine and engage the chain
brake.
► Adjust the depth limiter so that the bar nose is
visible.
► Loosen the nuts (1).
► Disengage the chain brake.
► Hold the bar nose up and turn the tensioning
screw (2) clockwise until the following points
apply:
–
The chain fits snugly against the underside
of the bar.
–
The chain can still be pulled easily along the
bar with two fingers.
► If the chain can no longer be pulled along the
bar by hand: Turn the tensioning screw (2)
counterclockwise until the chain can be pulled
easily along the bar with two fingers.
► Hold the bar nose up and tighten down the
nuts (1) firmly.
6.4 Filling Up with Chain Oil
Chain oil lubricates and cools the rotating chain.
► Shut off the engine and engage the chain
brake.
► Place your saw on a level surface so that the
oil tank cap faces up.
► Use a damp cloth to clean the tank cap and
the area around it.
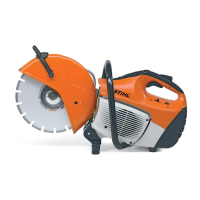
► Swing the grip on the oil tank cap to the verti‐
cal position.
► Turn the oil tank cap counterclockwise as far
as stop.
► Remove the oil tank cap.
► Fill up with chain oil, taking care not to spill
any oil and do not overfill the tank.
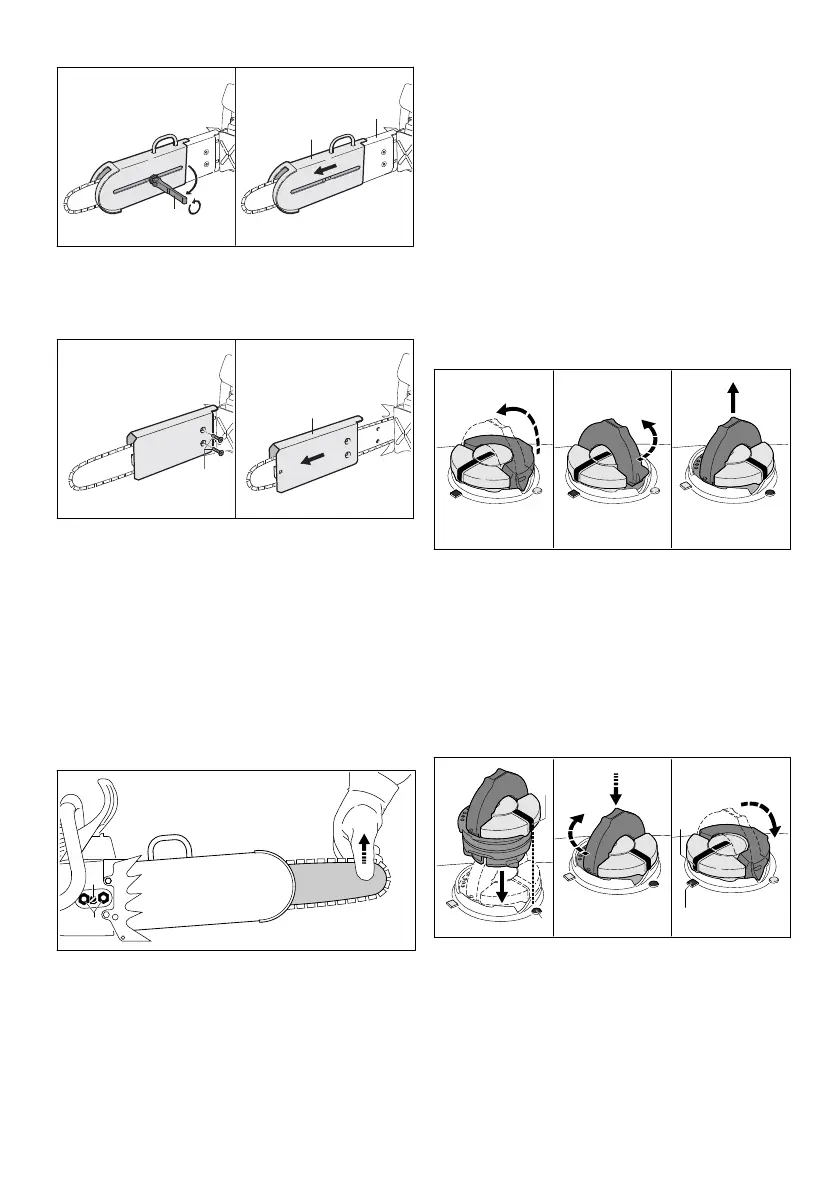
► If the grip on the oil tank cap has dropped into
the closed position: Raise the grip until it is
vertical.
► Place the cap in the filler opening so that mark
(1) lines up with mark (2).
► Press the cap down and rotate it clockwise as
far as stop.
The cap snaps into place. The mark (1) points
to mark (3),
► Check to see if the oil tank cap can be pulled
upwards and off.
English 6 Assembling the Saw
12 0458-787-0121-B. VA0.M20.
 Loading...