•
Slide assembly arbor with
high-pressure cup into the larger
opening in the assembly sleeve
(interior of sleeve is tapered).
- Press sleeve against a soft, level
and clean surface and adjust
arbor until cup is flush with end
of sleeve.
- Position complete assembly
device on valve block. The
collar fits into the seat of the
high-pressure cup.
•
Drive high-pressure cup into seat
in valve block with the assembly
arbor.
- Fill grooves of oil seals with spe-
cial grease 0781 145 3516.
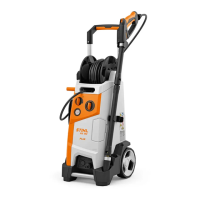
•
Slide oil seal onto assembly
arbor with the groove facing
upwards. The sealing lip of the
oil seal fits into the recess on the
assembly arbor.
- Press oil seal into pump
housing with assembly tool
4726 890 2200 in the same
way as the high-pressure cups.
Do not damage the sealing lip.
- Insert support rings in pump
housing and press in with
assembly arbor.
Reassemble remaining parts in
reverse order.
- Installation position of guide
bushing: see diagram.
- Remove shroud (see 5.1) and
motor / pump unit (see 5.2).
- Remove safety control block
(see 6.1), valve block (see 7.3)
and pump housing (see 7.4).
The outer thrust bearing is
removed and installed in the same
way as on the high-pressure
cleaners of series RE 102 K,
104 K and 106 K.
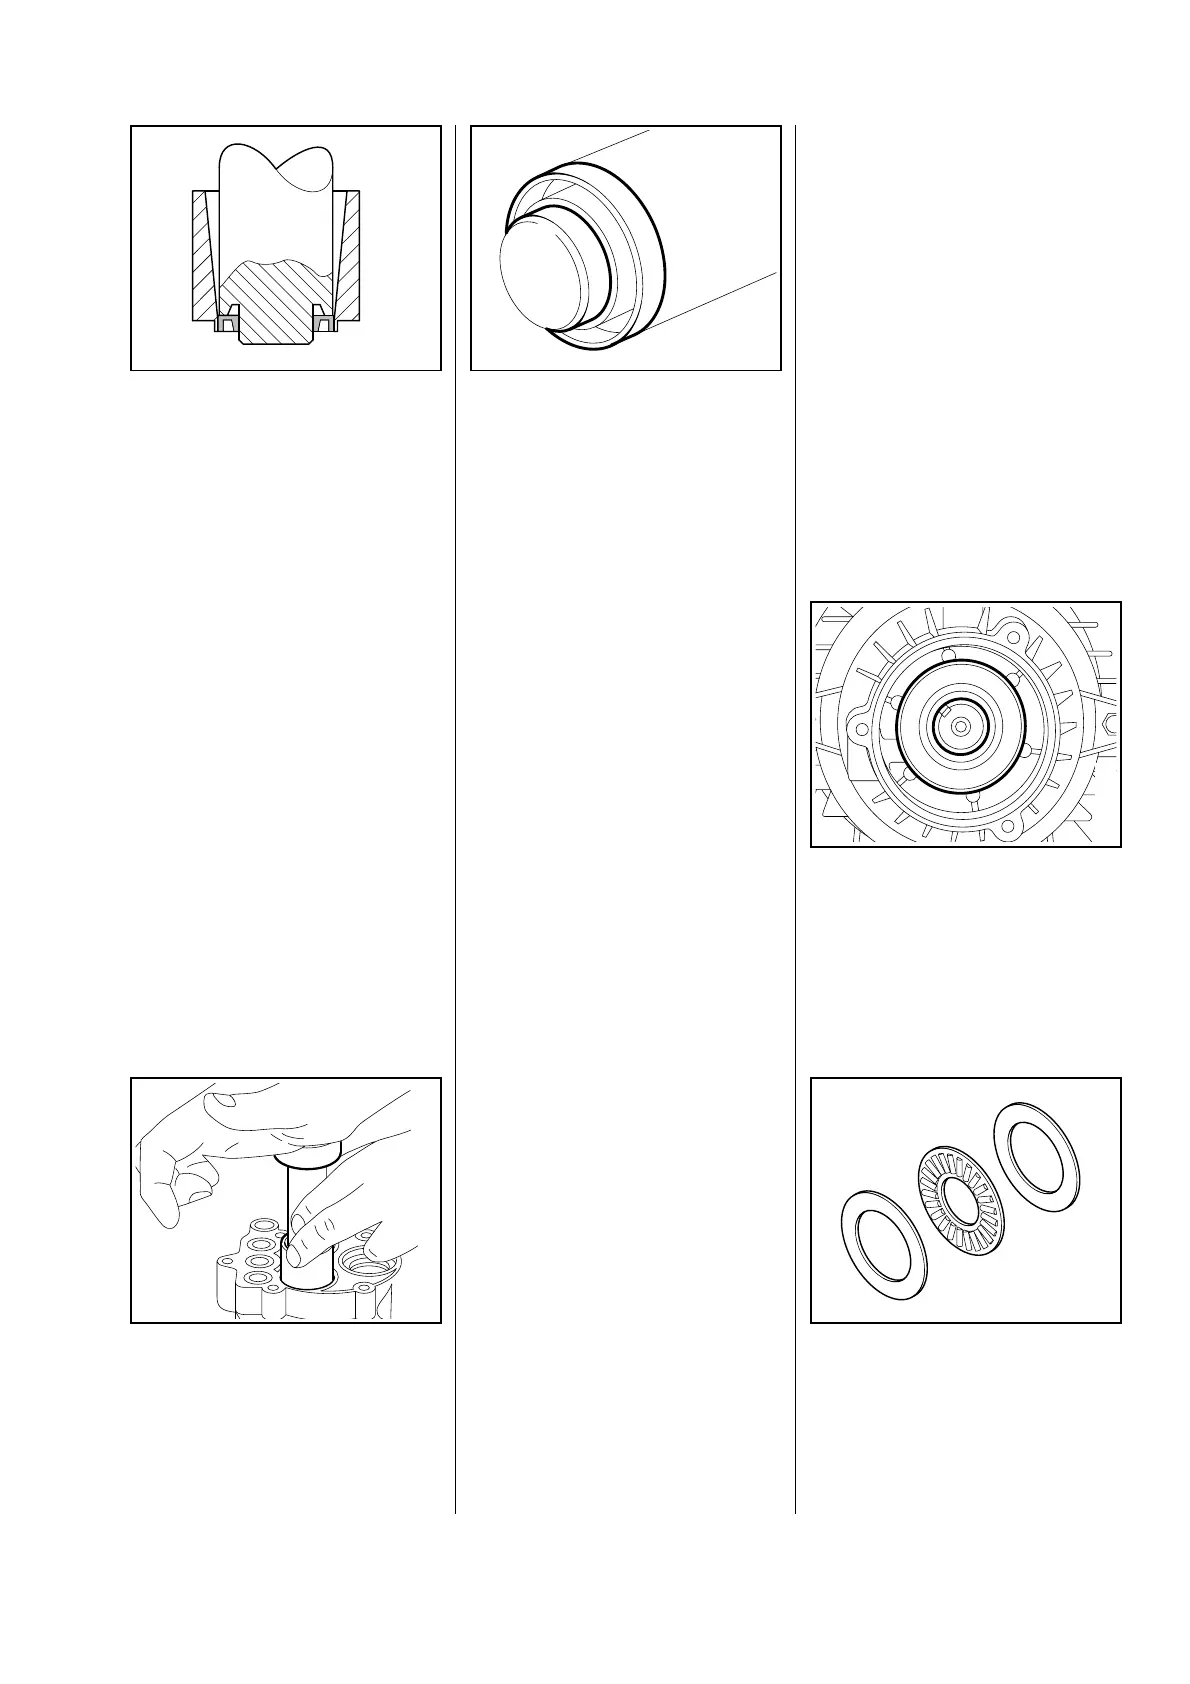
RE 160 K only
•
Pull swashplate (1) and inner
thrust bearing off the drive shaft.
Examine the various parts of the
outer (see RE 102/104/106 K) and
inner thrust bearing and replace if
necessary: upper washer (1), cage
with bearing rollers (2) and bottom
washer (3).
7.7 Replacing thrust bearings
21RA082 BL
621RA046 BL
1
621RA047 BL
1
2
3
21RA081 BL
RE 140 K, 160 K 17
 Loading...