53
DEFRNLITESPTNOSVFIDAPLSLSKTR EN
0478 111 9934 A - EN
8.1 General
● Place the machine on level and firm
ground when performing all the
operations described.
8.2 Assembling the handlebar
● 1 Insert sleeve (E) in the bore
on handlebar (1).
● 2 Fit two washers (G) with the convex
side facing inwards onto the sleeve.
● 3 Hold sleeve (E) and washers (G)
and insert together with handlebar (1)
into handlebar console (2) from below.
● 4 Fold handlebar (1) upwards until the
bores in the handlebar console and
sleeve (E) are aligned.
● 5 Place nut (H) in the handlebar
console recess and hold.
● 6 Insert bolt (F) from the outside
inwards through the bores in handlebar
console (2) and the sleeve. Tighten
bolt (F).
Tightening torque: 18 - 22 Nm
● Fold down the handlebar into the
transport position. (Ö 9.3)
Attaching cables:
● Insert all cables (3) into the guide on
handlebar console (4). To do this,
slightly bend the cables – without
kinking them – and insert into
guide (4) as shown.
RM 650 VS, RM 655 RS, RM 655 VS,
RM 655 YS:
Place the BBC cable (∅ = 7 mm) in
guide (4) first.
● Insert all cables (3) into cable guide (5).
● Fold up the handlebar into the working
position. (Ö 9.3)
● RM 655 YS:
Adjust the self-propulsion cable.
(Ö 14.11)
8.3 Attaching and detaching the
recoil starter rope
Attaching:
● Detach the spark plug socket from the
engine.
● RM650T, RM650V, RM655V:
Press motorstop lever (1) to the
handlebar and hold.
● Slowly pull out recoil starter rope (2)
and attach it to rope guide (3).
● Slowly release recoil starter rope (2)
and motorstop lever (1).
● Connect the spark plug socket.
Detaching:
● Detach the spark plug socket from the
engine.
● RM650T, RM650V, RM655V:
Press motorstop lever (1) to the
handlebar and hold.
● Slowly pull out recoil starter rope (2)
and detach it from rope guide (3).
● Slowly return recoil starter rope (2) and
release motorstop lever (1).
● Connect the spark plug socket.
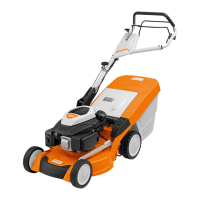
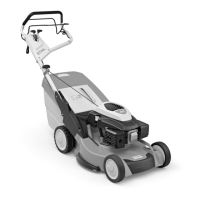
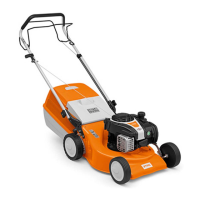
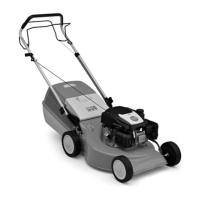
7. Standard equipment
Item Designation Qty.
A Basic unit 1
B Lower part of grass catcher
box 1
C Upper part of grass catcher
box 1
D Pin 2
E Sleeve 1
F Bolt 1
G Washer 2
H Nut 1
I Mulch insert – installed in
discharge chute (RM 650 T,
RM 650 V, RM 650 VE,
RM 650 VS, RM 655 V,
RM 655 VS, RM 655 YS) 1
J Battery (RM 650 VE) 1
K Charger (RM 650 VE) 1
– Instruction Manual 1
– Engine Instruction
Manual 1
8. Preparing the machine for
operation
Risk of injury!
Observe the safety instructions in
the section "For your safety" (Ö 5.).
2
Avoid damage to the machine!
Never kink cables or damage cable
covers.
3
RM 650 VE: The engine does not
have a recoil starter rope.
4
 Loading...