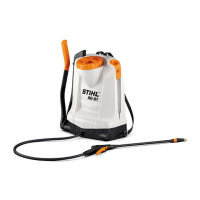
SG 51, SG 71
English
6
regularly given the opportunity to attend
training courses and are supplied with
the necessary technical information.
Only use high-quality replacement parts
in order to avoid the risk of accidents
and damage to the unit. If you have any
questions in this respect, consult a
servicing dealer.
STIHL recommends the use of genuine
STIHL replacement parts. They are
specifically designed to match your
model and meet your performance
requirements.
Always clean and empty the tank and
release pressure in the sprayer before
carrying our any maintenance or repair
work.
When cleaning the tank, tube and hose
system, make sure that other persons
are not endangered by escaping liquid –
risk of injury.
The small hardware required for
assembly is in the tank.
Connecting Hose to Unit
N Push the union nut (1) over the
hose (2).
N Push the hose (2) behind the shaft
and onto the elbow connector (3).
N Slip the union nut (1) onto the elbow
connector (3) and tighten it down
firmly by hand.
Mounting the Spray Gun
N Push the union nut (1) over the
hose (2).
N Push the hose (2) onto the
connector on the gun (3).
N Tighten down the union nut (1) by
hand.
N Push the spray wand (4) into the
connector on the gun (3).
N Tighten down the union nut (5) by
hand.
Assembling the Unit
1
0000-GXX-2198-A0
2
3

 Loading...