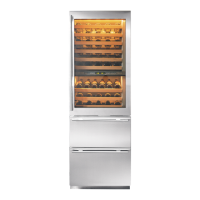
400 Series
400 Series
Installation Information
2-4
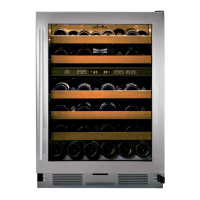
Figure 2-9. Model 424
Door / Cabinet Hinge Adjustment
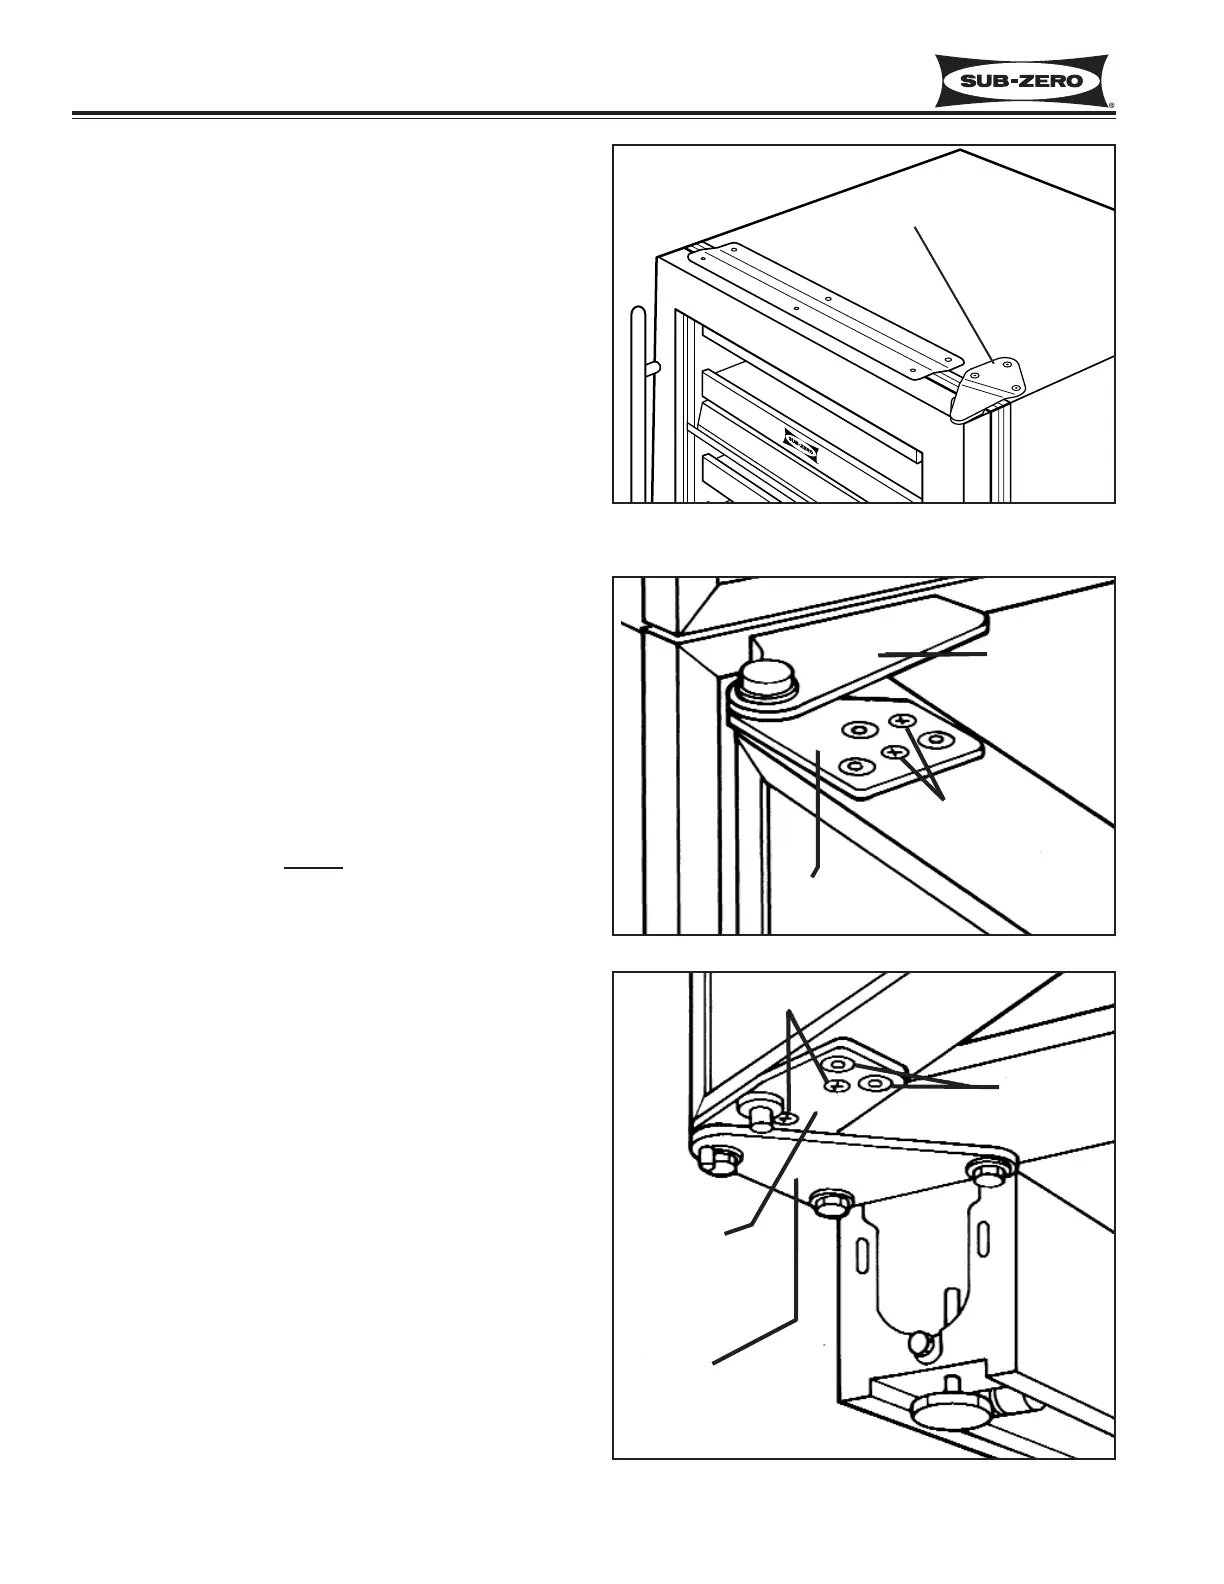
Figure 2-10. Model 430 Top Door Hinge
Door Adjustment (Model 424)
NOTE: The unit must be level before adjusting the
door.
If the unit is properly installed, blocked and leveled, it
may still be necessary to adjust the door(s) from left to
right and/or in & out. Adjustments are performed at the
top and/or bottom cabinet hinge(s).
NOTE: The door hinges on the 424 are non-adjustable.
To access and adjust the cabinet hinge(s), it will be
necessary to pull the unit out approximately 6” from the
rough-in opening. (See NOTE below.) Working on
only one hinge at a time and using a 1/8” Allen wrench,
loosen the three cabinet hinge screws, then “snug”
them back down. (See Figure 2-9) Adjust door left to
right, or in and out. After adjusting the door, re-tighten
the screws and check for proper gasket seating.
NOTE: If removing a model 424 from its installation, an
anti-tip bracket and a countertop bracket may have
been used to make a solid installation. (See Figures 2-
2) If the brackets were not used, shims may have been
wedged along the sides and top.
Door and Drawer Adjustment (Models 427 & 427R)
NOTE: The door on models 427 and 427R, as well as
the drawers on the 427R are non-adjustable. Instead,
the door and/or drawer p
anels must be adjusted if there
is an alignment problem. Refer to the Installation
Manual.
NOTE: The unit must be level before attempting to
adjust the door and drawer panels.
Door Adjustment (Model 430)
NOTE: The unit must be level before adjusting the
door.
If the unit is properly installed, blocked and leveled, it
may still be necessary to adjust the door from left to
right and/or in and out. Adjustments are performed at
the top and/or bottom door hinge(s). Working on only
one hinge at a time, remove the two small Phillips head
shipping screws and discard them. Then loosen and
“snug” the remaining Allen head screws. (See Figure
2-10 & 2-11) Adjust door left to right, or in and out.
After adjusting the door, re-tighten the screws and
check for proper gasket seating.
Figure 2-11. Model 430 Bottom Door Hinge
Cabinet Hinge
Top Cabinet
Hinge - (No
Adjustment)
Shipping
Screws
Top
Door Hinge
Bottom
Door Hinge
Shipping
Screws
Allen-head
Screws
(2 of 4)
Bottom
Cabinet Hinge -
(No Adjustment)
 Loading...