15
PANEL CONTROLS
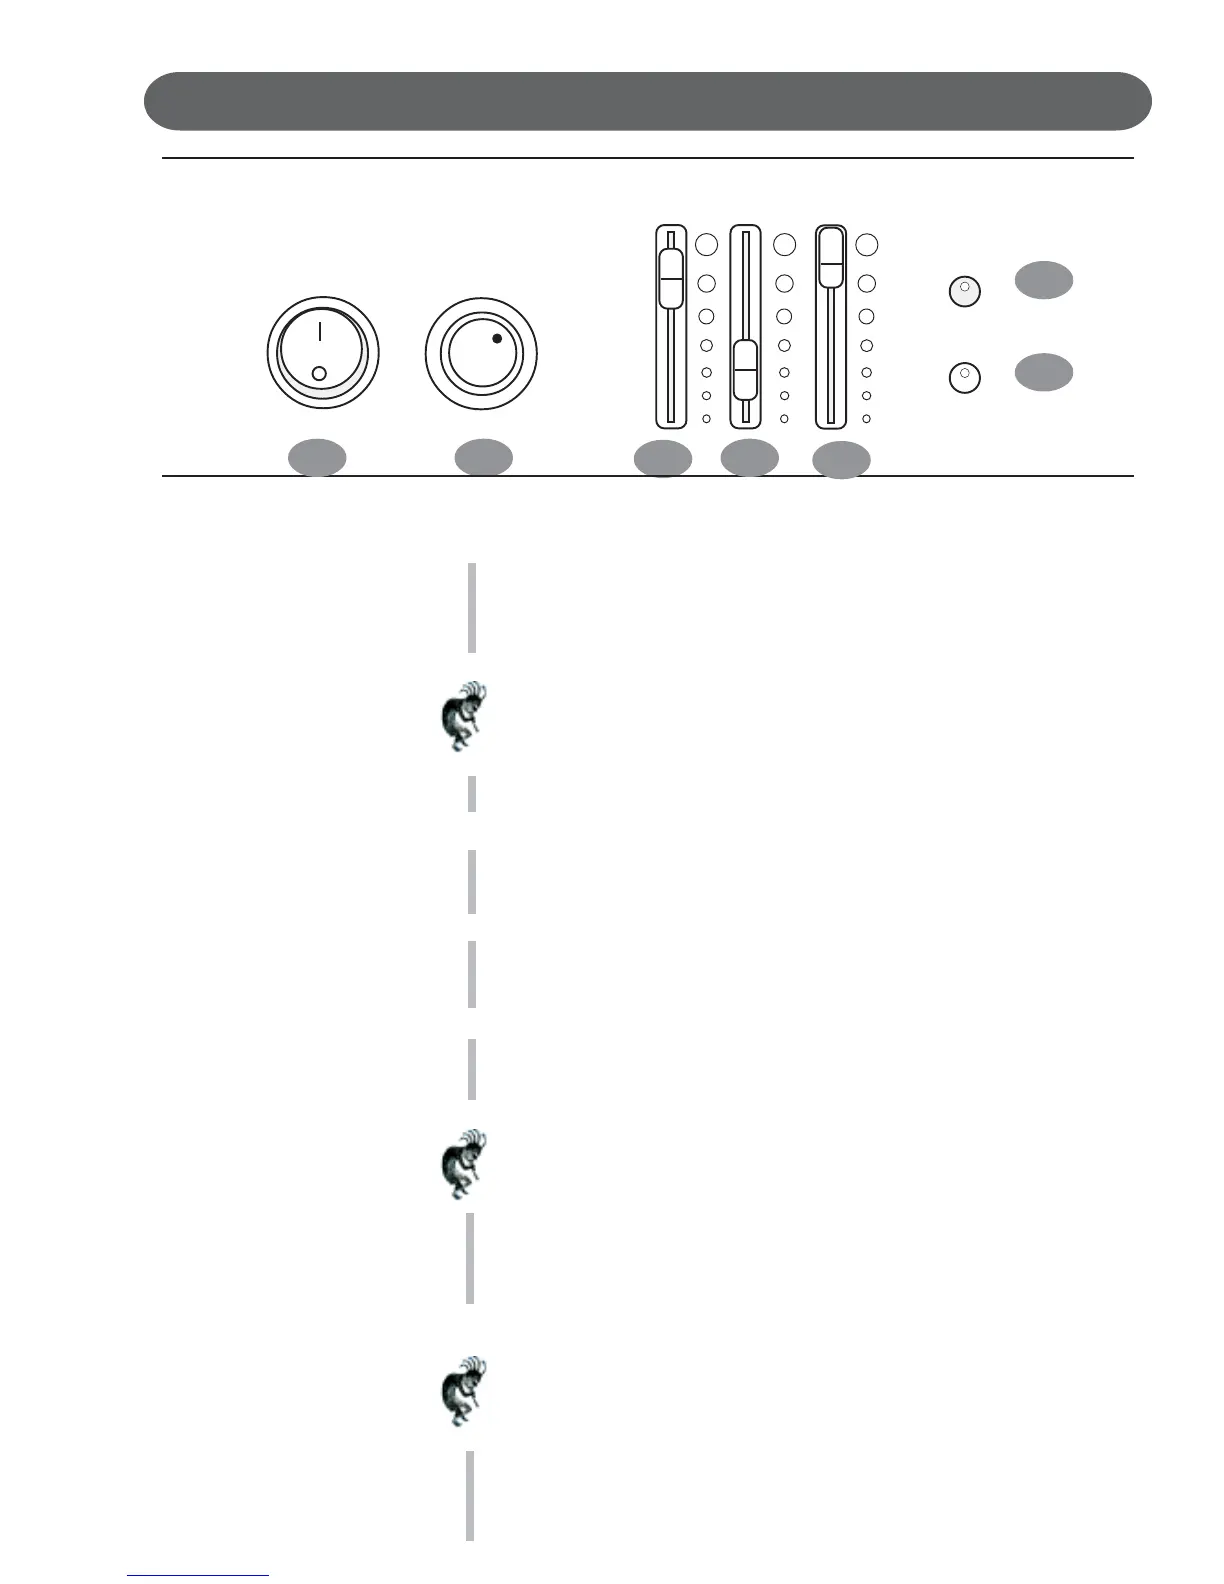
This Suzuki piano’s control panel is designed for ease of use and intuitive playing. The following is a brief
description of the features and functions located on the control panel.
1. POWER SWITCH - The power switch is located on the far left of the
control panel. Press the button to turn the power on and off. There is an
indicator light on the Floppy Disk Drive located on right front portion of the
piano. This light will be lit when power is on.
Note: When you turn the power off, do not turn it back on immediately.
Wait at least five seconds to turn the power back on so that the electronic
circuits can properly reset.
2. MASTER VOLUME - Turn this knob to the right to increase the overall
volume of the piano, and to the left to decrease the volume.
3. BASS - Slide this controller to adjust the bass level. The midpoint is
notched. Use this control to sound sculpt your tone to your personal
sound preferences.
4. TREBLE - Slide this controller to adjust the treble level. The midpoint is
notched. Use this control to sound sculpt your tone to your personal
sound preferences.
5. ACCOMPANIMENT VOLUME CONTROL - Slide this knob to adjust the
volume of the Accompaniment Orchestration. It may also function in
Recording, Memory Card/Disk playback or the Song sections of the piano.
Note: It is recommended that you keep this control to the maximum
position during normal use of the piano.
6. DEMO (DEMONSTRATION SONGS) - Press the DEMO button.
The first demo song will begin to play instantly. This piano has thirteen
different demonstration songs designed to showcase the instrument’s
capabilities.
Please see the “Demo” section of this manual for more information.
Note: There are also over 50 songs built into this piano to be used as
reference for the Lesson exercises that can also be enjoyed.
Please see the Song section of this manual for more information.
7. SET UP - The SET UP button is used to activate the set up menu screen.
The majority of this pianos features and functions can be accessed
and adjusted from the Set Up screen menu selections.
Please see the “Setup” section of this manual for more information.
2
3
4
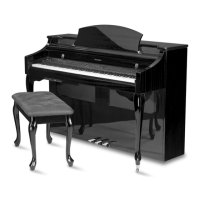
Mini Grand Digital Piano
FP-S
6
7
POWER
MASTER VOLUME
MIN MAX
4
DEMO
SETUP
1
5
BASS TREBLE VOLUME
ACCOMP
 Loading...